A small pantry closet doesn’t have to mean limited storage capacity or endless frustration when searching for ingredients. With thoughtful planning and strategic organization, even the most compact spaces can become highly functional storage areas. Smart storage solutions transform cramped pantries into efficient hubs that keep everything accessible and organized.
The key to maximizing a small pantry lies in understanding vertical potential and utilizing every available inch. Many homeowners overlook valuable storage opportunities because they stick to traditional shelving methods. By embracing innovative storage techniques, you can double or triple your pantry’s capacity while maintaining easy access to daily essentials.
This article explores seven proven storage solutions that interior designers and organization experts recommend for small pantry closets. Each strategy addresses common challenges like wasted vertical space, cluttered shelves, and difficulty accessing items at the back. These ideas work for various pantry sizes and can be implemented on different budgets.
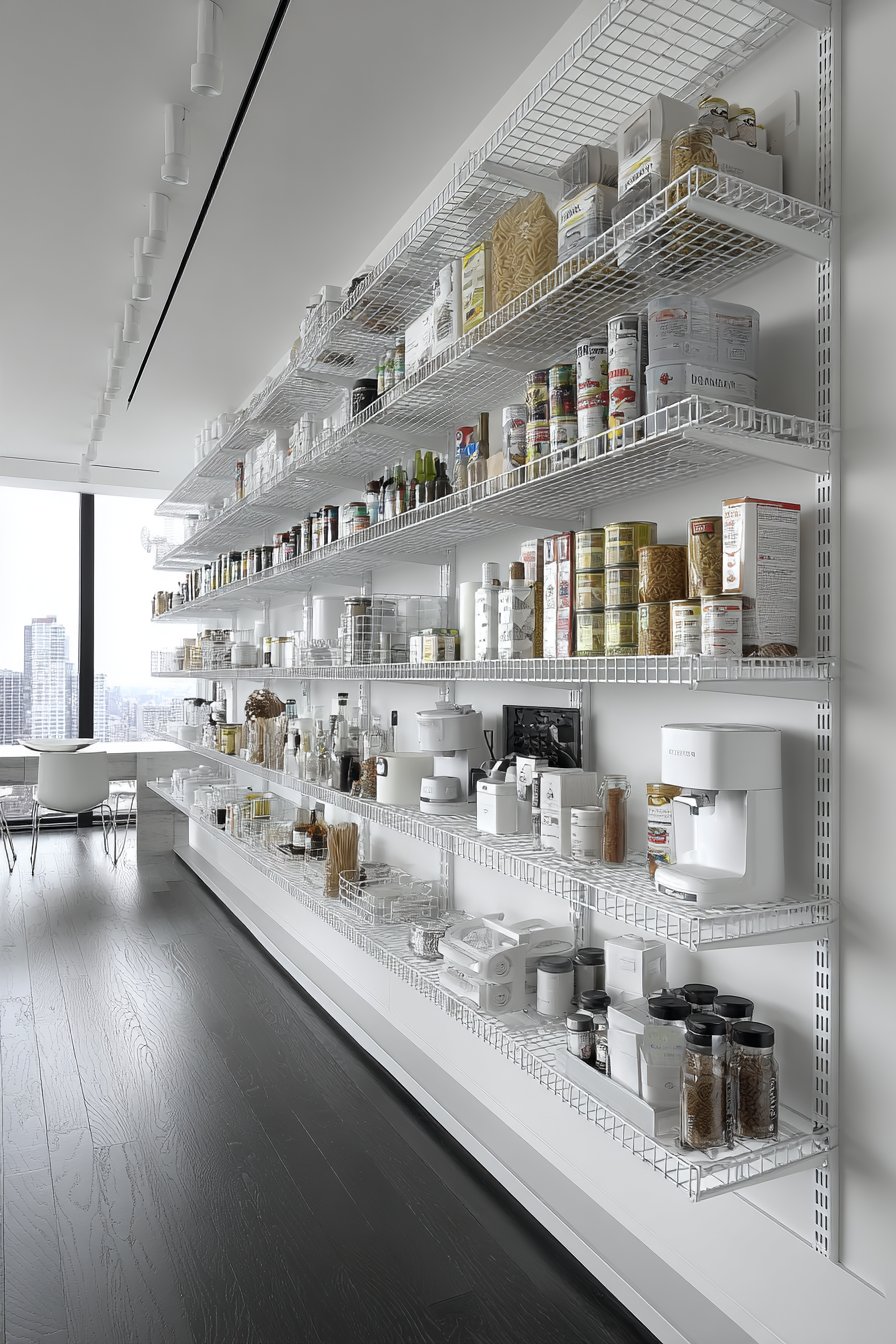
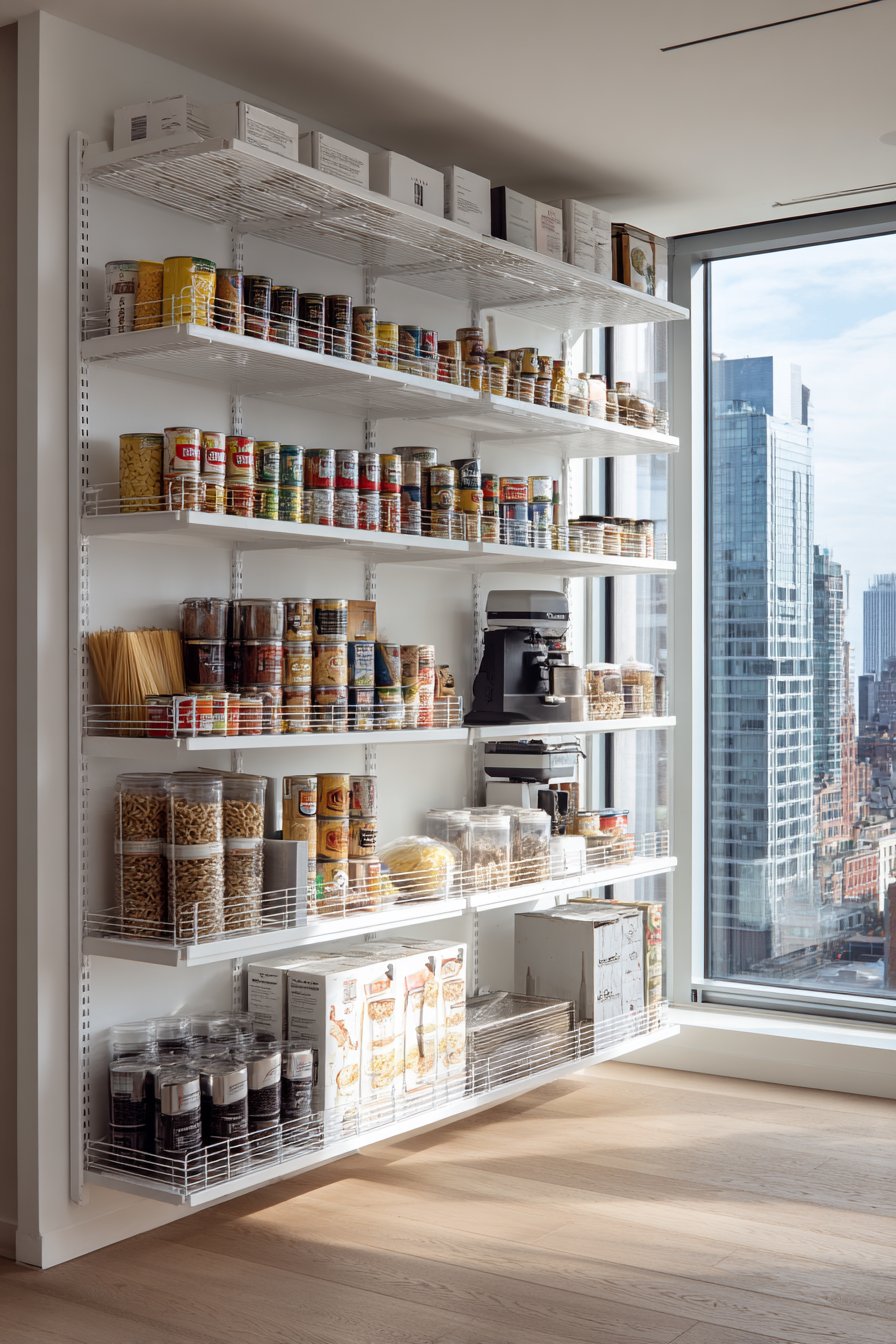
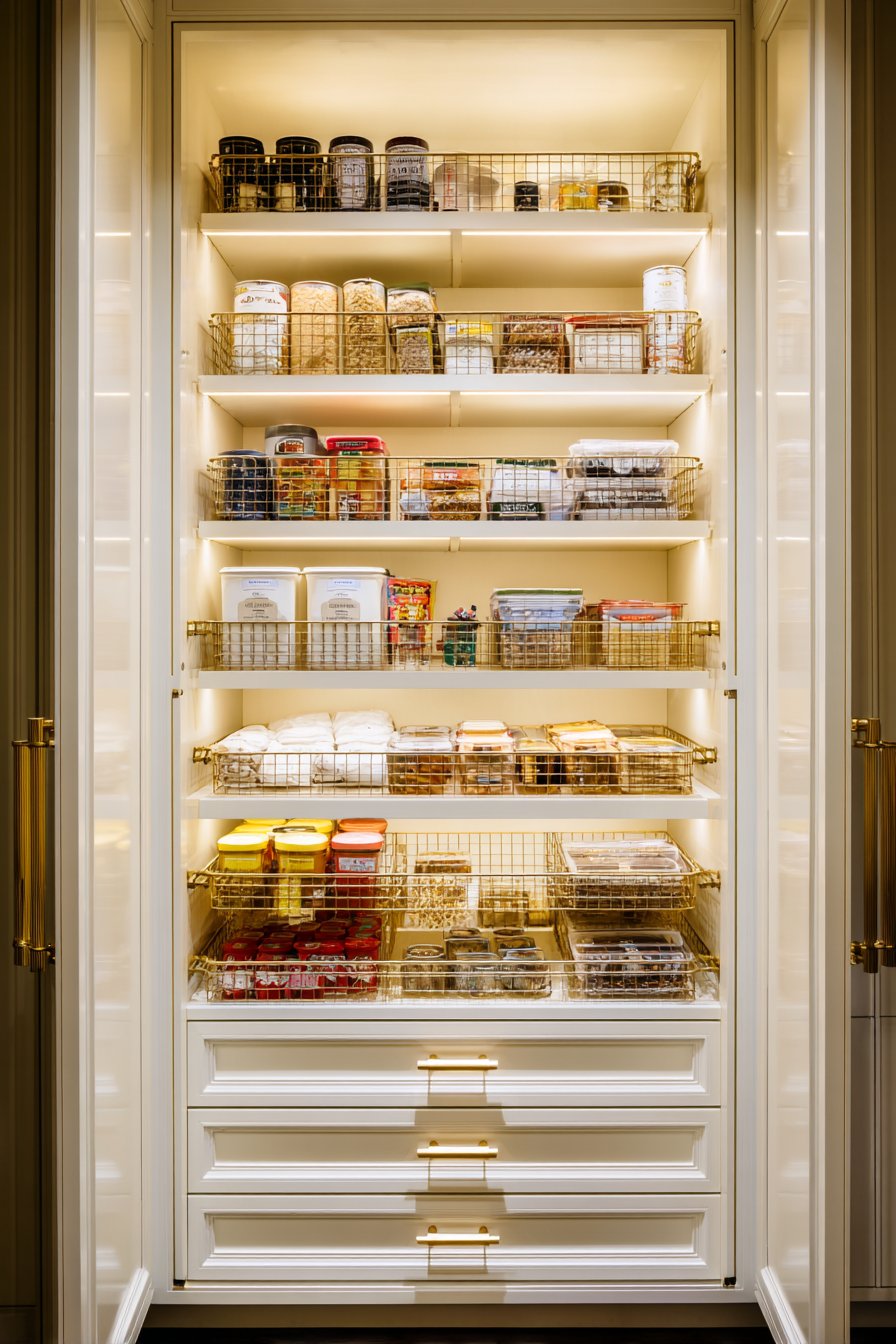
1. Install Adjustable Shelving Systems
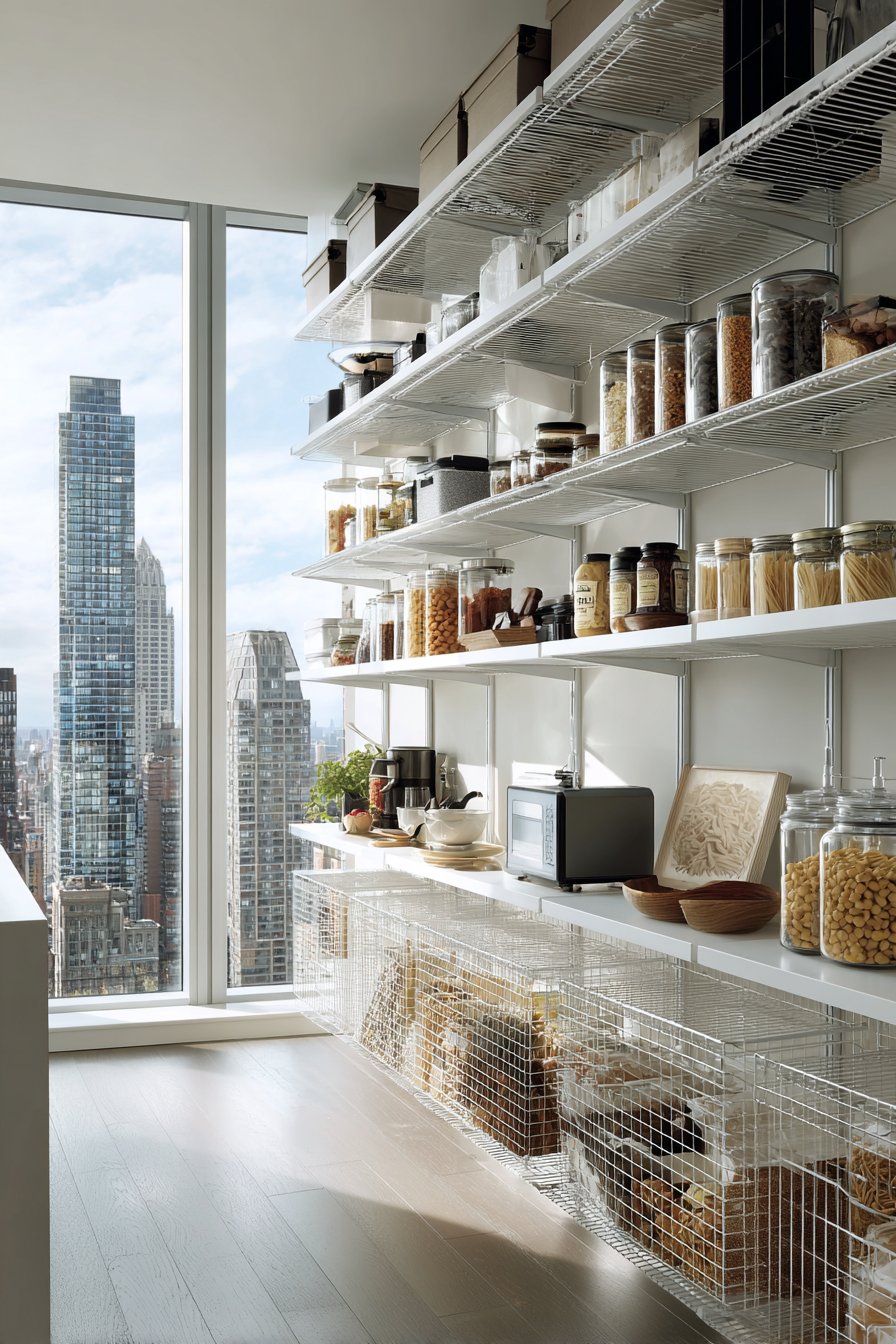
Fixed shelving often creates wasted space between shelves, especially when storing items of varying heights. Adjustable shelving systems allow you to customize spacing based on your specific storage needs. This flexibility ensures that every inch of vertical space works efficiently for your pantry organization.
These systems typically feature metal tracks mounted to walls with movable brackets that support shelves. You can reposition shelves as your storage needs change throughout the year. For example, raise shelves during holiday baking season to accommodate taller containers, then lower them for everyday items.
The beauty of adjustable shelving lies in its adaptability to growth. As your family’s needs evolve or you acquire different storage containers, simply move the shelves. This prevents the common problem of items stacking awkwardly or leaving unusable gaps between shelves.
- Choose systems rated for at least 50 pounds per shelf for durability
- Measure your tallest pantry items before installation to plan spacing
- Install tracks into wall studs for maximum stability and safety
- Start with shelves 12-16 inches apart and adjust as needed
- Consider wire shelving for improved visibility and air circulation
- Leave bottom shelf at least 10 inches high for bulk item storage
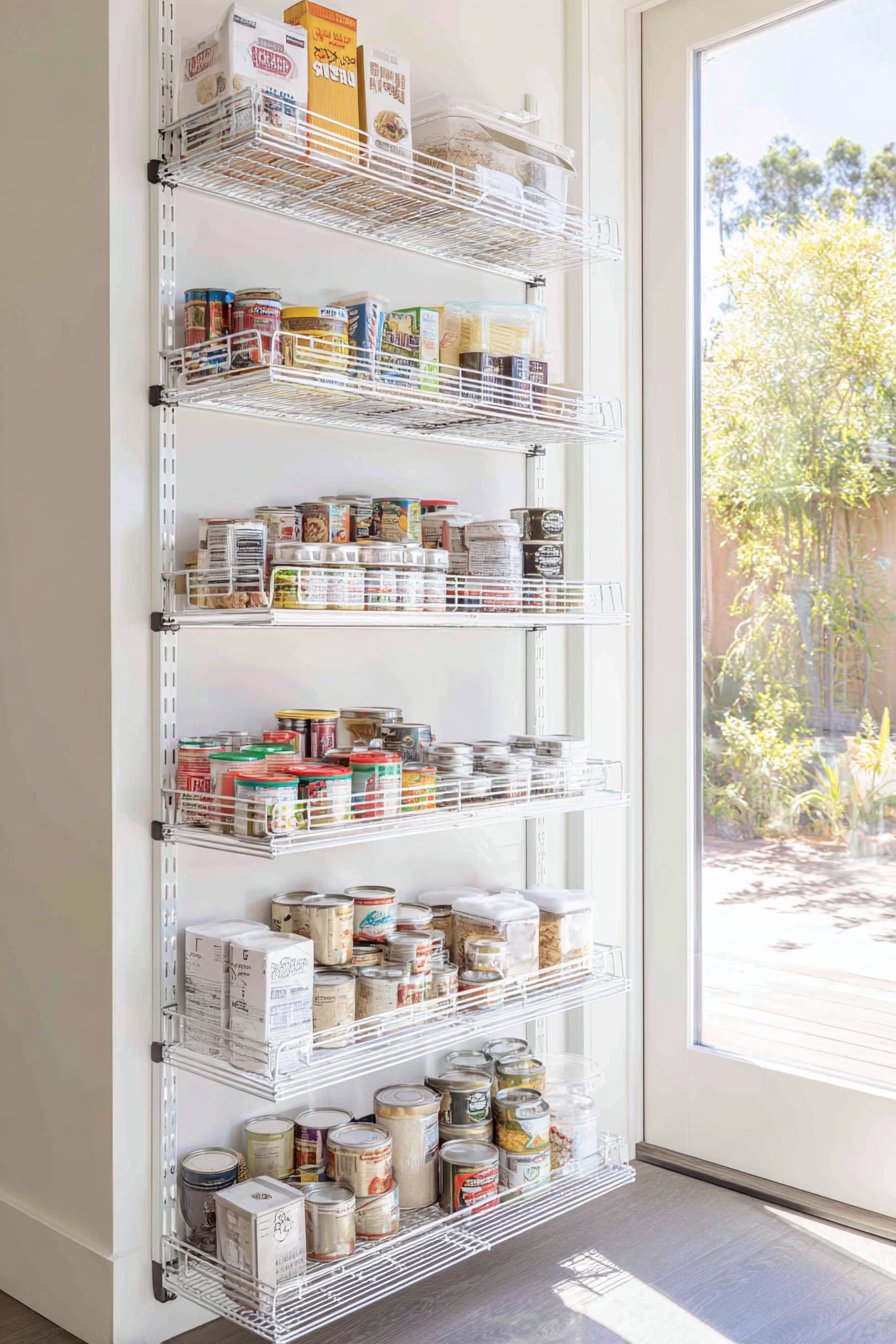
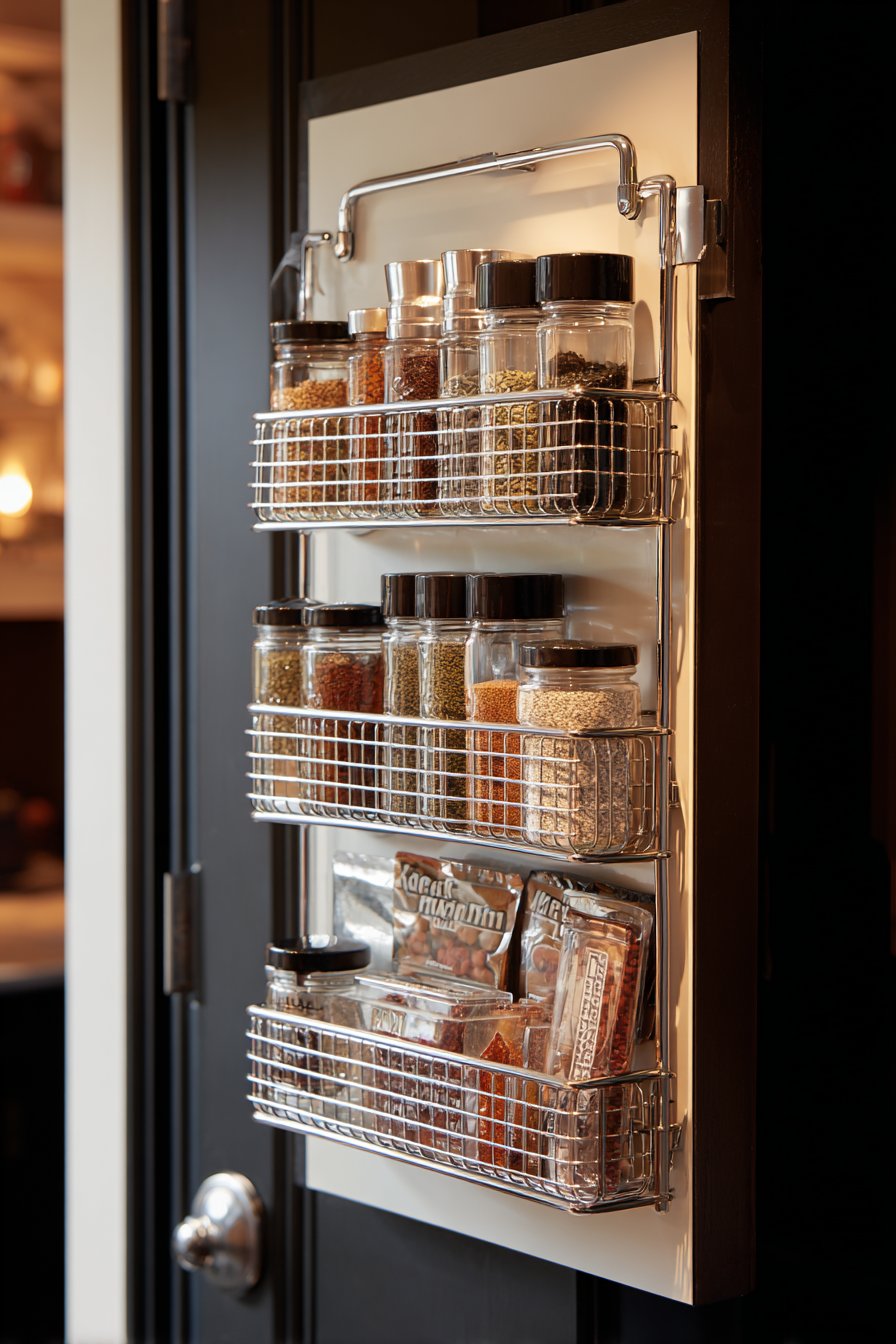
2. Maximize Door Storage with Over-the-Door Organizers
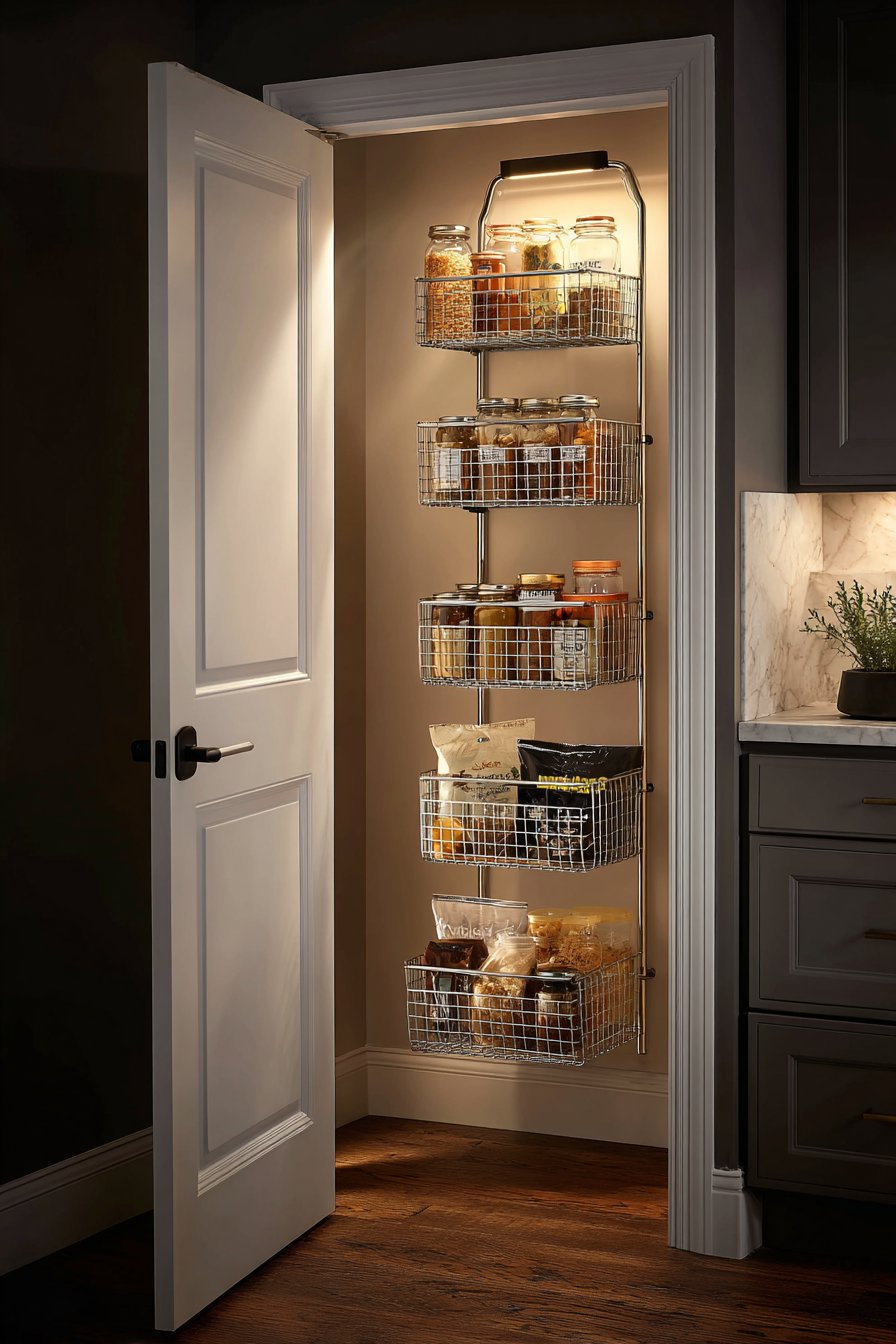
Pantry doors represent prime real estate that most people completely ignore for storage purposes. Over-the-door organizers add significant capacity without requiring any permanent installation or wall damage. These versatile solutions work perfectly for frequently used items that need quick access.
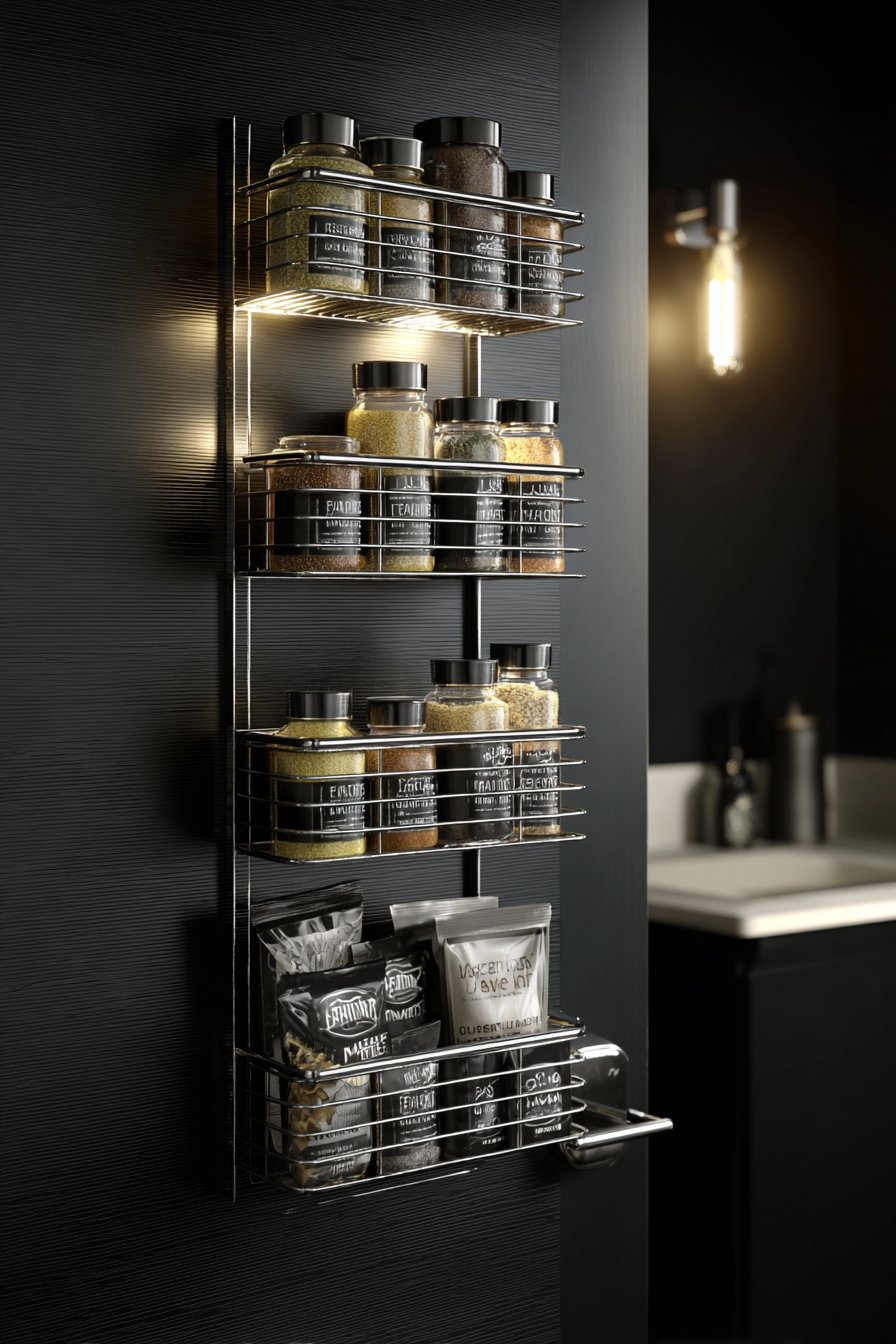
The best door organizers feature multiple pocket depths to accommodate everything from spice jars to cleaning supplies. Metal basket versions provide better visibility than fabric pockets and support heavier items. Position the most frequently accessed items at eye level for maximum convenience and efficiency.
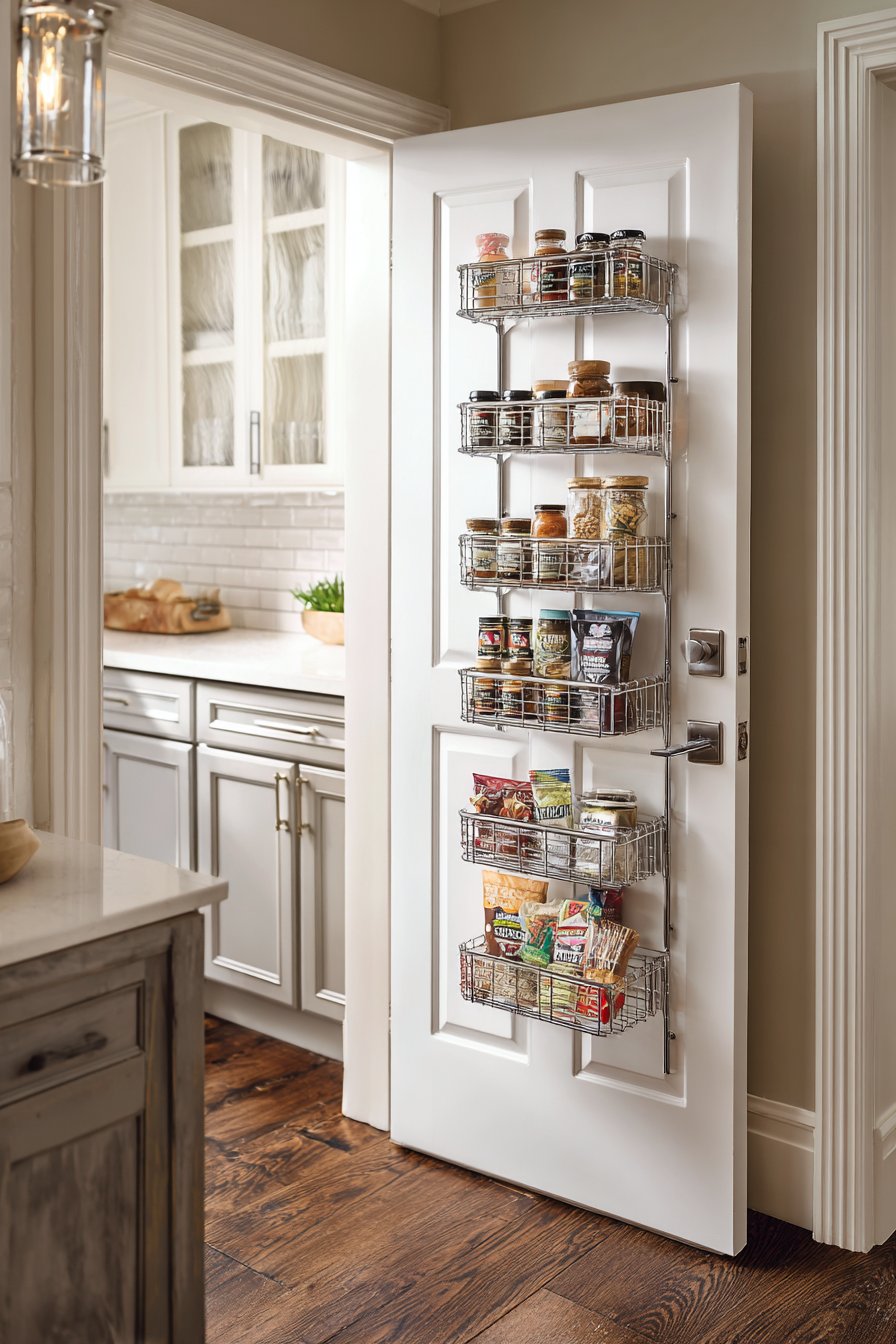
Door storage works exceptionally well for flat items and small containers that get lost on deep shelves. Store packets, seasoning mixes, snack bars, and kitchen tools where they remain visible and accessible. This strategy alone can free up 20-30% of your shelf space for larger items.
- Measure door clearance before purchasing to ensure proper fit
- Choose organizers with adjustable or removable baskets for flexibility
- Reserve top pockets for lightweight items only to prevent tipping
- Use clear or wire baskets to see contents at a glance
- Install felt pads between organizer and door to prevent scratches
- Avoid overloading door organizers which can damage hinges over time
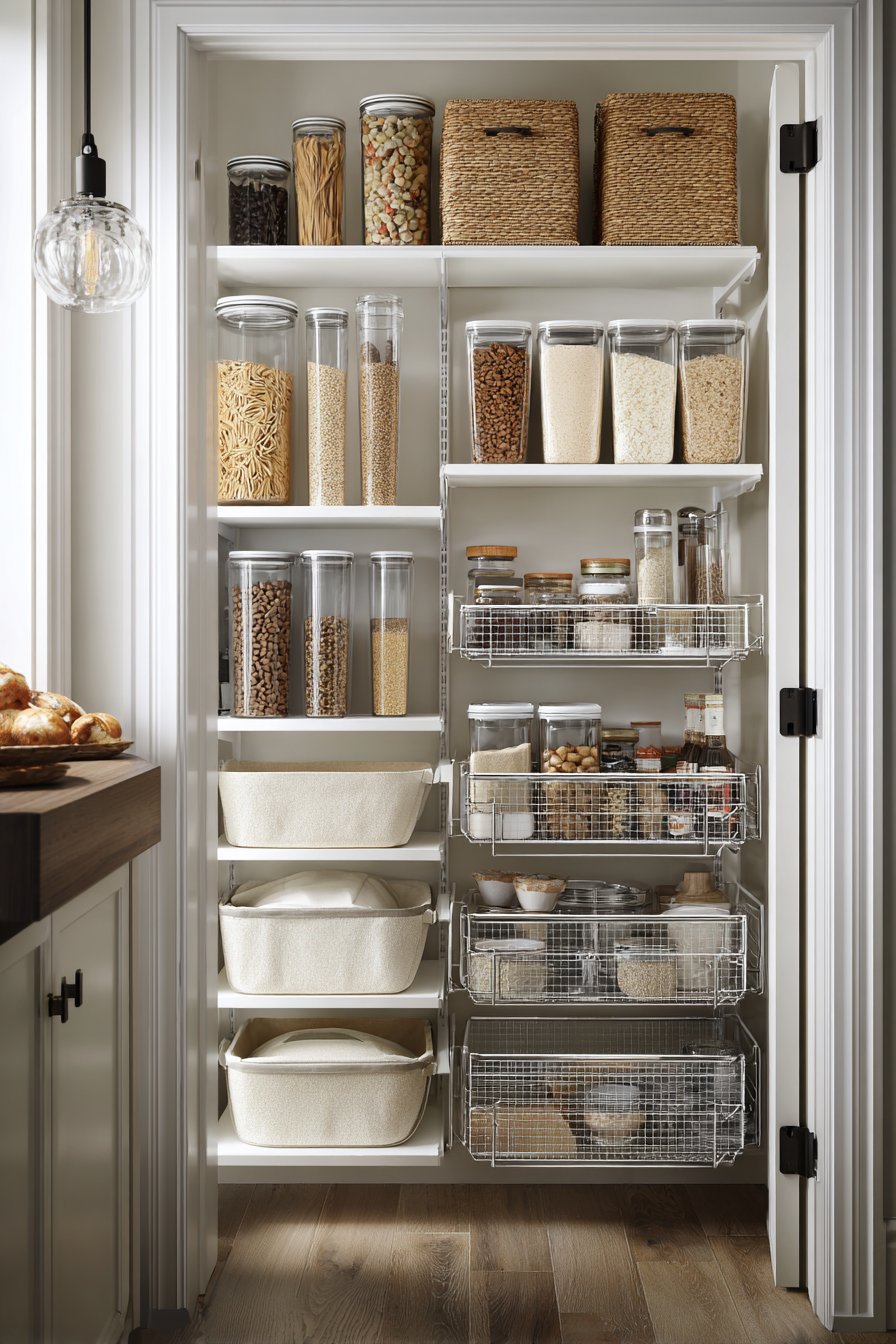
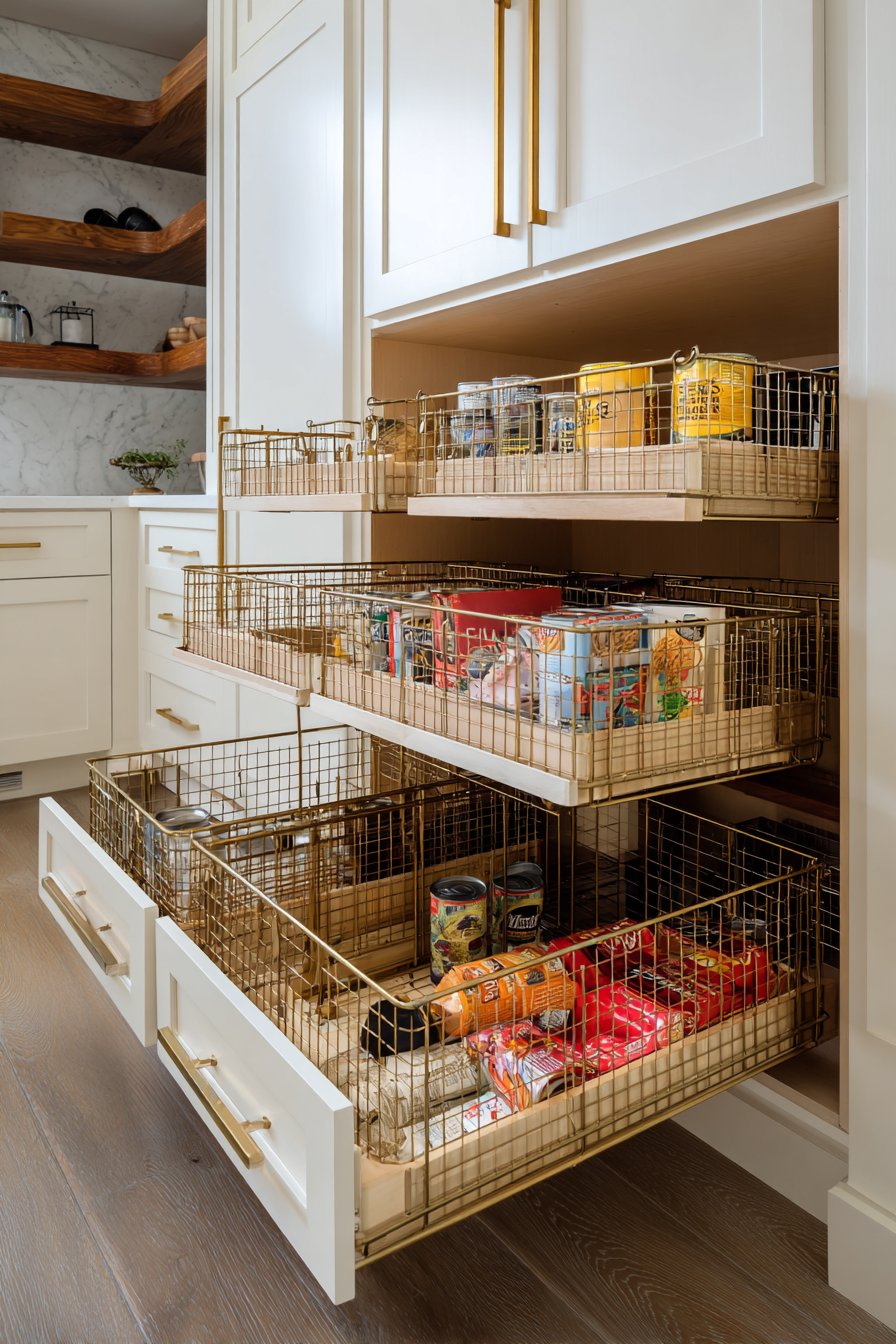
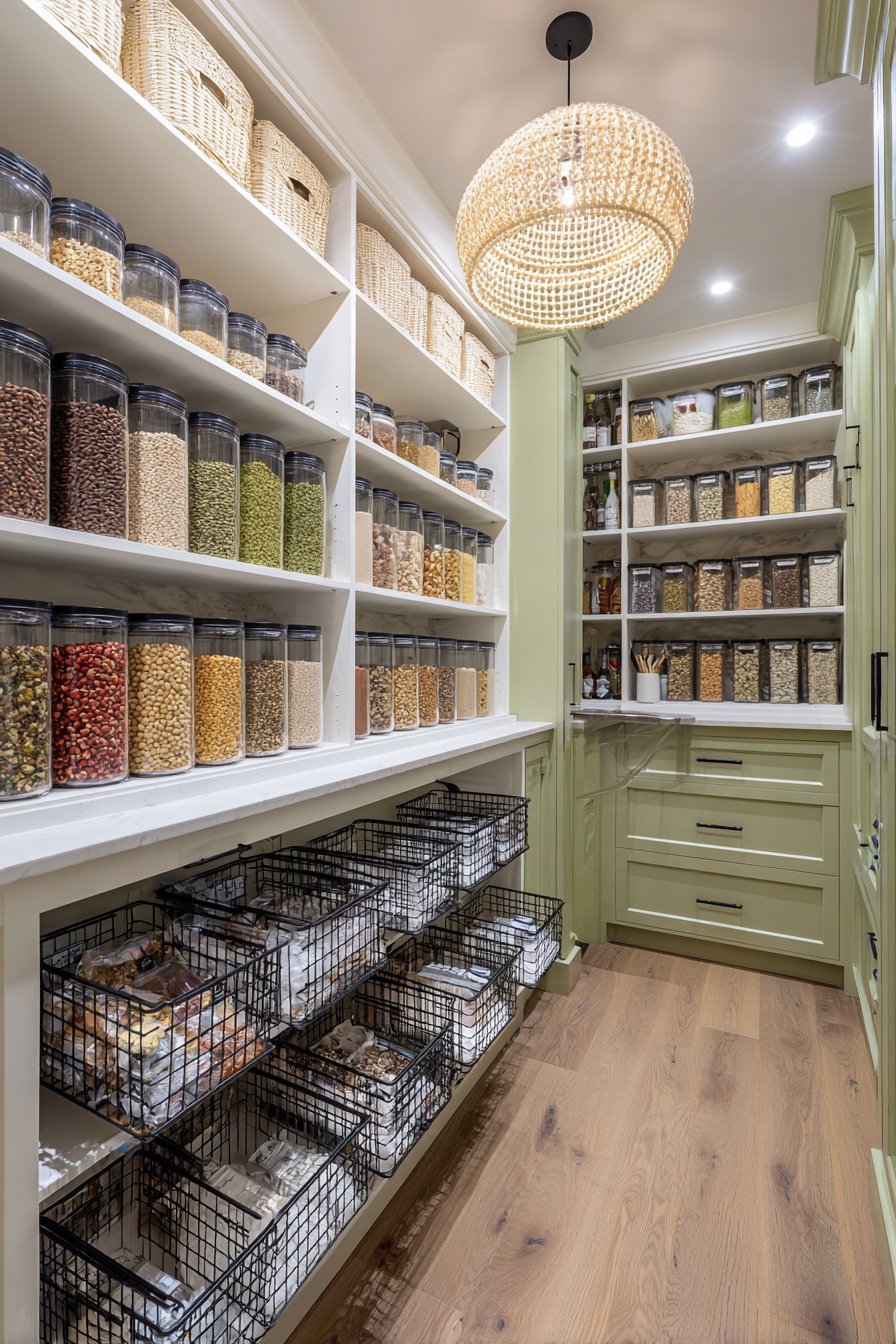
3. Implement Pull-Out Drawers and Sliding Baskets
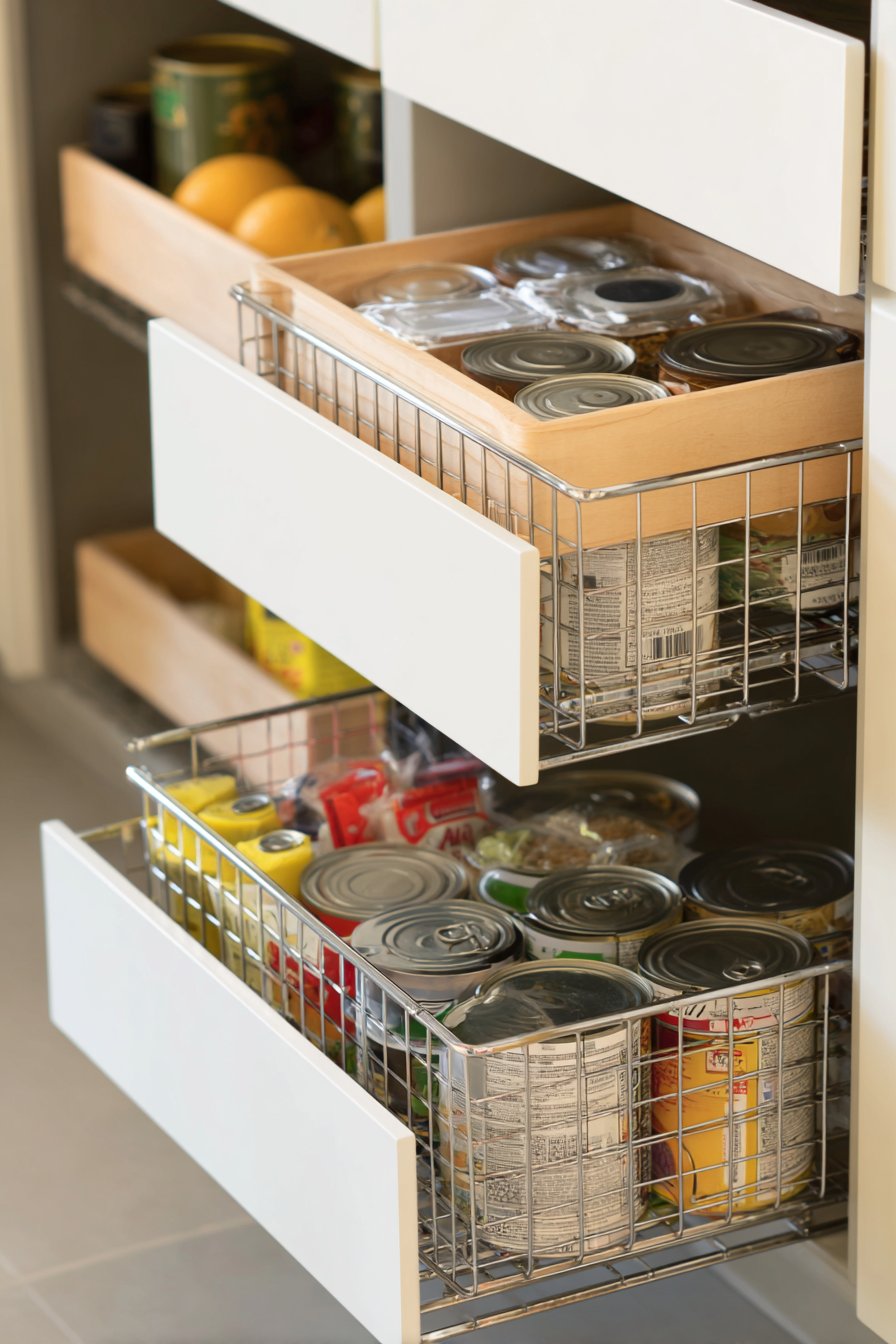
Reaching into deep pantry shelves creates frustration and food waste as items get pushed to the back and forgotten. Pull-out drawers and sliding basket systems bring everything forward with one simple motion. This solution transforms inaccessible deep spaces into highly functional storage areas.
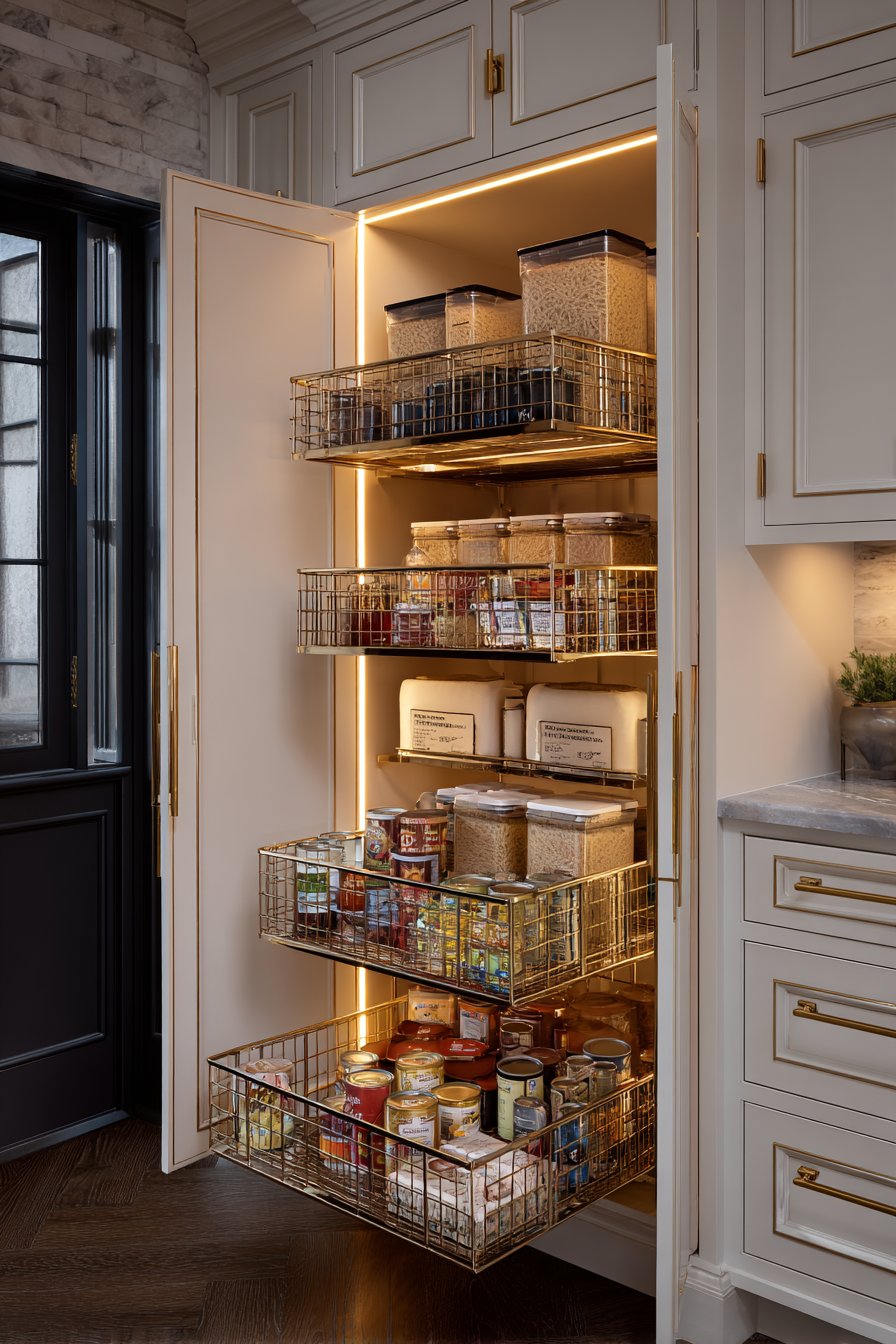
These systems install on existing shelves using simple mounting hardware that requires minimal DIY skills. Wire baskets work beautifully for canned goods and packages, while solid drawers suit bulk items and baking supplies. The ability to see and reach every item prevents duplicate purchases and reduces expired food waste.
Consider installing pull-outs at lower levels first where bending and reaching prove most difficult. This placement makes pantries more accessible for children and adults with mobility concerns. The investment in quality sliding mechanisms pays dividends in daily convenience and organization.
- Measure shelf depth and width carefully before ordering pull-out systems
- Choose full-extension slides that pull completely out for total access
- Install heavier-duty slides for shelves storing canned goods or bottles
- Label the front of each basket for quick identification of contents
- Group similar items together in each pull-out for logical organization
- Clean slides periodically to maintain smooth operation and longevity
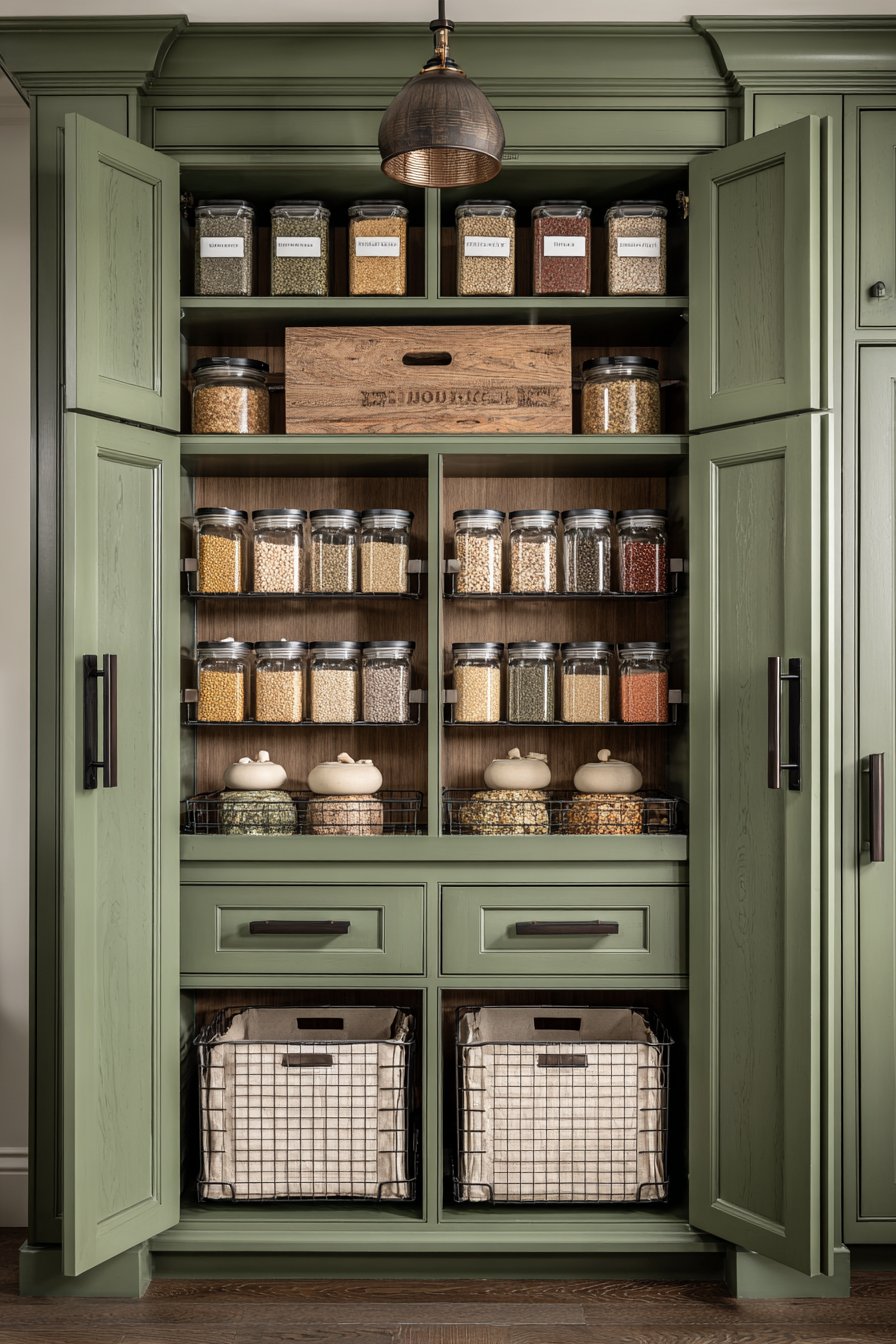
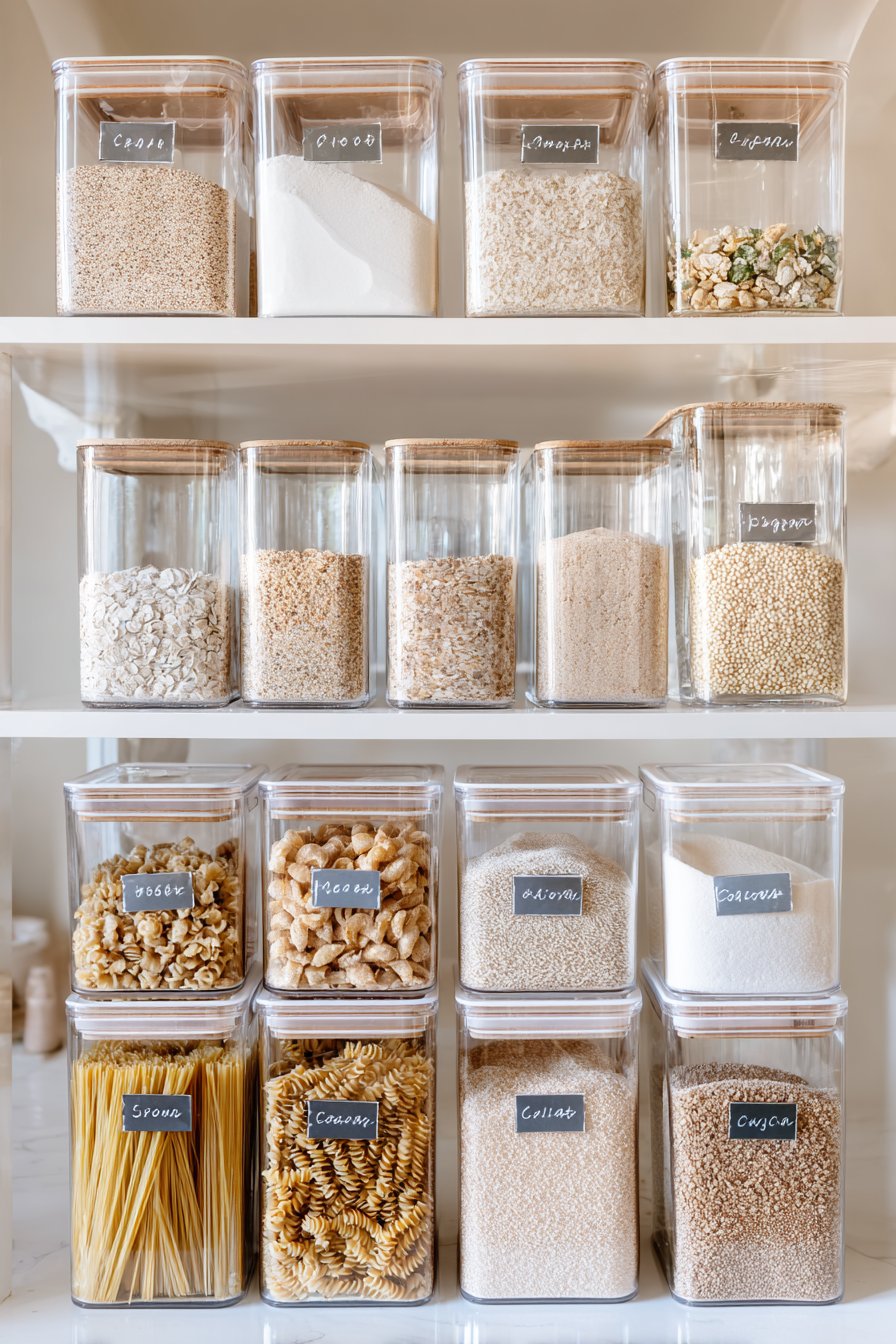
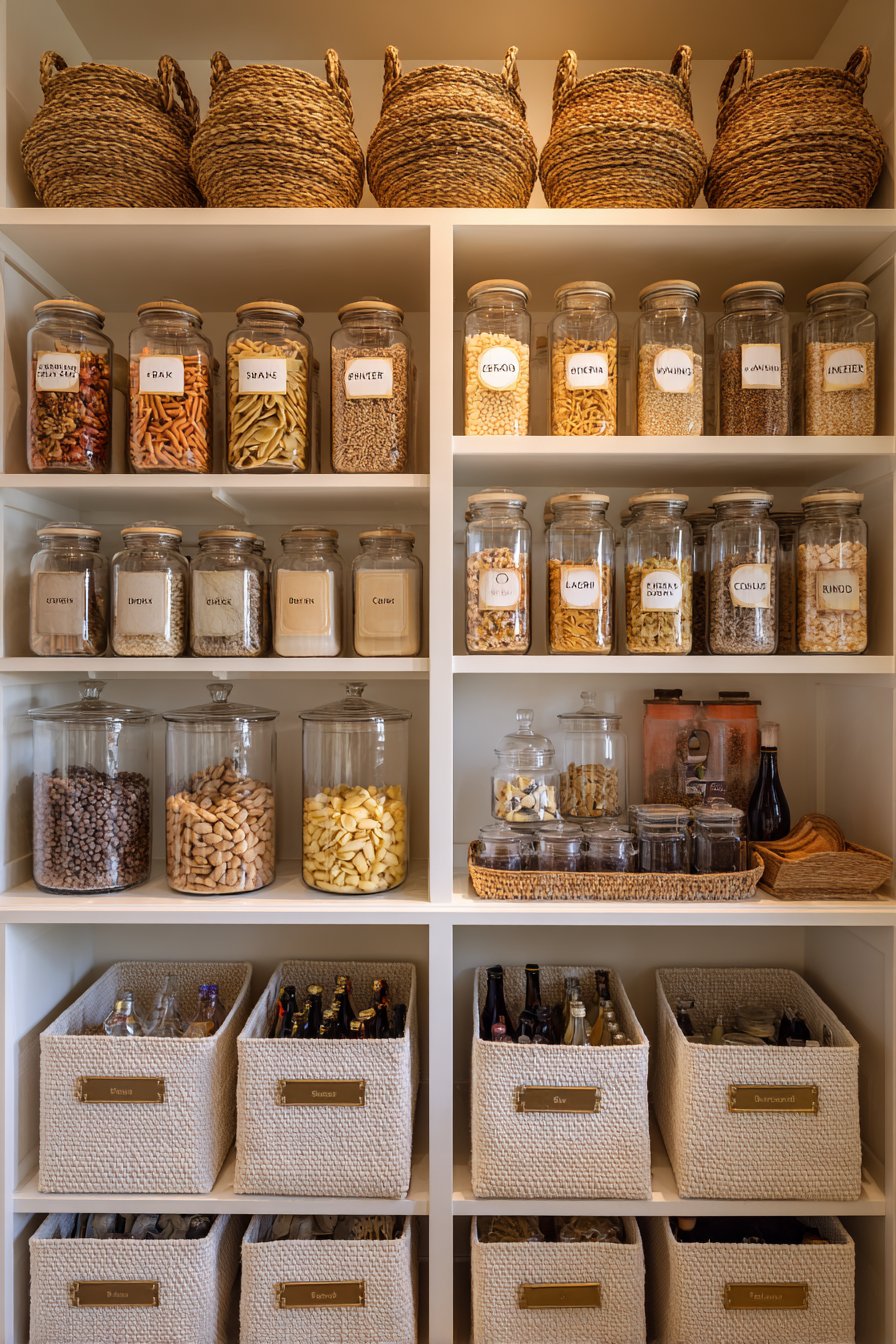
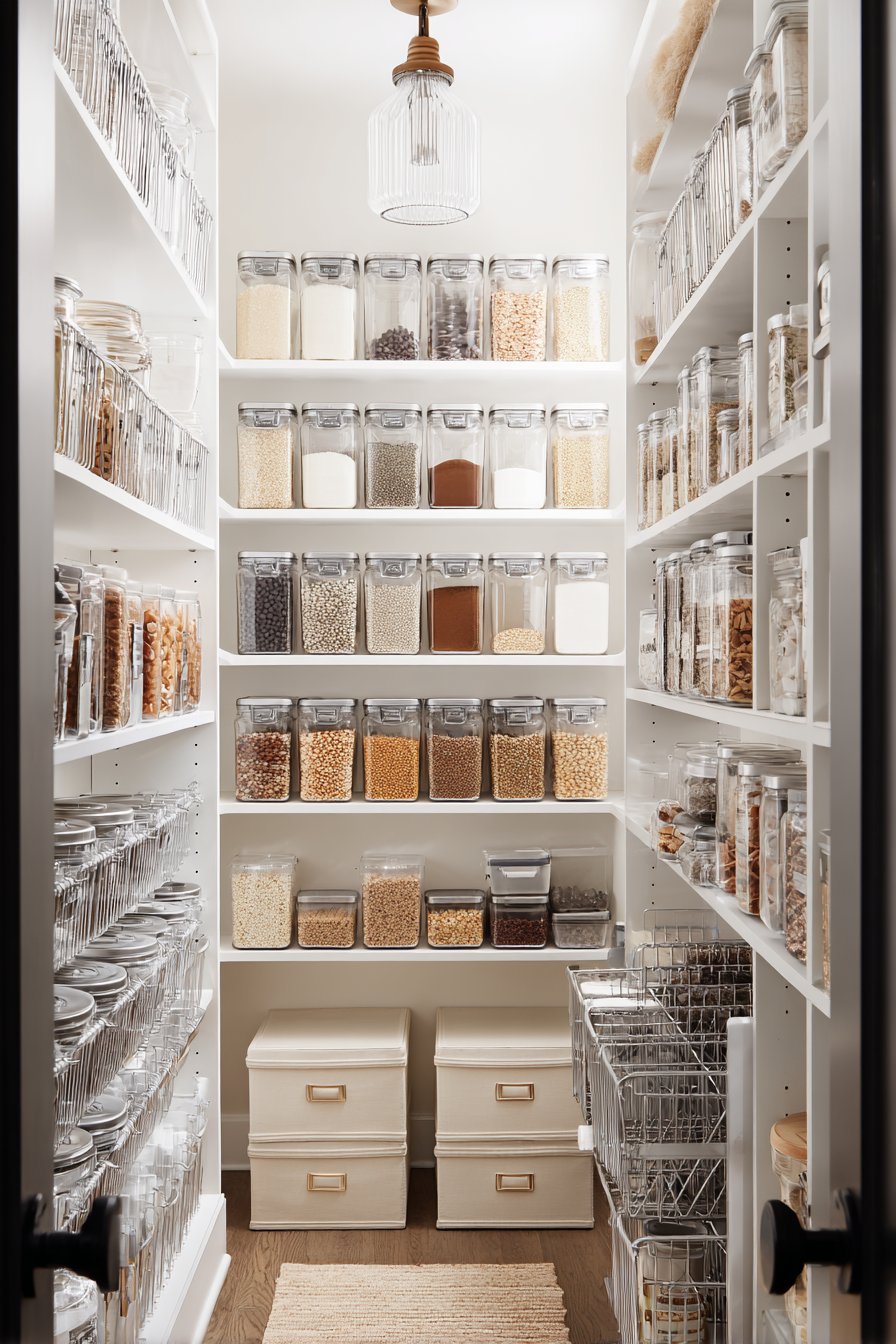
4. Use Stackable Clear Containers for Bulk Items
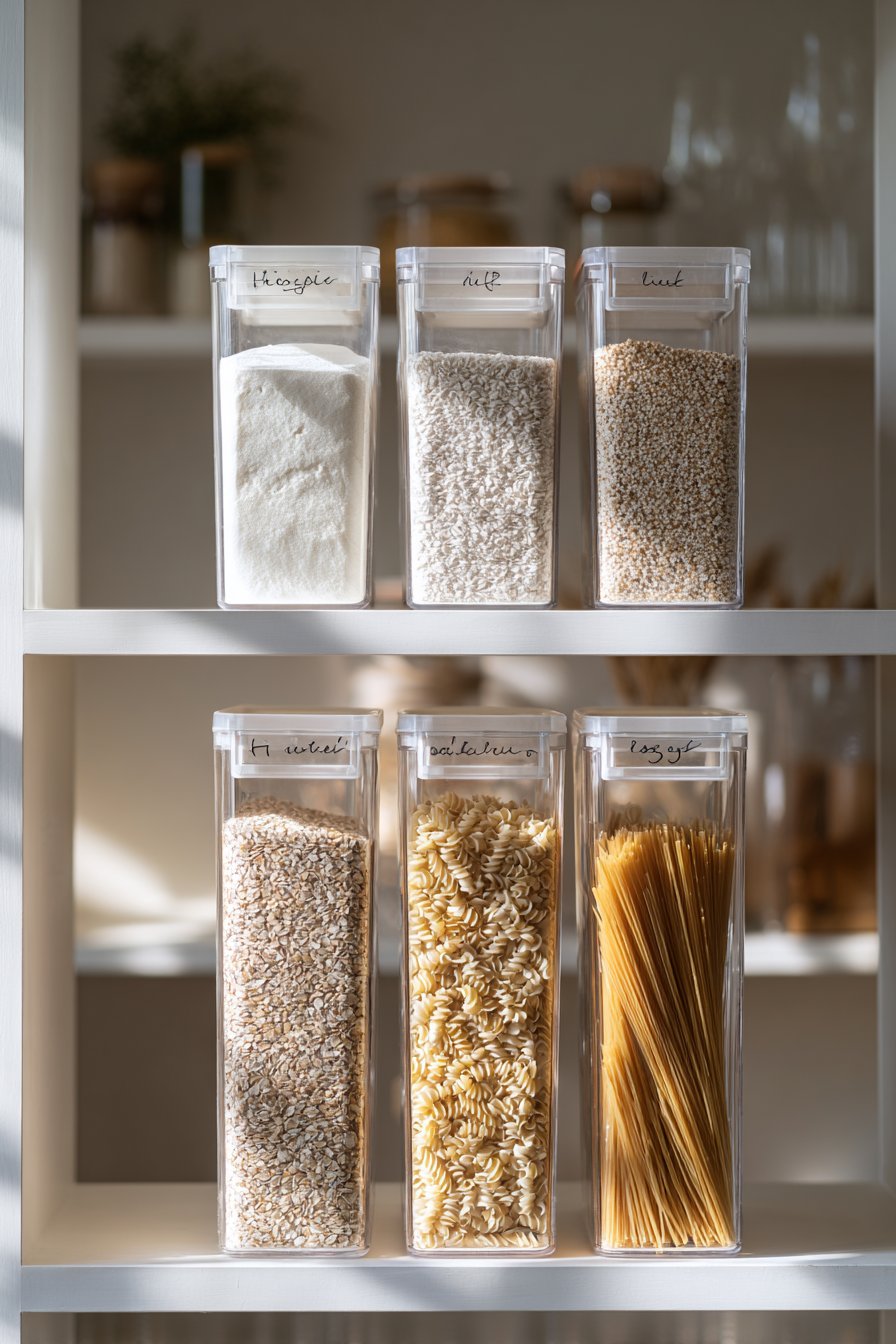
Cardboard boxes and original packaging create visual chaos and waste valuable space with awkward shapes. Transferring bulk items into stackable clear containers creates a uniform, organized appearance while protecting food freshness. This system makes inventory checks quick and prevents running out of essential ingredients.
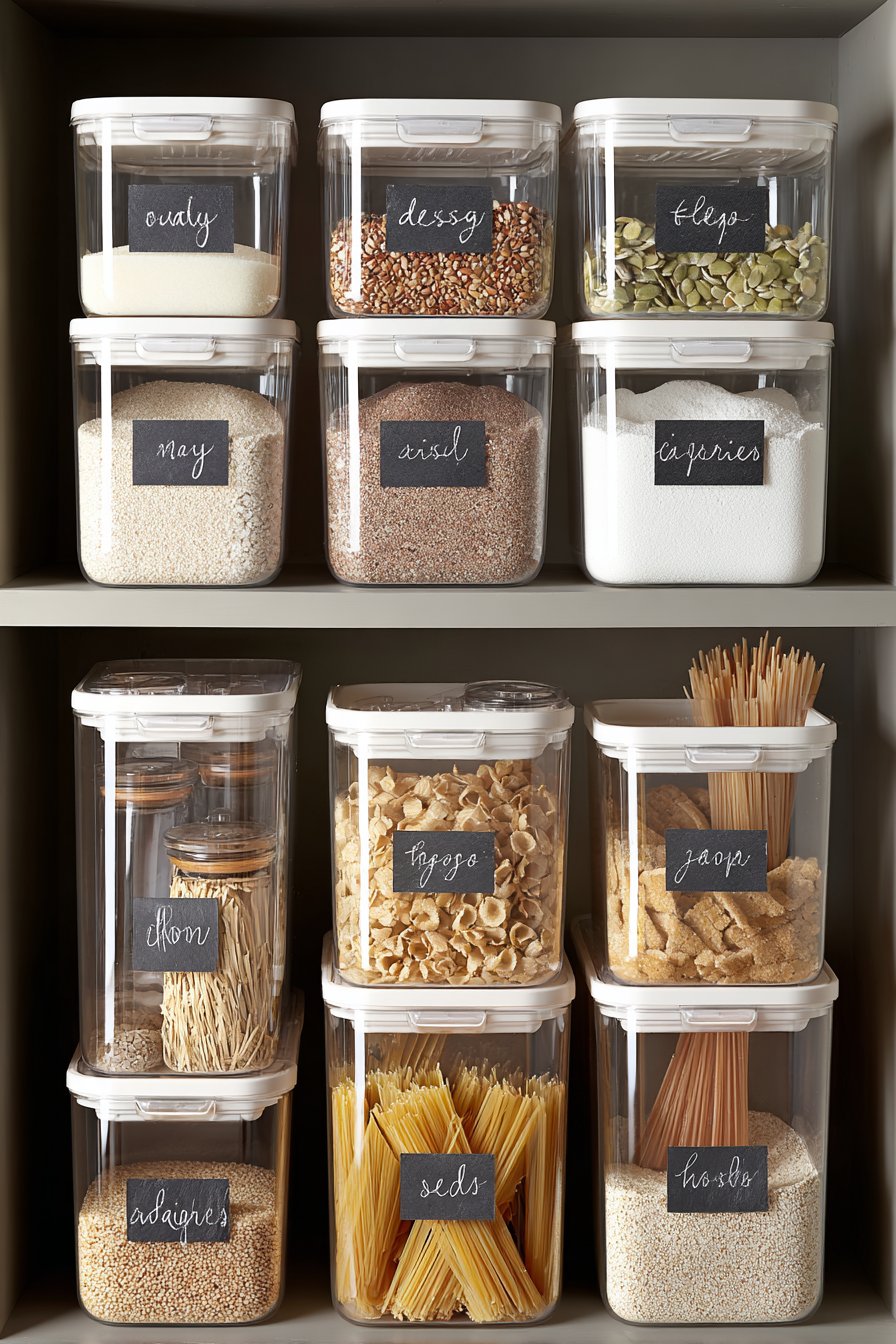
Square or rectangular containers maximize space efficiency compared to round ones that leave gaps between items. Choose containers with airtight seals for flour, sugar, rice, and other dry goods. Clear sides let you see exactly how much remains at a glance, eliminating guesswork when making shopping lists.
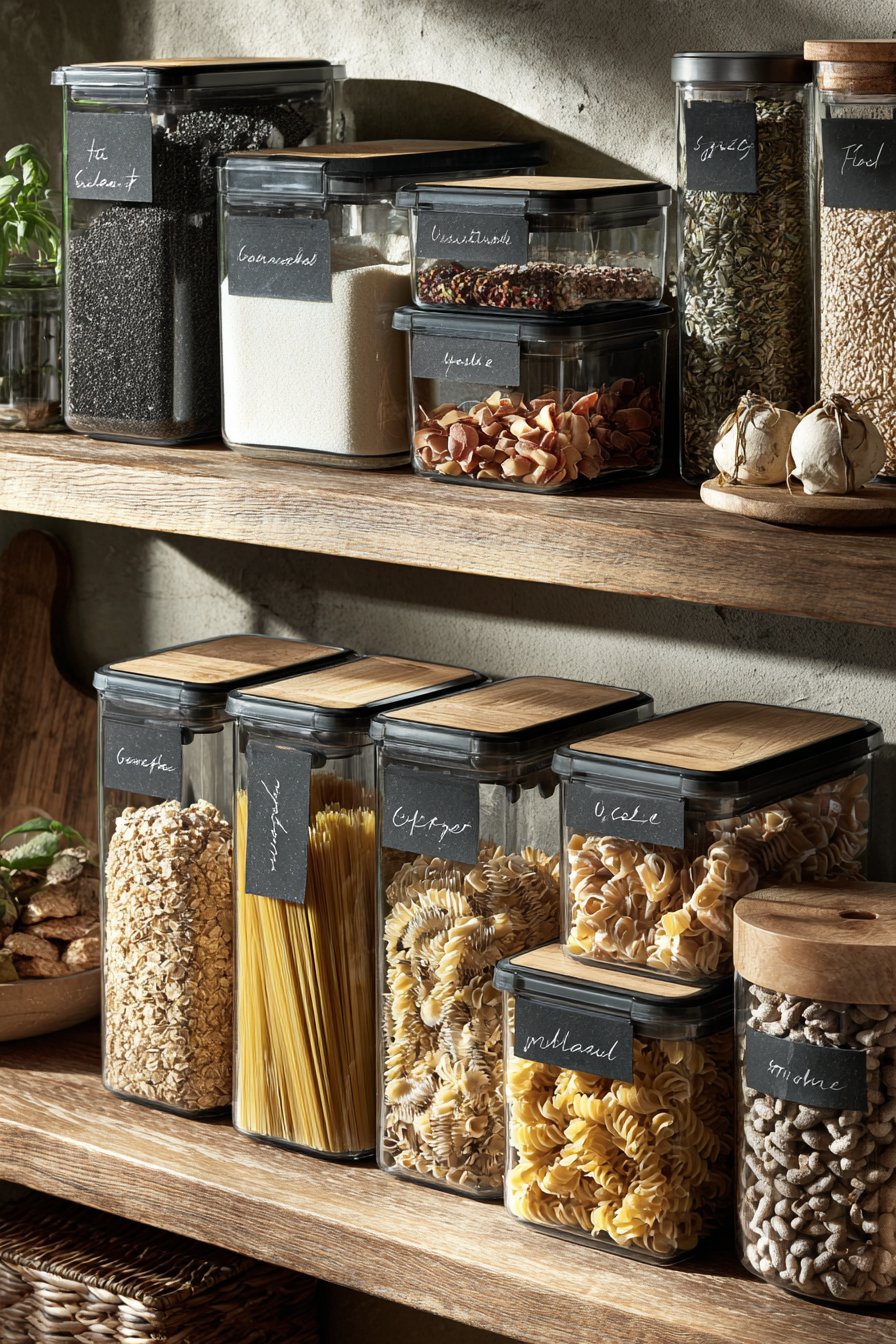
Invest in containers with modular sizing that stack securely without wasting vertical space between layers. Label each container with contents and refill dates using removable labels or markers. This professional approach transforms a cluttered pantry into an organized storage system worthy of magazine features.
- Buy containers in sets for uniform stacking and visual cohesion
- Measure shelf heights to ensure stacked containers fit properly
- Choose BPA-free food-grade plastic or glass for food safety
- Keep original packaging for cooking instructions and nutritional information
- Clean containers thoroughly before refilling to prevent contamination
- Store opened packages in smaller containers to save space and maintain freshness
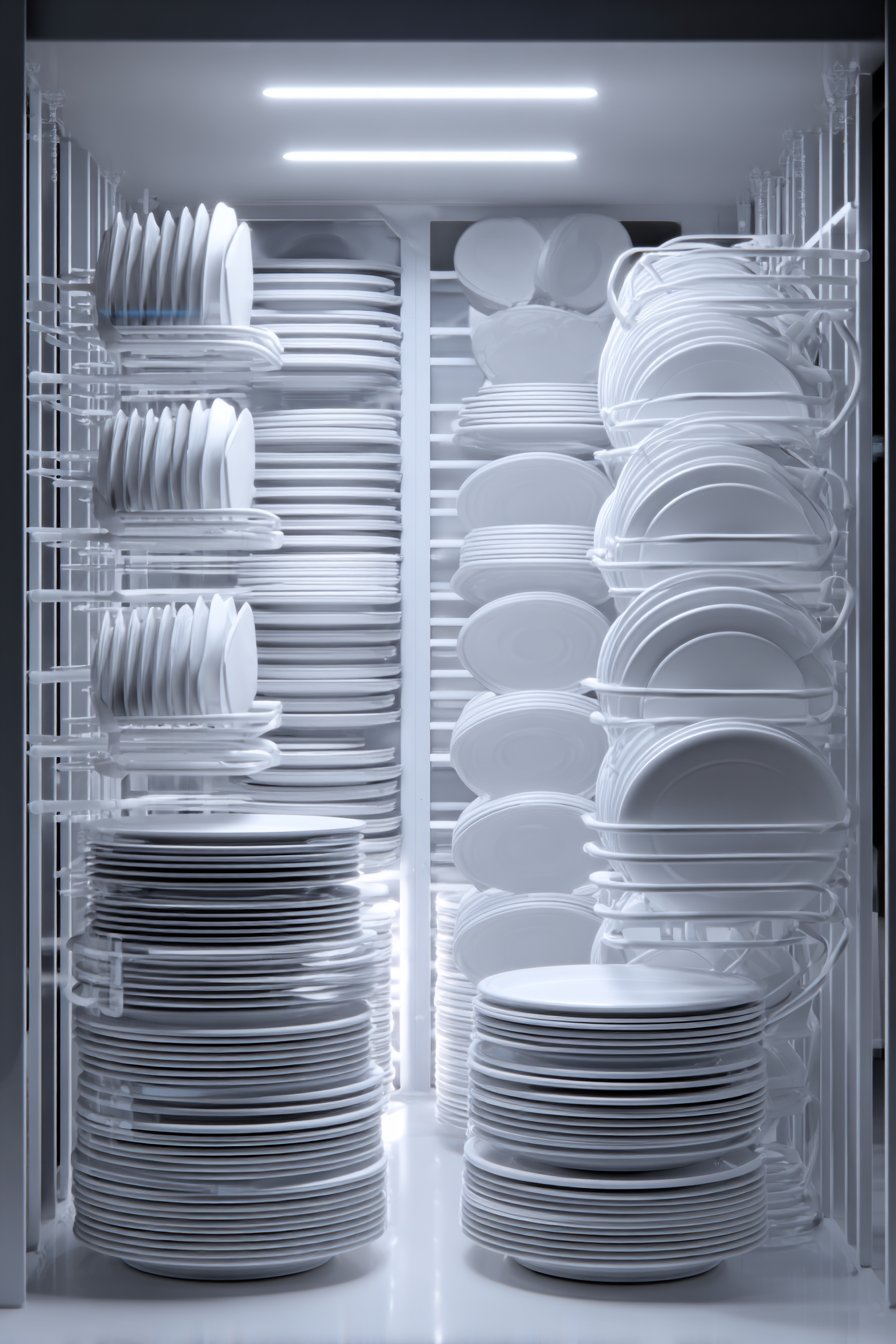
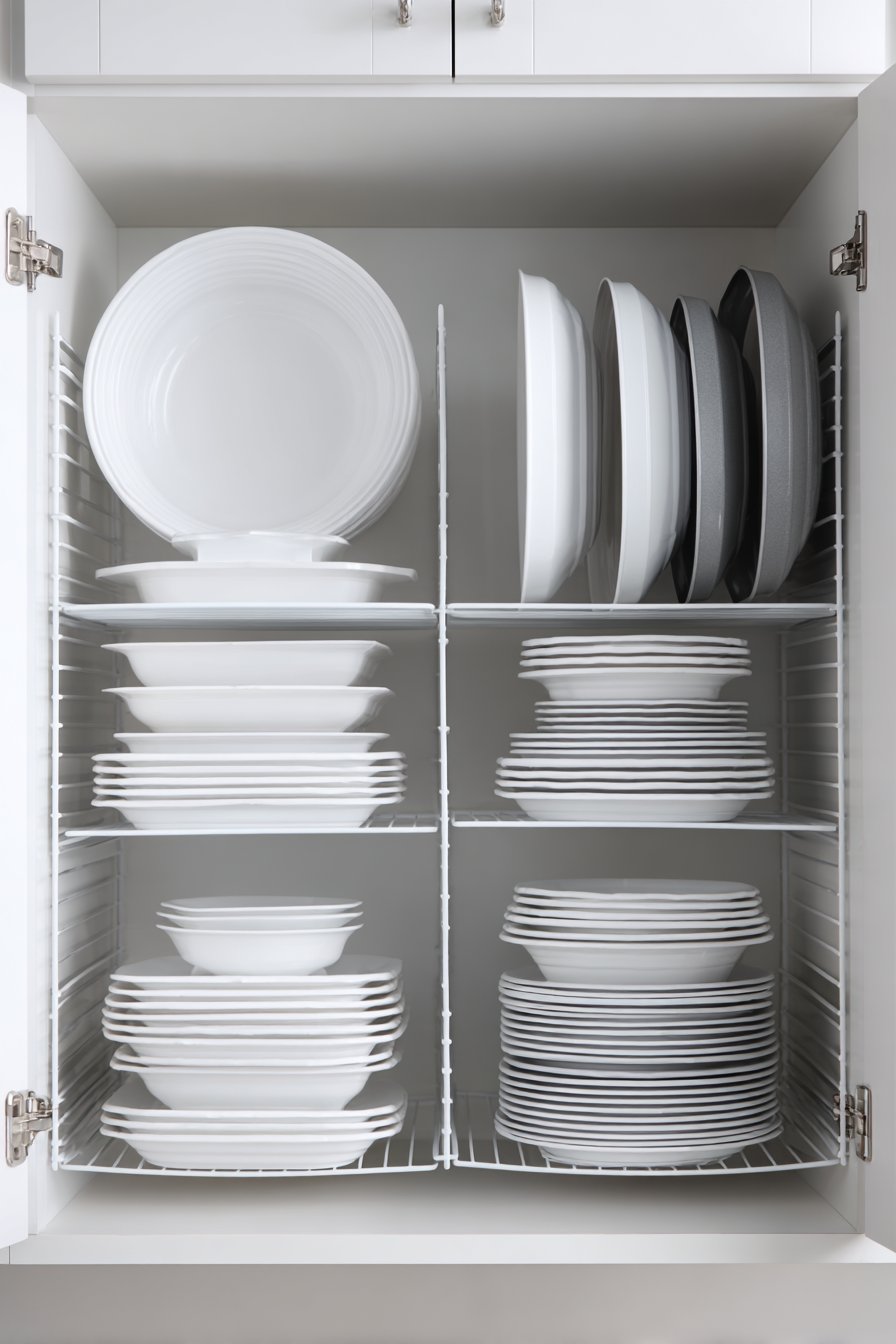
5. Add Tension Rods for Vertical Dividers
Horizontal storage of items like baking sheets, cutting boards, and platters wastes enormous space in small pantries. Tension rods installed vertically create dividers that allow upright storage of flat items. This simple trick can reclaim 50% of the space these items typically consume.
Install multiple tension rods spaced 2-3 inches apart to create slots for different sized items. This method works perfectly for pizza pans, cooling racks, pot lids, and serving trays. Items slide in and out easily while remaining visible and accessible unlike when stacked horizontally.
The beauty of tension rods lies in their flexibility and removability. Adjust spacing as your collection changes without leaving permanent holes or marks. This affordable solution costs under $20 but delivers professional-level organization that rivals expensive custom systems.
- Choose tension rods rated for appropriate weight capacity
- Install rods tightly to prevent slipping when removing items
- Position rods near the front of shelves for easier access
- Use wider spacing for thicker items like cutting boards
- Combine with hooks hung from rods for additional storage options
- Consider spring-loaded rods for easier installation and adjustment
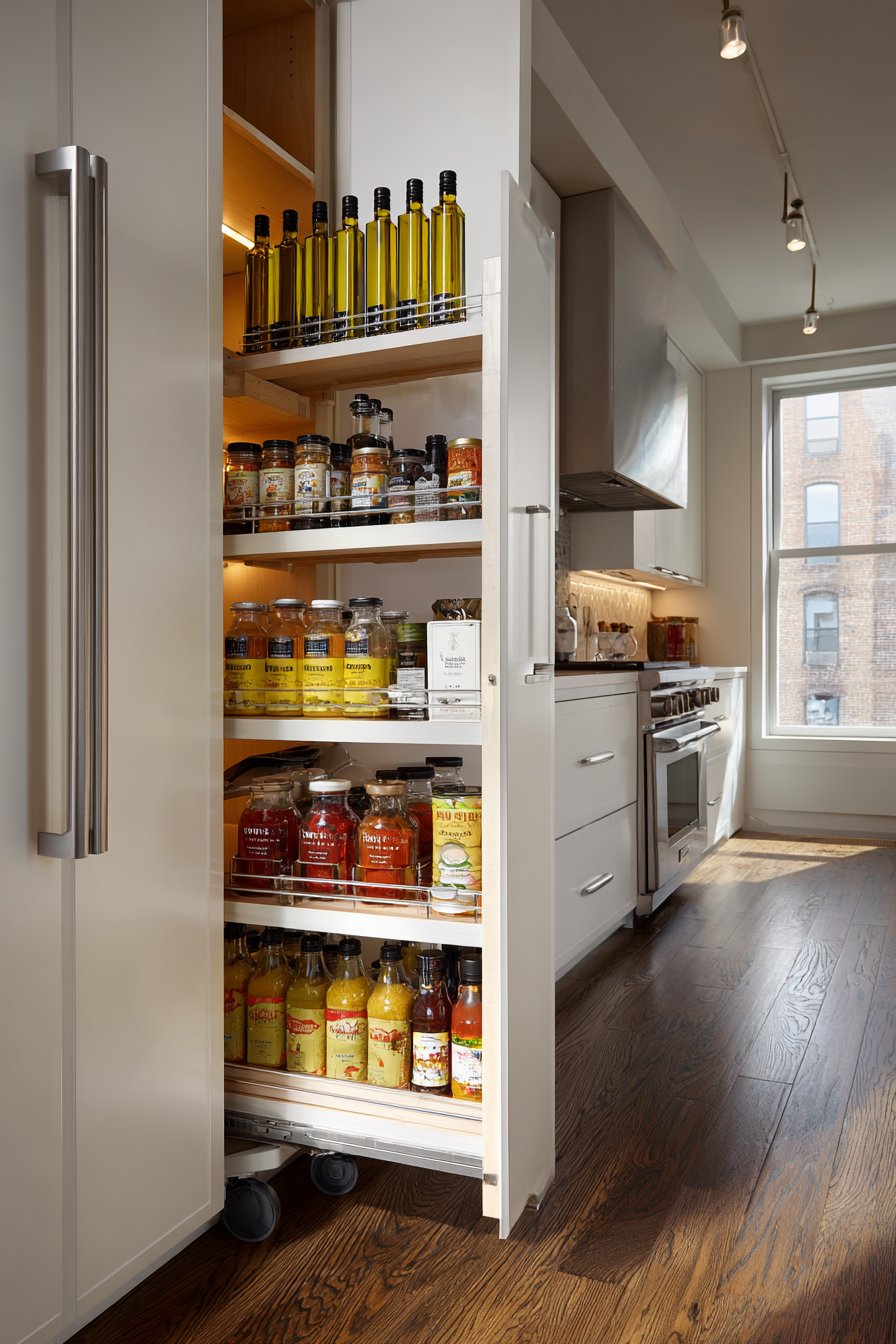
6. Install Narrow Slide-Out Units in Tight Spaces
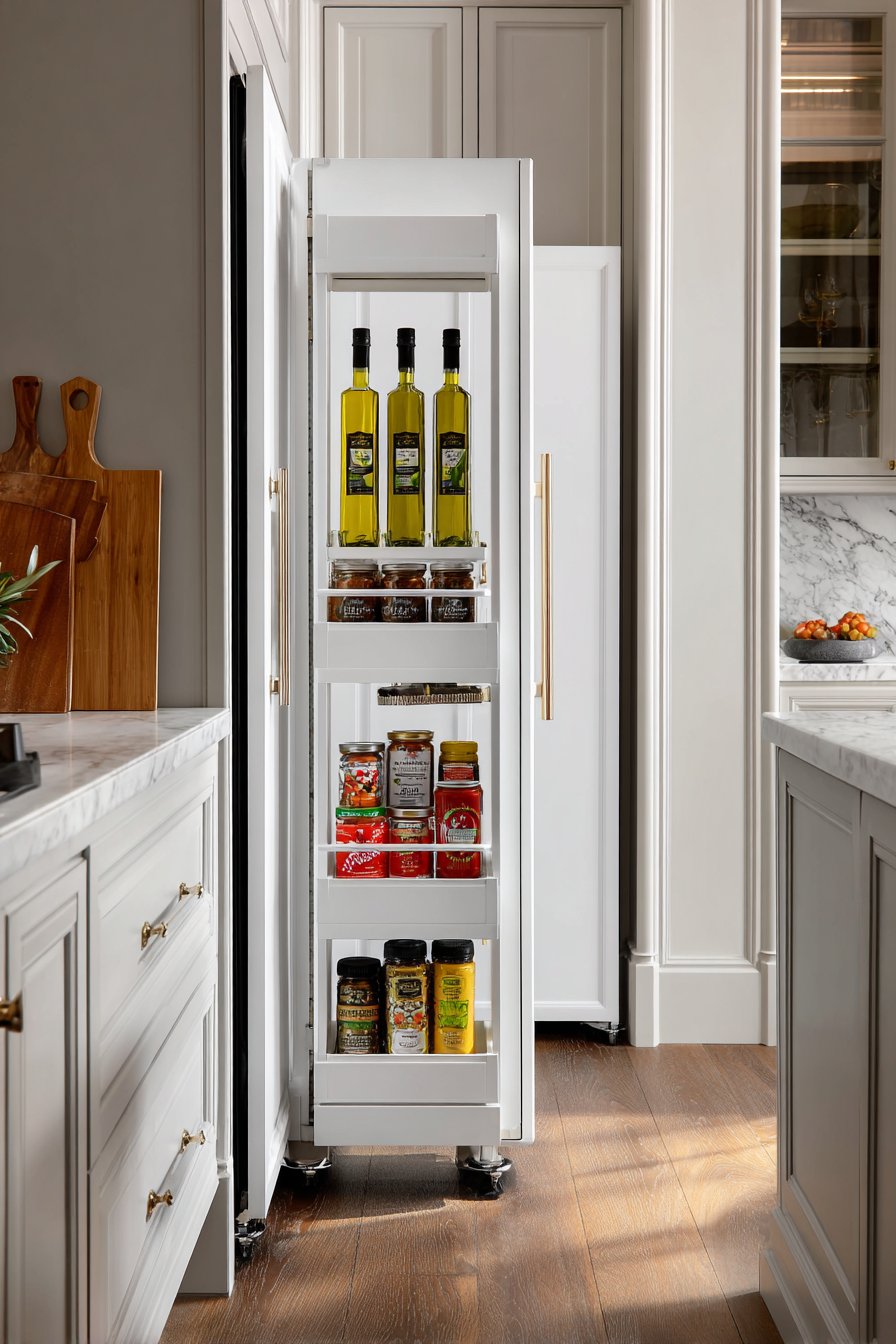
The gaps beside refrigerators or between appliances often measure only 3-6 inches wide but run floor to ceiling. Narrow slide-out pantry units designed specifically for these spaces add surprising storage capacity. These slim towers roll out on casters or slide on tracks to provide easy access.
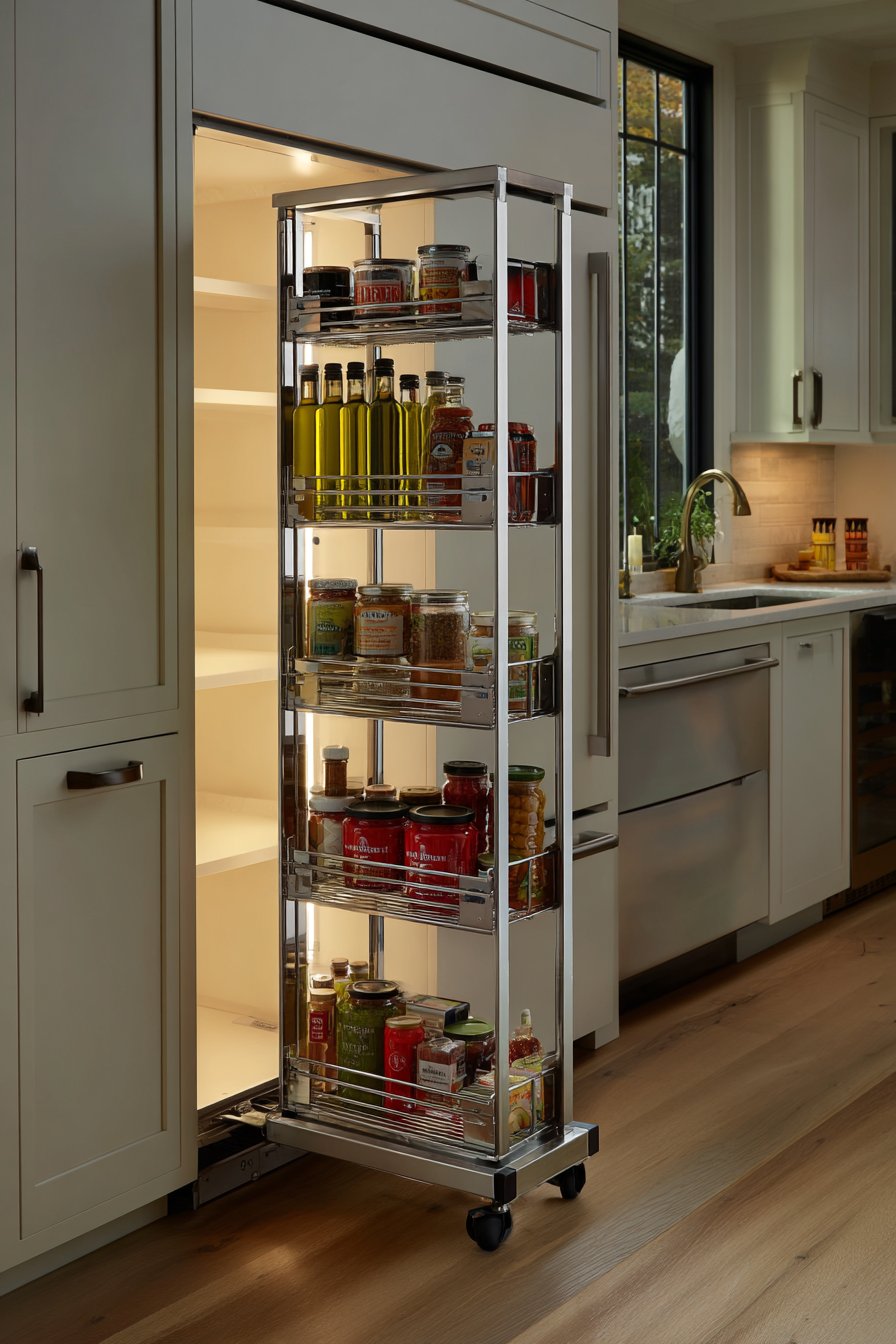
These units typically feature multiple shallow shelves perfect for storing canned goods, spices, oils, and condiments. The narrow width actually improves organization by preventing items from getting hidden behind others. Everything remains visible and accessible when the unit slides out completely.
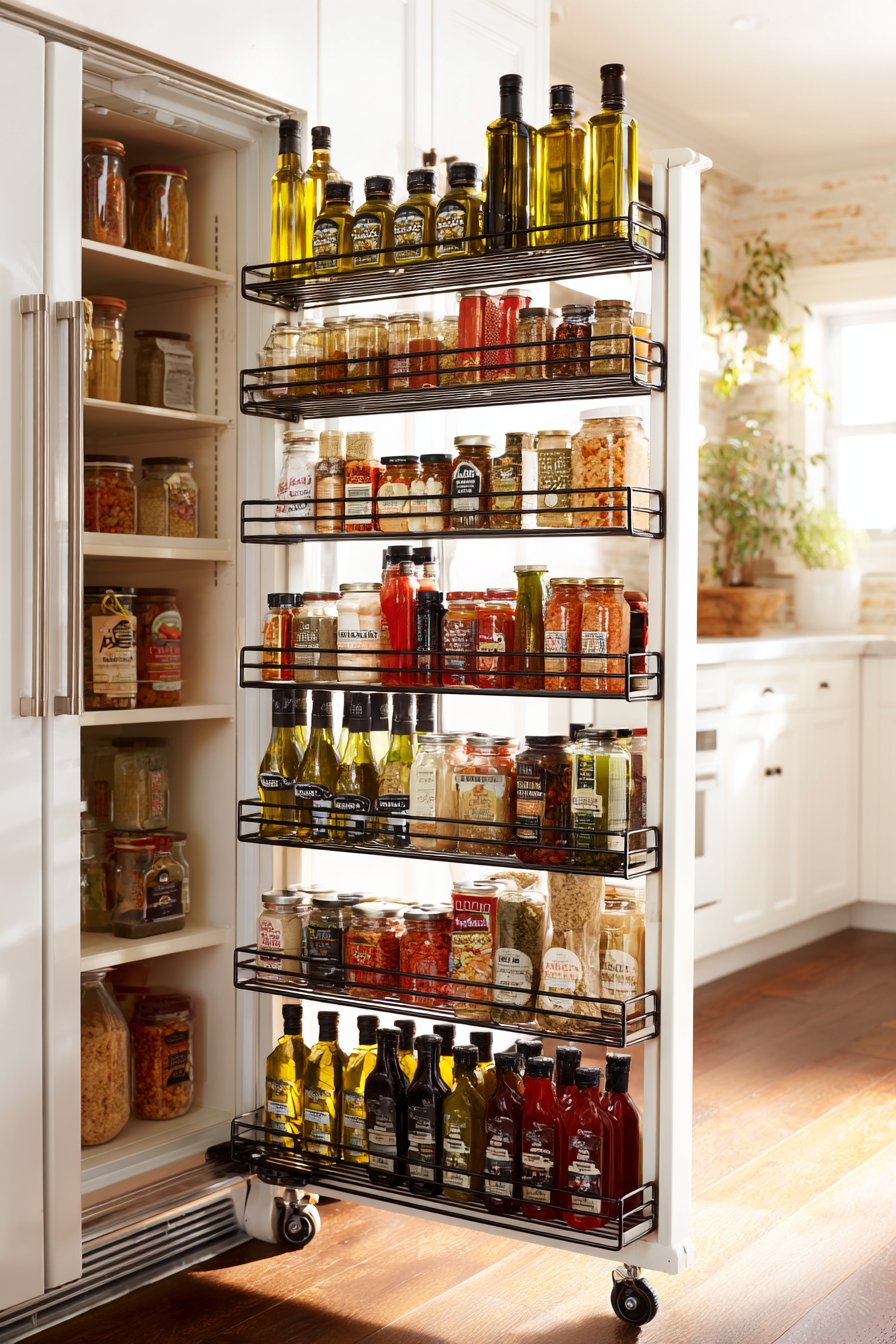
Installing a slide-out unit requires minimal modification to existing cabinetry or walls. Many units simply slide into the gap and can be removed when moving. This solution proves especially valuable in kitchens where every square inch of storage matters and traditional pantries don’t exist.
- Measure gap width at multiple points as walls may not be perfectly straight
- Choose units with locking wheels if installed on uneven floors
- Consider models with built-in handles for easier pulling and pushing
- Organize items by height with tallest bottles on bottom shelves
- Use small baskets within the unit for tiny items like seasoning packets
- Ensure the unit clears nearby appliances when fully extended
7. Create Zones with Shelf Dividers and Bins
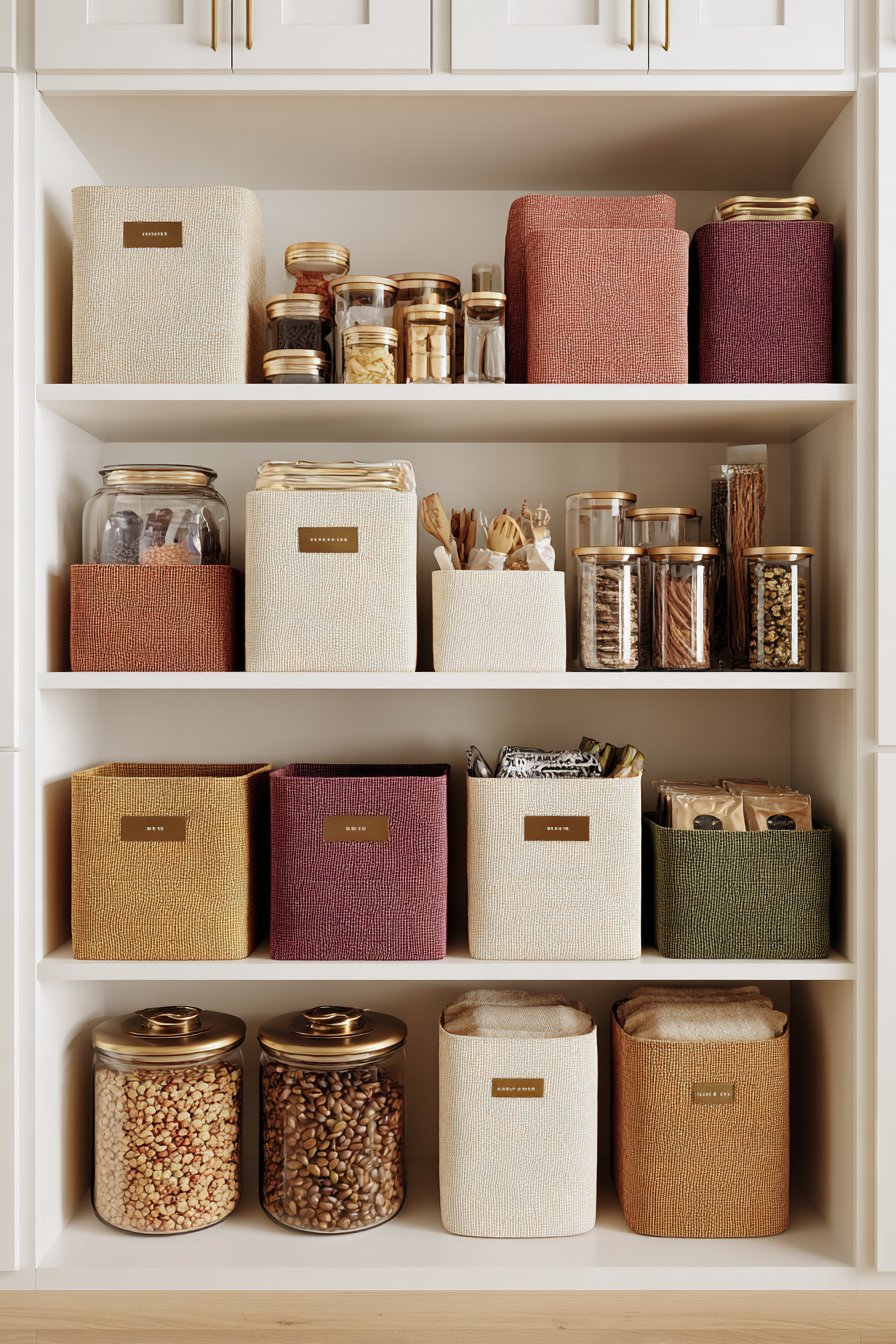
Random placement of items creates visual clutter and makes finding things unnecessarily difficult. Creating designated zones with shelf dividers and labeled bins brings order to chaos. This restaurant-inspired approach ensures everything has a specific home and returns to that location after use.
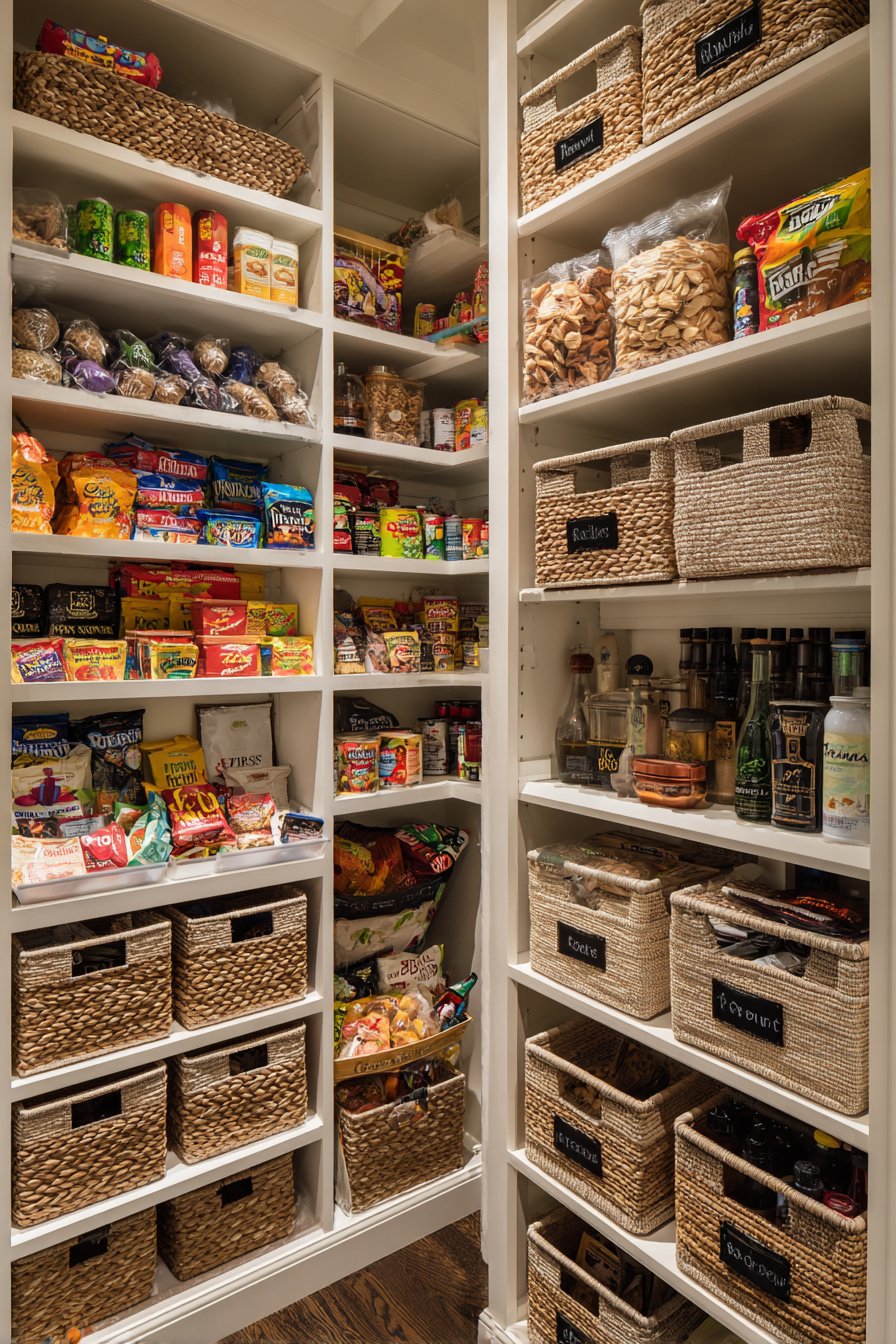
Divide your pantry into logical zones like breakfast items, baking supplies, snacks, canned goods, and beverages. Use shelf dividers to prevent categories from bleeding into each other and bins to corral smaller items. This systematic approach reduces shopping time by making inventory checks quick and comprehensive.
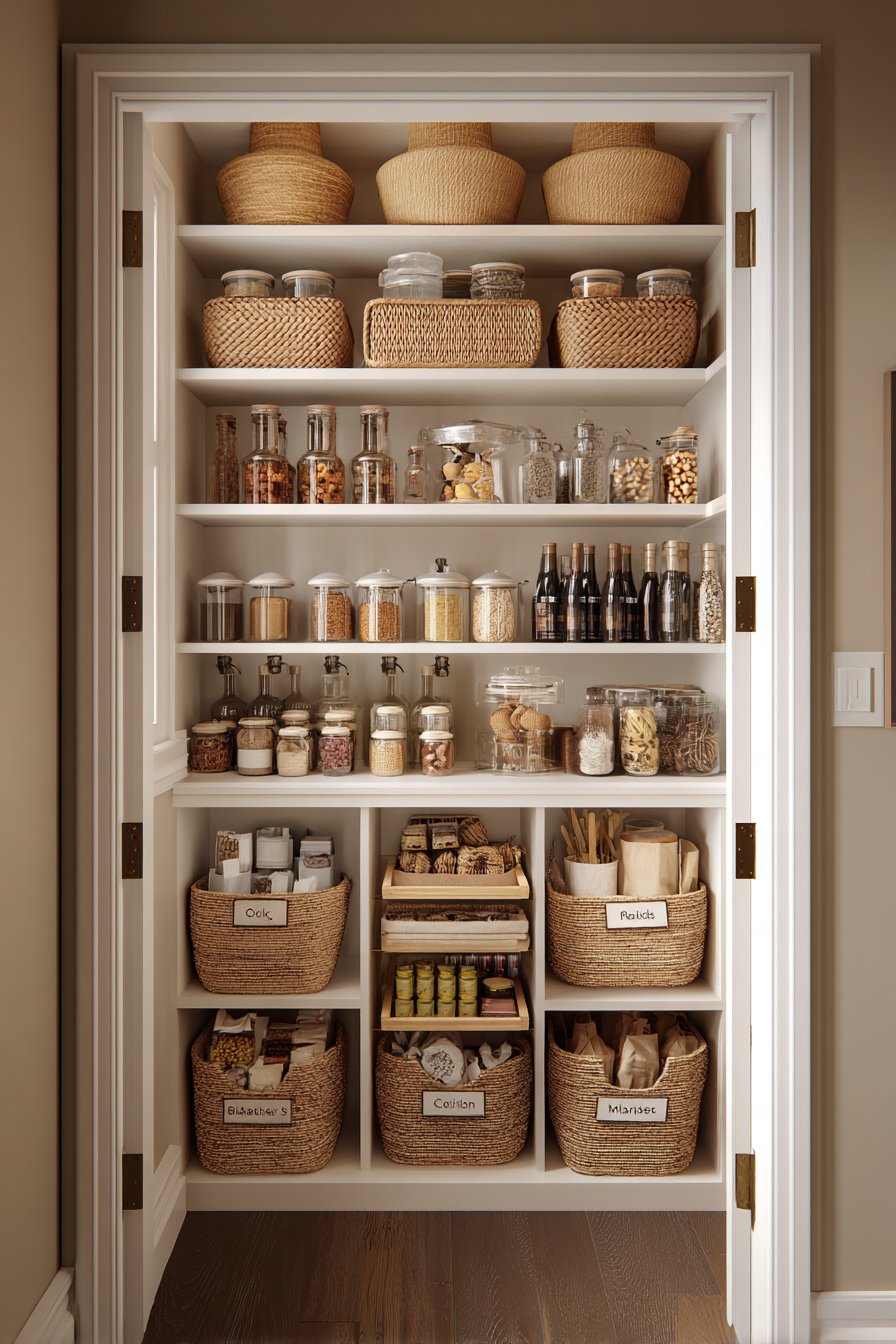
Color-coded or labeled bins add an extra layer of organization while making the pantry accessible for all family members. Even children can help with putting groceries away when locations are clearly marked. This system maintains itself better than unstructured storage because everyone knows where items belong.
- Measure existing shelves before buying bins to ensure proper fit
- Choose bins in coordinating colors for cohesive visual appeal
- Label bins clearly on both front and top for easy identification
- Use wire or clear bins for better visibility of contents
- Reserve top shelves for rarely used items and bulk supplies
- Rotate items regularly placing newer purchases behind older ones
Conclusion
Transforming a small pantry closet from cluttered chaos into organized efficiency requires strategic planning and smart storage solutions. The seven strategies outlined above work independently or combine beautifully to maximize every available inch. By implementing adjustable shelving, door storage, pull-out systems, clear containers, vertical dividers, slide-out units, and organizational zones, you create a pantry that functions far beyond its physical size.
Start with one or two solutions that address your biggest frustrations and expand gradually as time and budget allow. The investment in organization pays immediate dividends in reduced stress, less food waste, and more efficient meal preparation. Your small pantry closet can become a source of pride rather than frustration with these clever storage approaches.