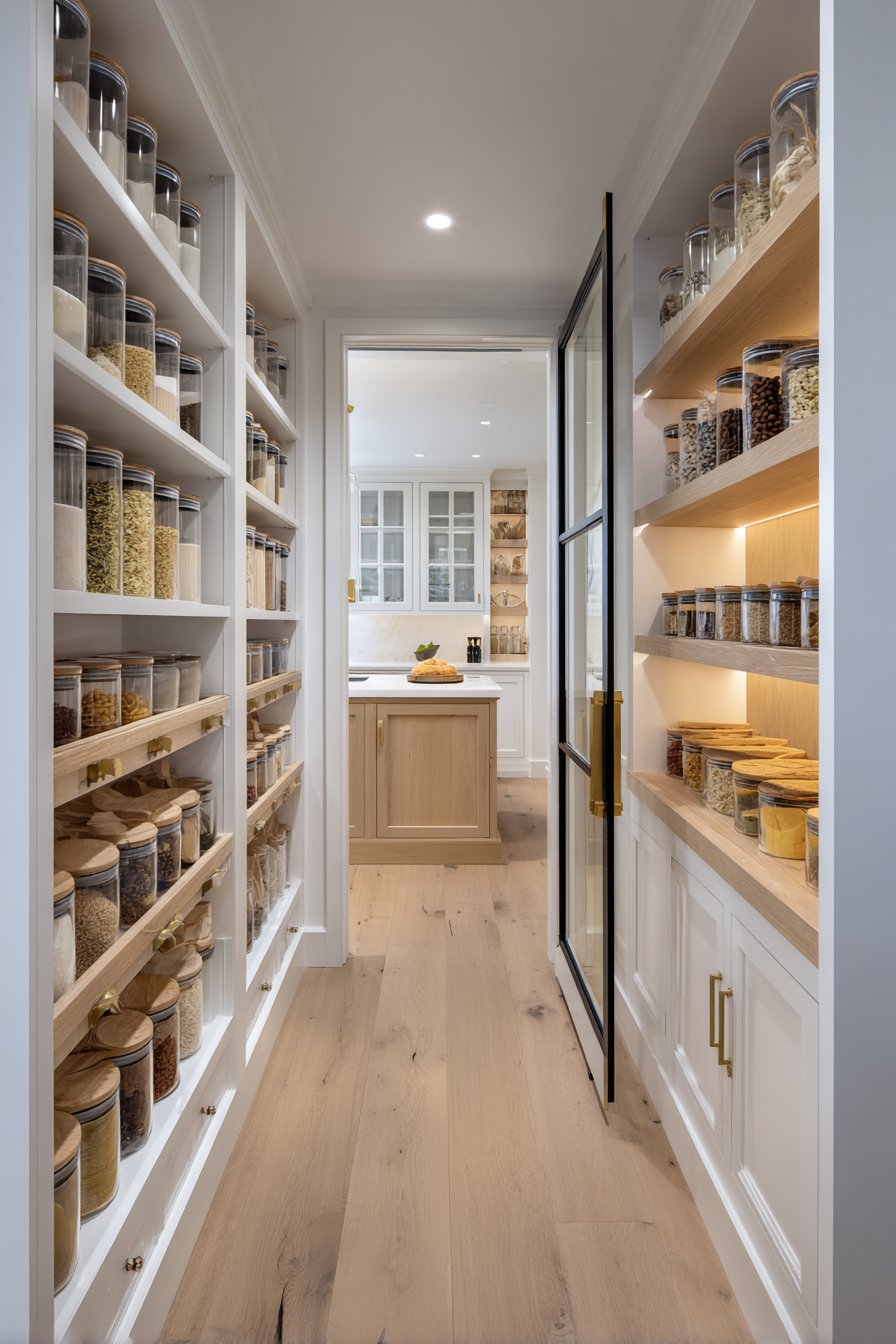
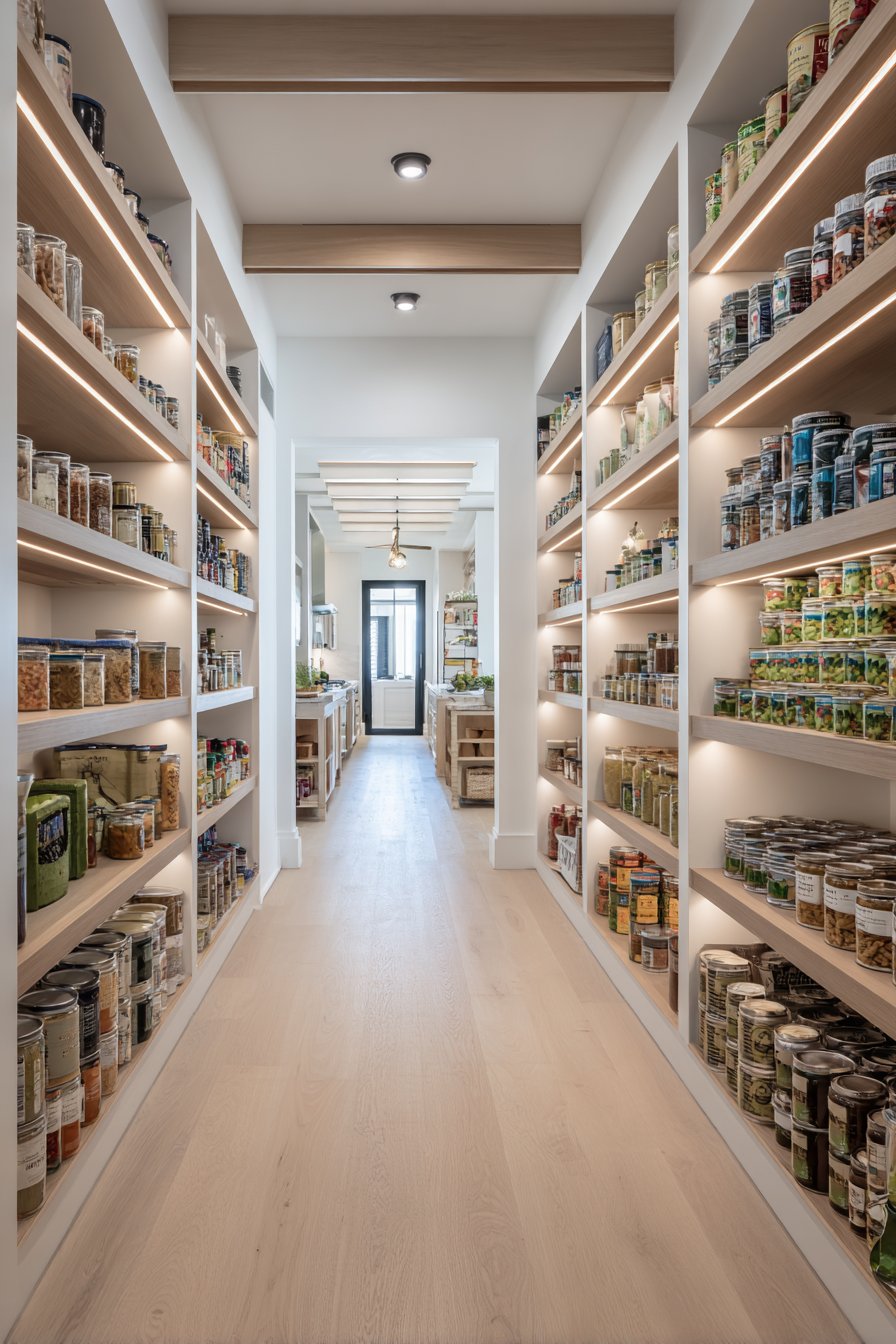
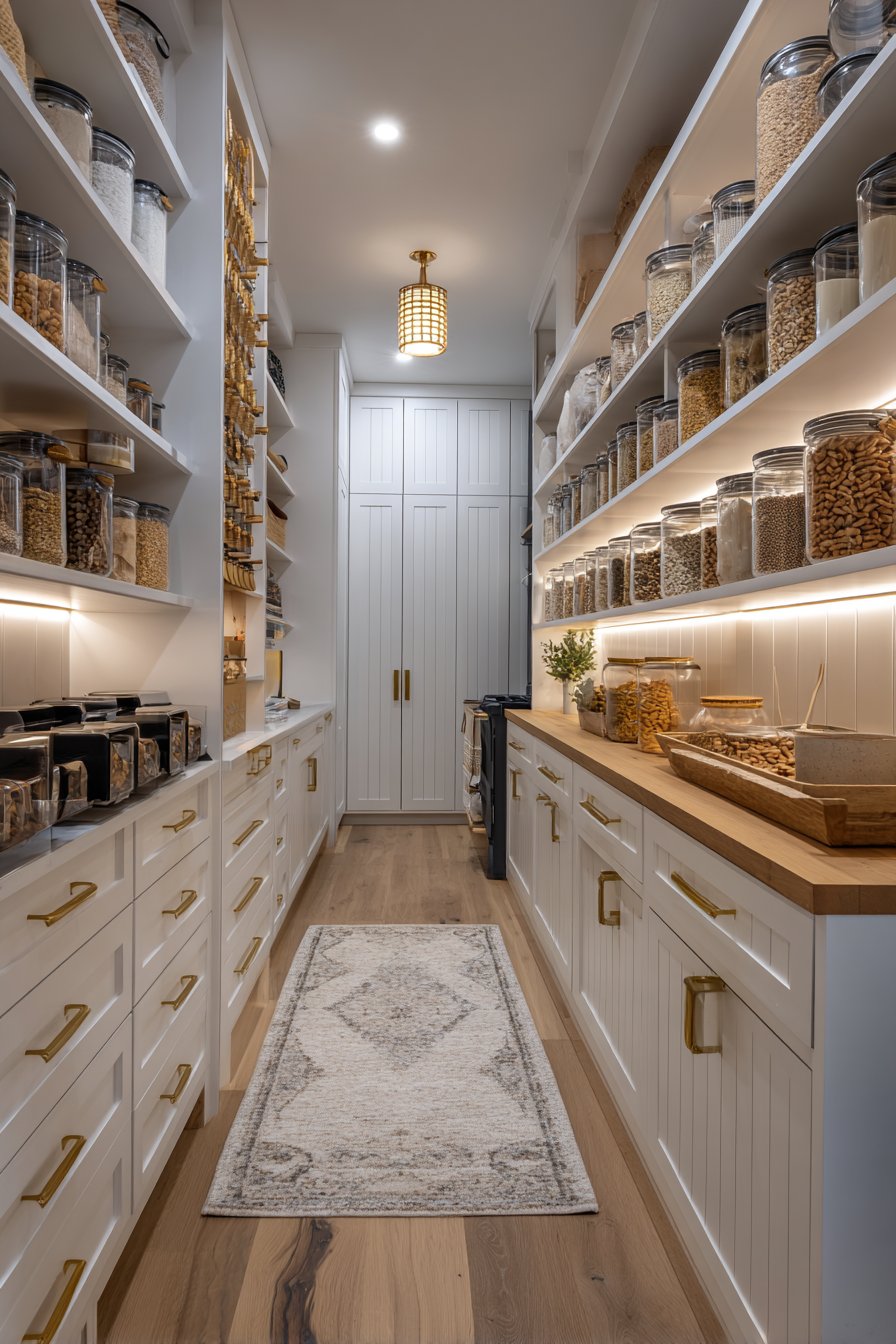
A narrow walk-in pantry often feels like a design challenge rather than a storage solution. However, with thoughtful planning and strategic organization, even the most cramped pantry can become a highly functional space. The key lies in understanding how to maximize every inch while maintaining accessibility and visual appeal.
Interior design principles teach us that limitations can inspire creativity. A narrow pantry demands innovative thinking about vertical space, lighting, and storage solutions. When properly designed, these compact spaces can actually outperform larger, poorly organized pantries. The transformation begins with recognizing that width matters less than smart spatial planning.
This article explores six proven methods to revolutionize your narrow walk-in pantry. Each approach addresses common pain points while enhancing both functionality and aesthetics. From clever shelving systems to lighting upgrades, these strategies will help you create a pantry that works seamlessly with your lifestyle.
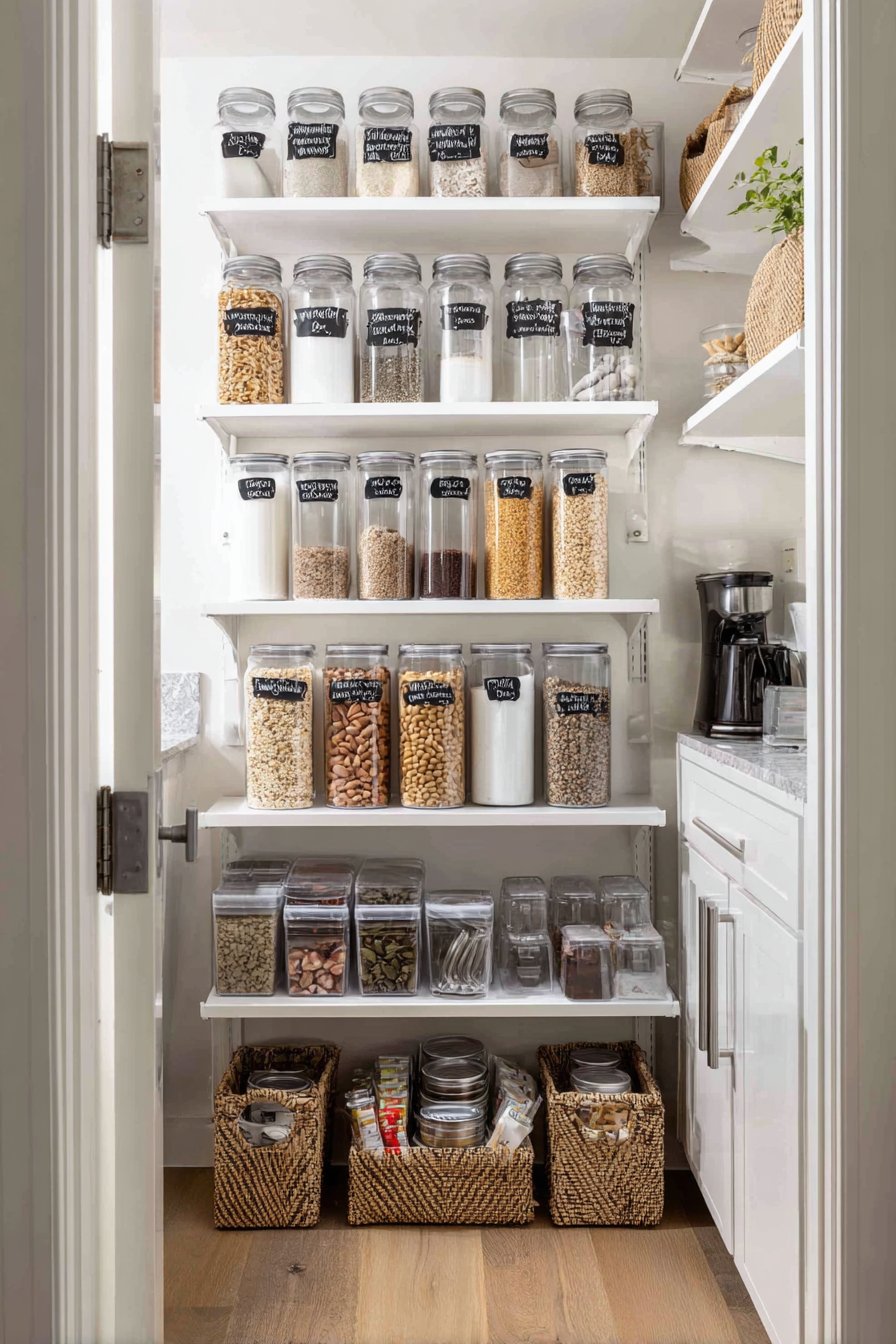
1. Install Floor-to-Ceiling Adjustable Shelving
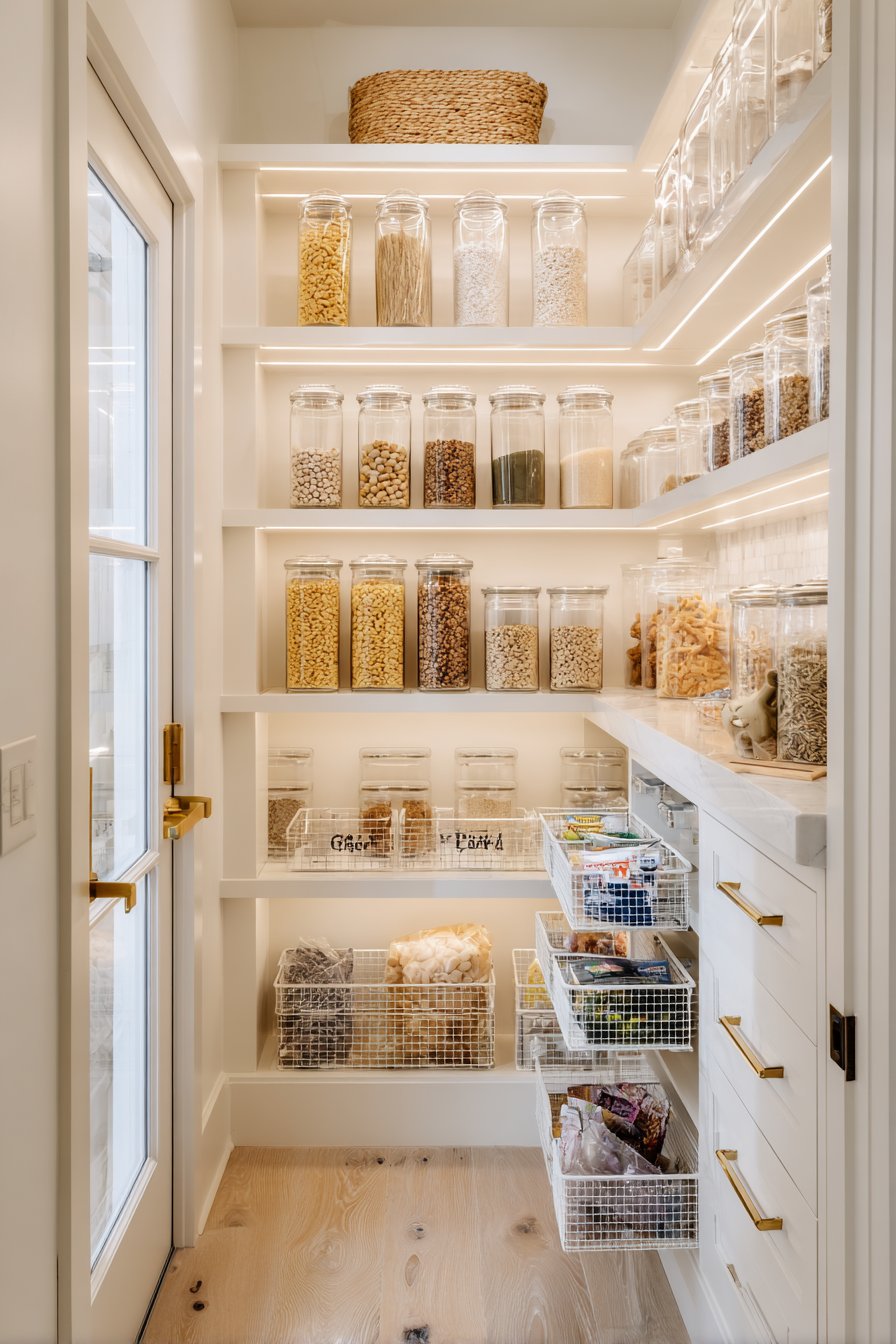
Vertical space represents your greatest asset in a narrow pantry. Floor-to-ceiling shelving transforms wasted upper areas into valuable storage zones. Most homeowners underutilize the space above eye level, leaving 12-18 inches of potential storage untapped.
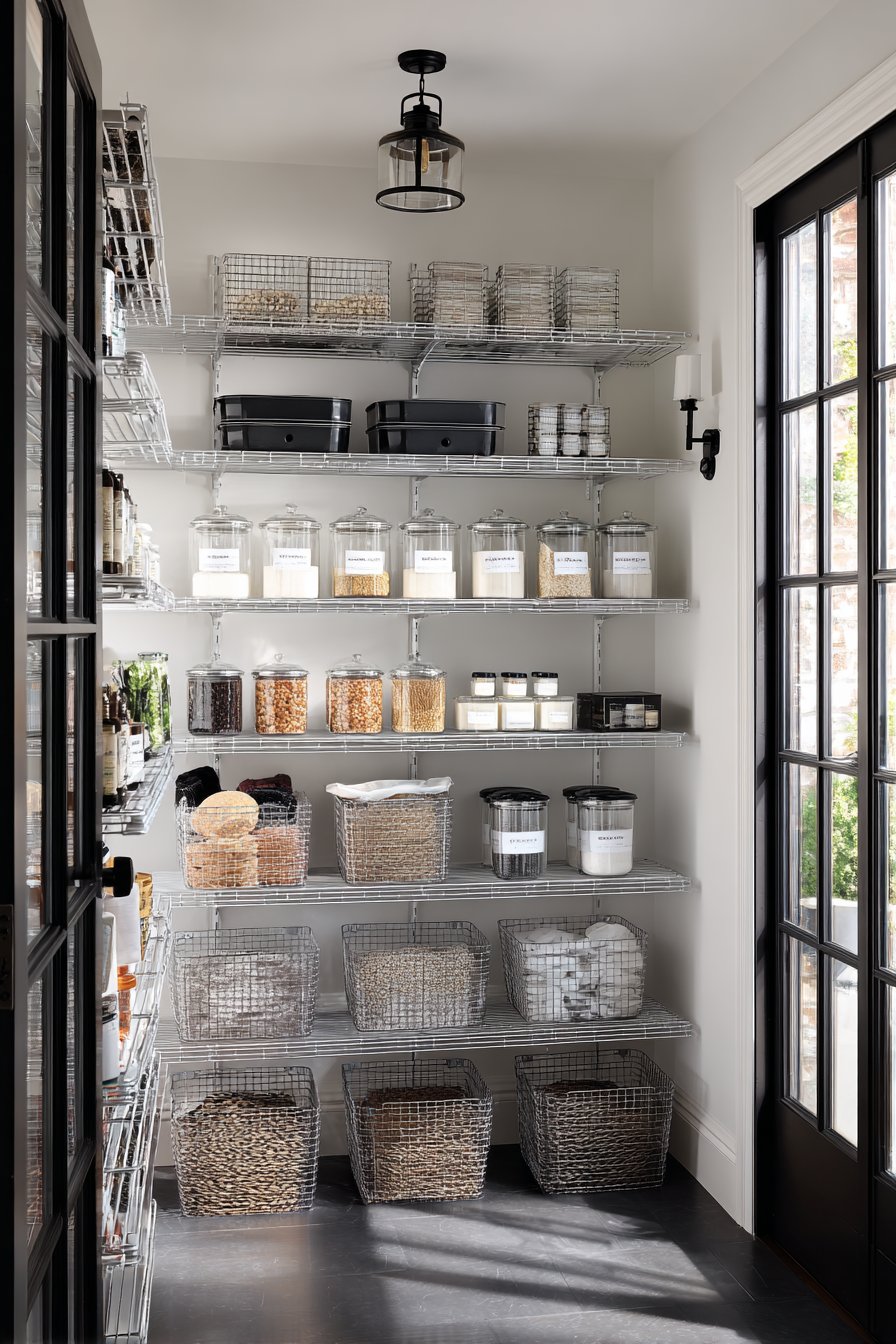
Adjustable shelving systems offer unmatched flexibility for changing needs. You can reconfigure shelf heights as your storage requirements evolve. This adaptability proves essential when storing items of varying sizes, from bulk packages to small spice jars. Wire shelving allows air circulation, preventing moisture buildup and keeping foods fresh longer.
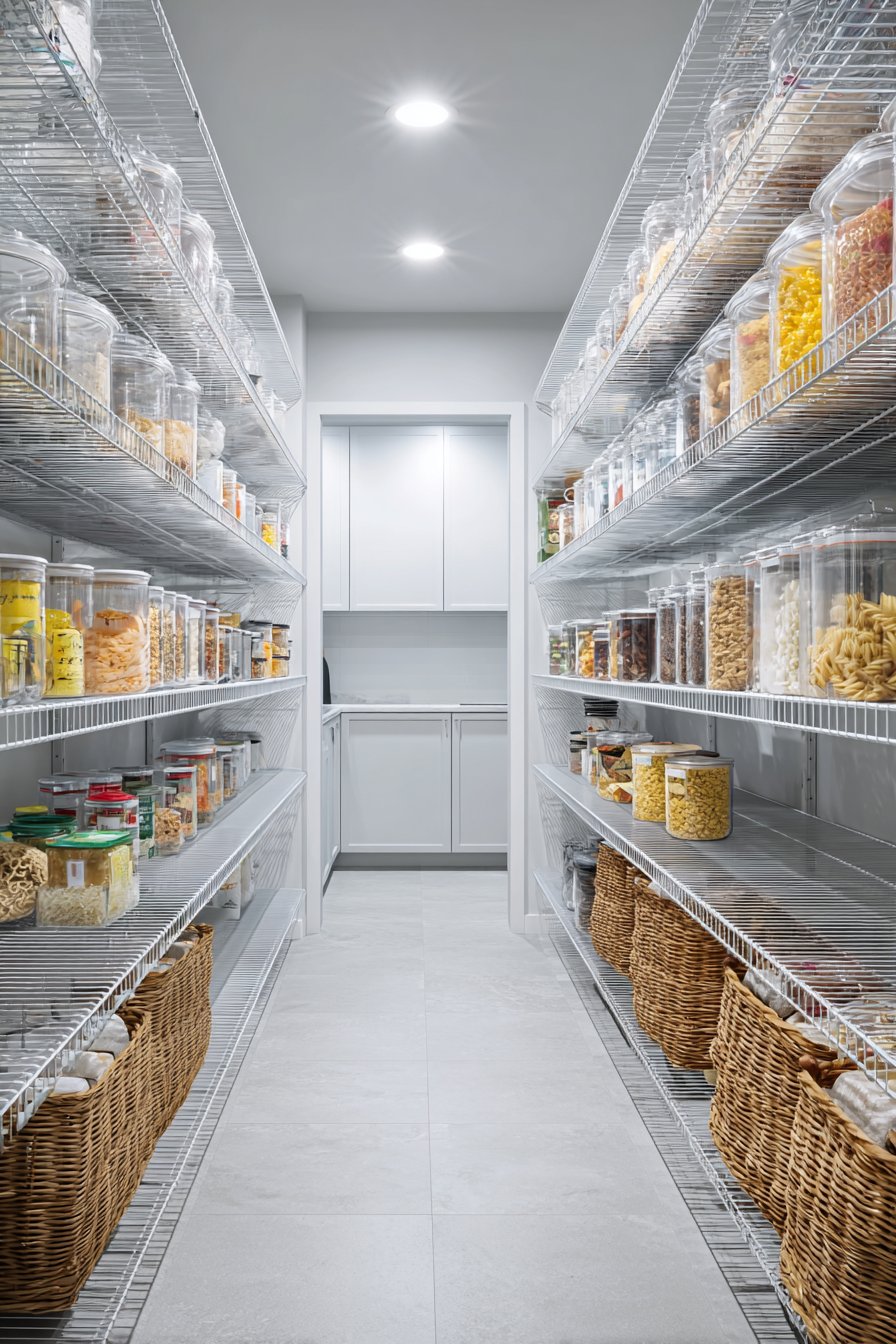
Consider installing shelves no deeper than 12-14 inches in narrow spaces. Deeper shelves create accessibility issues and hide items in the back. Shallow shelving keeps everything visible and within reach. Maximize vertical storage by adding an extra shelf or two compared to standard configurations.
- Install shelving units that reach within 6 inches of the ceiling
- Choose adjustable brackets spaced every 16 inches for flexibility
- Use wire or ventilated shelving to prevent moisture accumulation
- Keep shelf depth between 12-14 inches for optimal accessibility
- Add shelf risers to create additional levels within existing shelves
- Label shelf edges to maintain organization over time
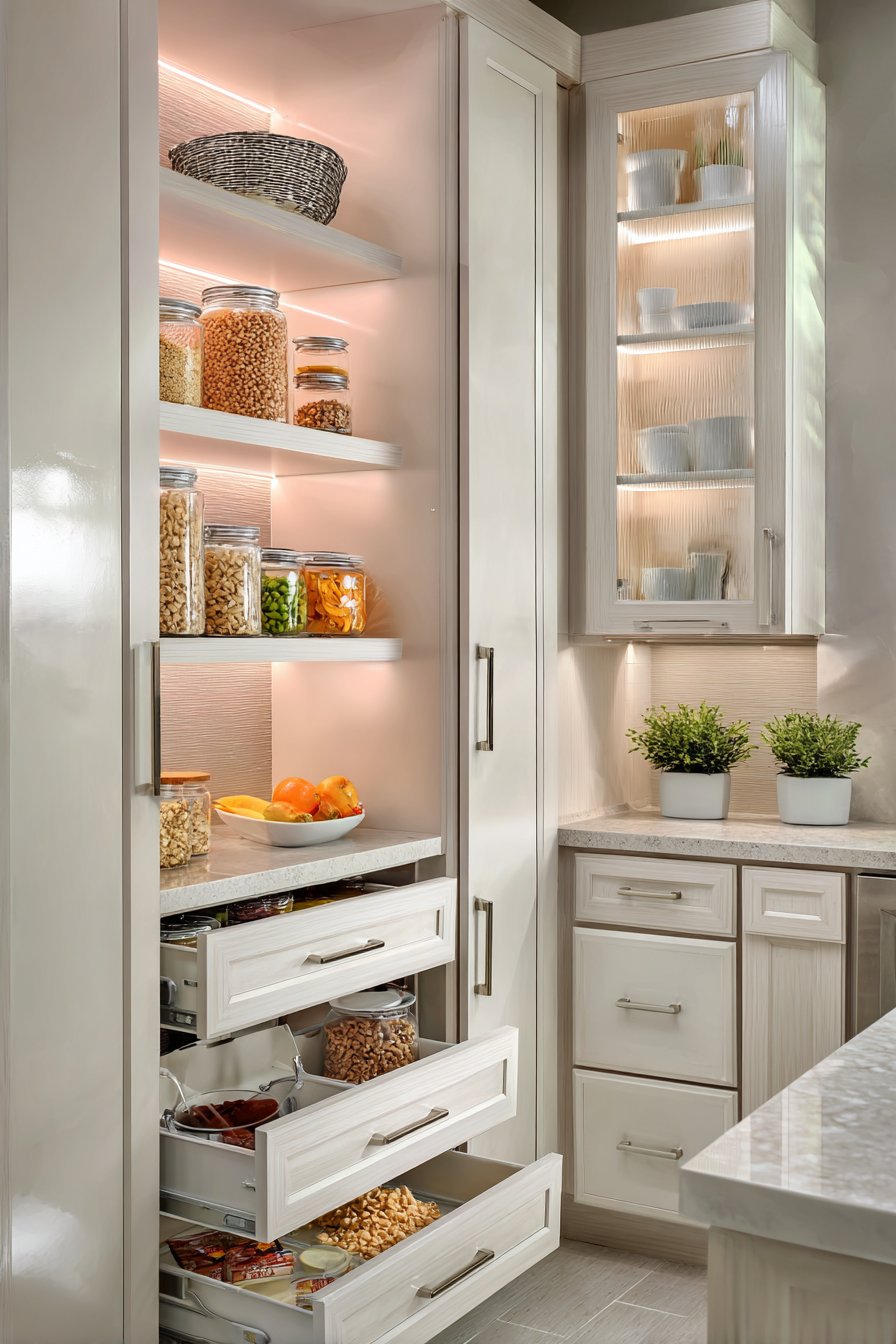
2. Implement Strategic Lighting Solutions

Poor lighting turns organization efforts into frustration. Adequate illumination makes finding items effortless while preventing duplicate purchases. Many narrow pantries lack natural light, making artificial lighting essential for functionality.
LED strip lights offer the most effective solution for narrow spaces. These energy-efficient fixtures mount easily under each shelf, eliminating shadows that hide items. Motion-activated lighting adds convenience, illuminating the space automatically when you enter. This feature proves particularly useful when your hands are full.
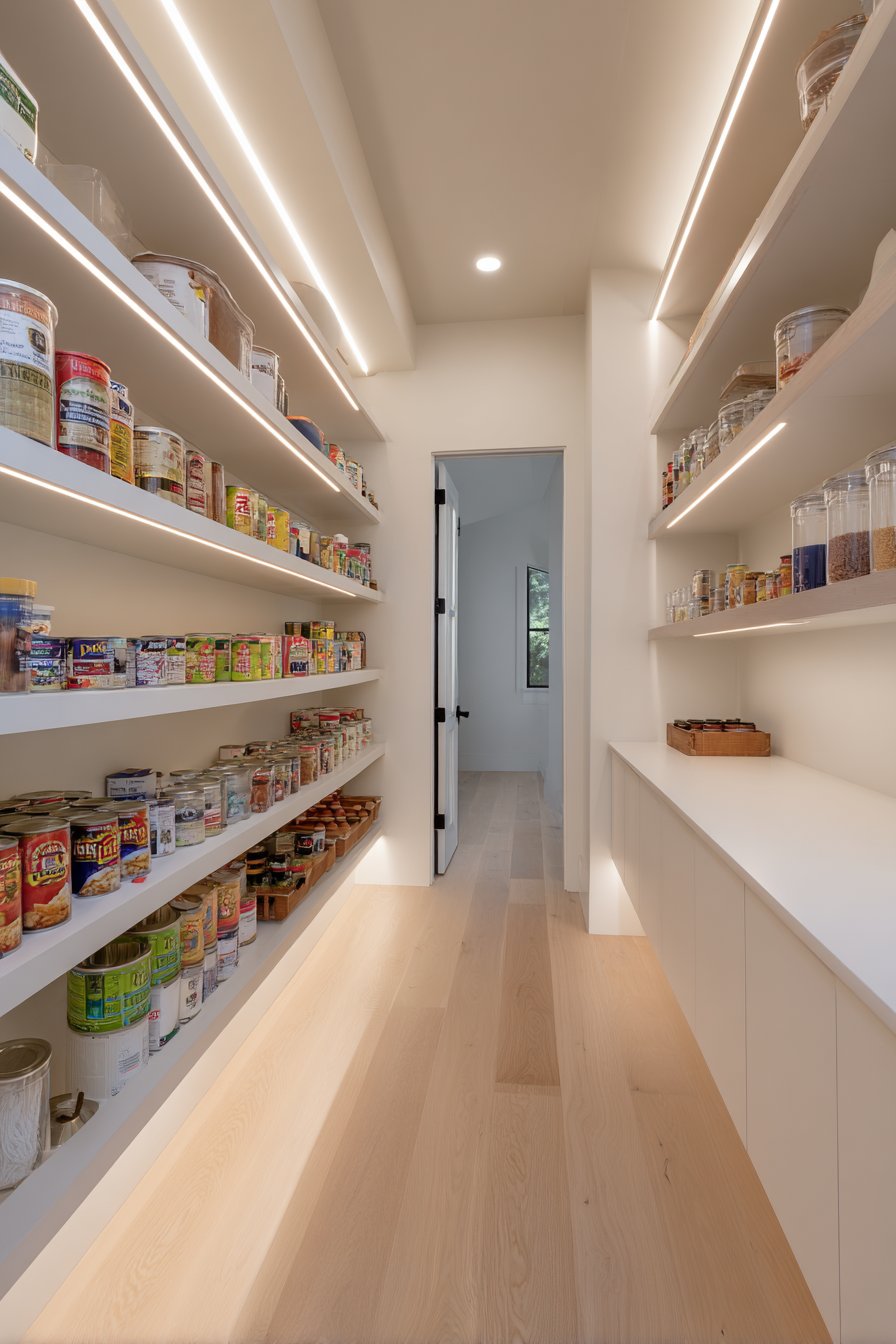
Consider color temperature carefully when selecting bulbs. Daylight bulbs (5000K-6500K) provide crisp visibility for reading labels and identifying items quickly. Warm white bulbs create ambiance but may distort colors. Battery-operated LED options eliminate rewiring concerns, making installation accessible for any homeowner.
- Install LED strip lights under every shelf for shadow-free visibility
- Choose motion-activated switches for hands-free operation
- Select daylight-temperature bulbs (5000K) for accurate color representation
- Add a bright overhead fixture near the entrance
- Consider battery-operated solutions to avoid electrical work
- Install dimmer switches for adjustable lighting levels
3. Utilize Door-Mounted Storage Systems
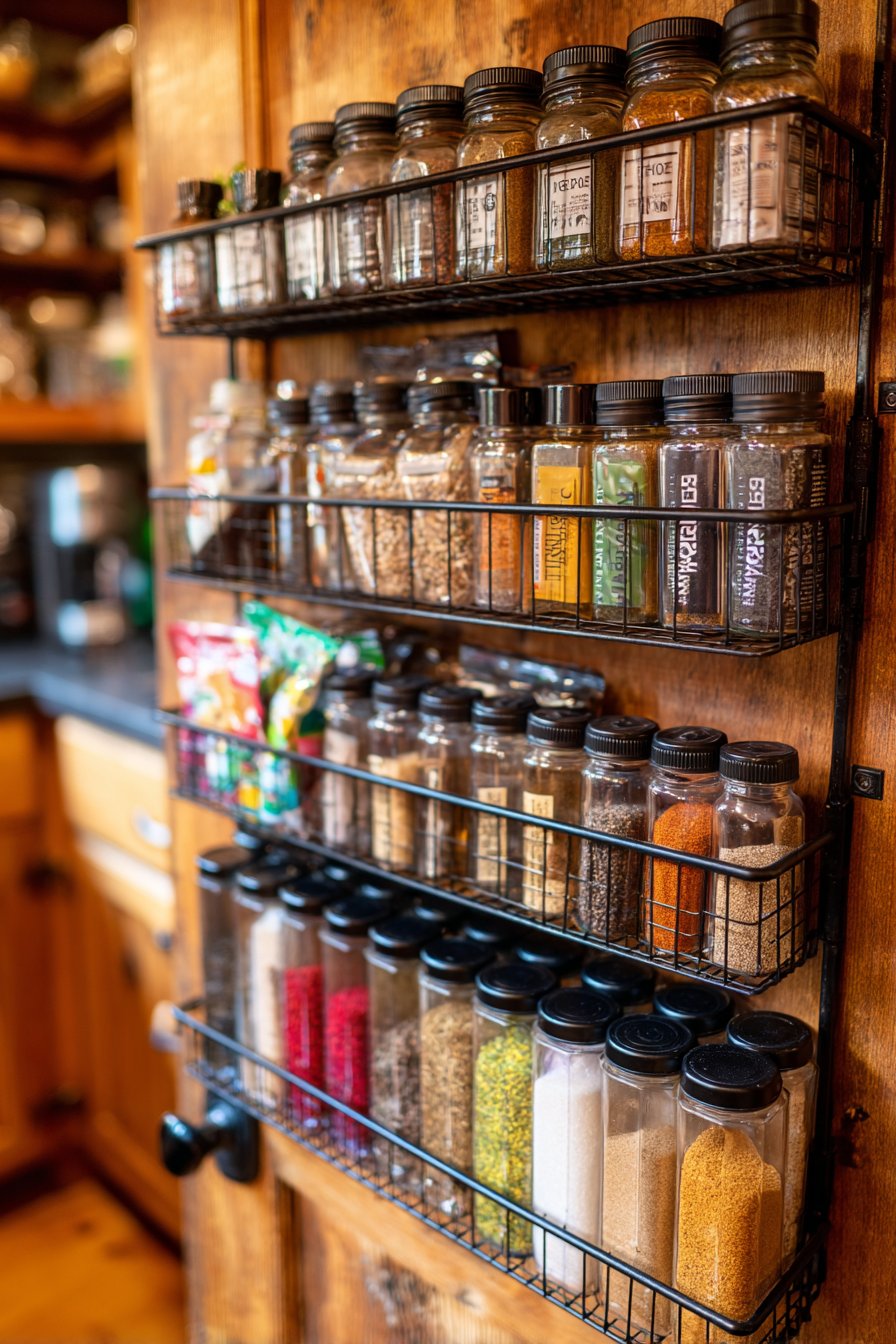
The back of your pantry door represents prime real estate that often goes unused. Door-mounted organizers add substantial storage without consuming precious floor space. This vertical surface can accommodate spices, cleaning supplies, or frequently used items.
Over-the-door racks come in various configurations to suit different needs. Pocket organizers work beautifully for small items like seasoning packets and tea bags. Wire basket systems handle heavier items such as canned goods or bottled beverages. Ensure your door can support the added weight before loading it heavily.
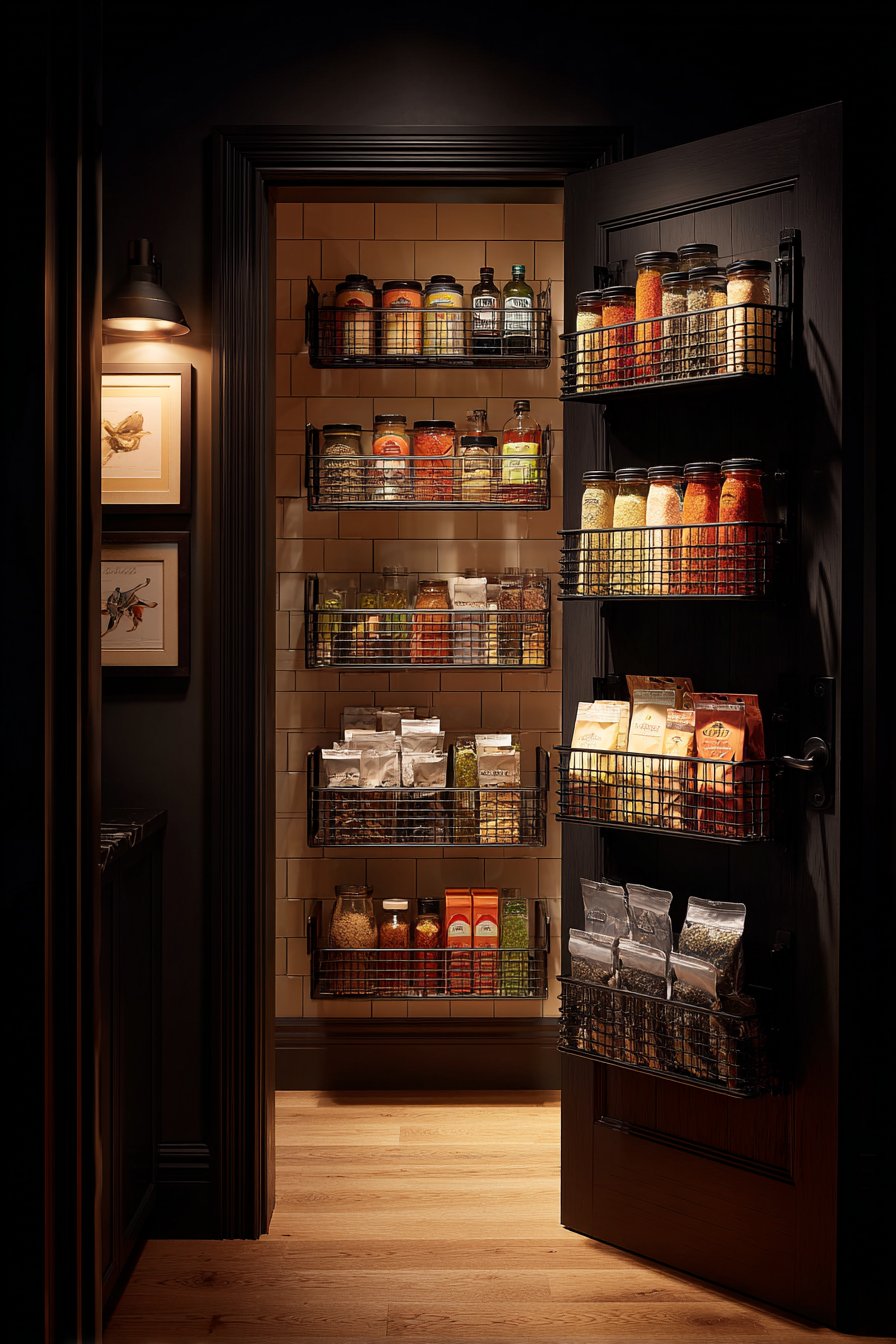
Shallow storage on doors keeps items visible and accessible. Position frequently used items at eye level for convenience. Reserve lower sections for items used less often or those safe for children to access. Door storage frees up shelf space for bulk items and larger packages.

- Install over-the-door wire racks for canned goods and bottles
- Use clear plastic pocket organizers for spices and small packets
- Mount magnetic strips for holding metal containers or tools
- Add hooks for hanging reusable bags or kitchen towels
- Ensure door clearance allows racks to swing freely
- Distribute weight evenly to prevent door sagging
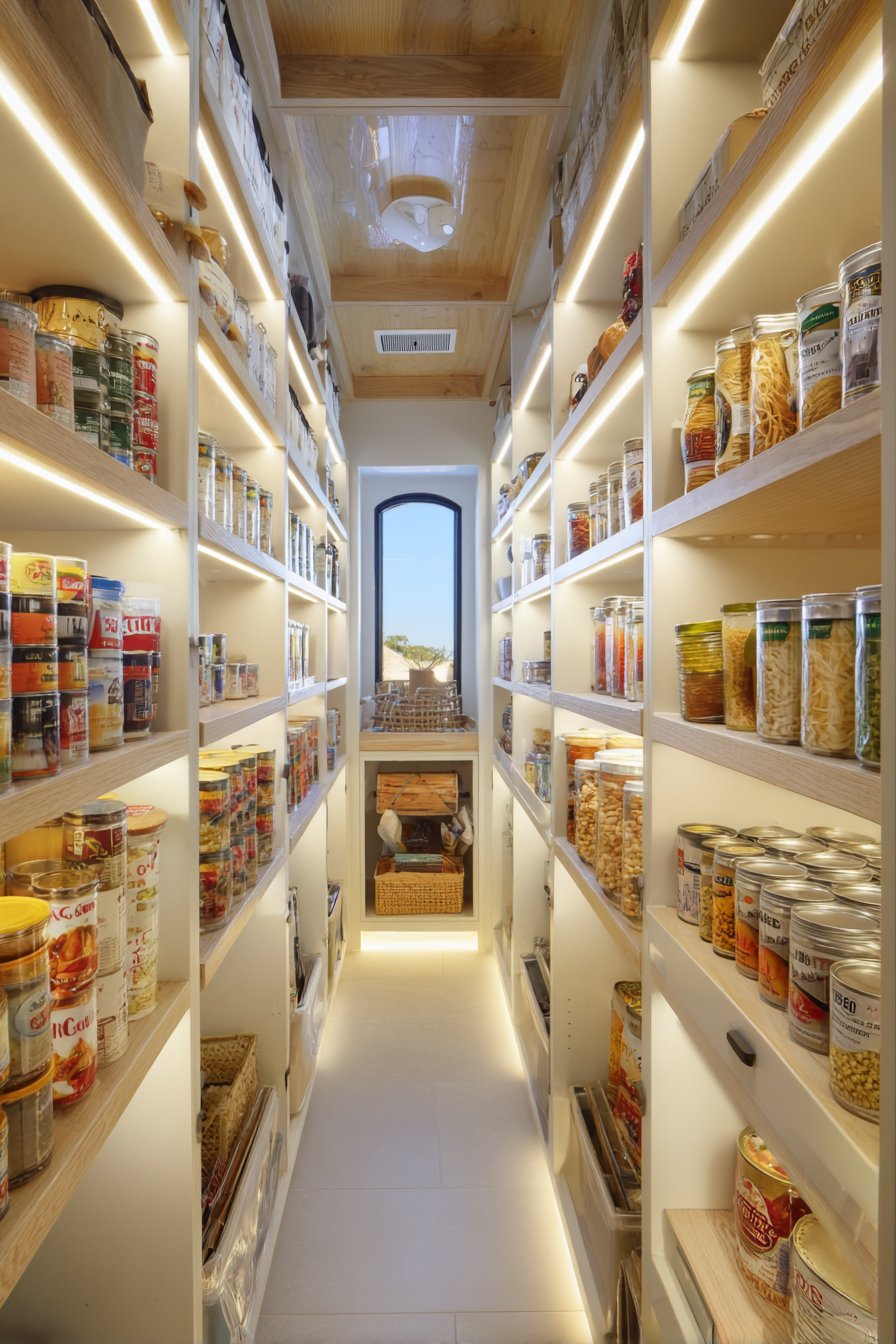
4. Create Zones for Different Food Categories
Organizing by category transforms chaotic pantries into efficient systems. Zoning means grouping similar items together, making inventory management intuitive. This approach reduces shopping time and minimizes food waste from forgotten expiration dates.
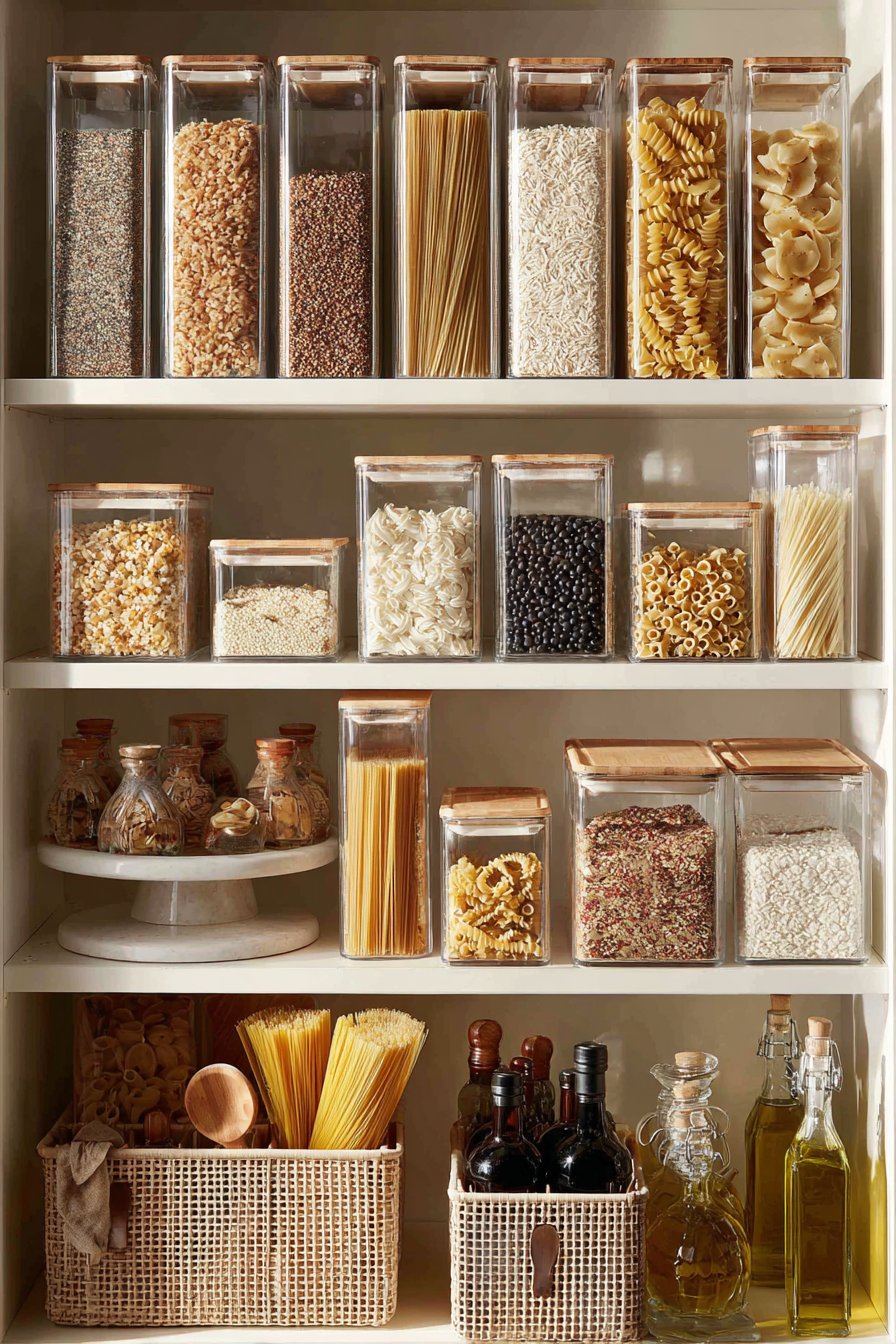
Dedicate specific shelves or sections to breakfast items, baking supplies, snacks, and canned goods. This systematic organization allows family members to find items independently. Use clear containers for bulk items like flour, sugar, and pasta to see quantities at a glance.
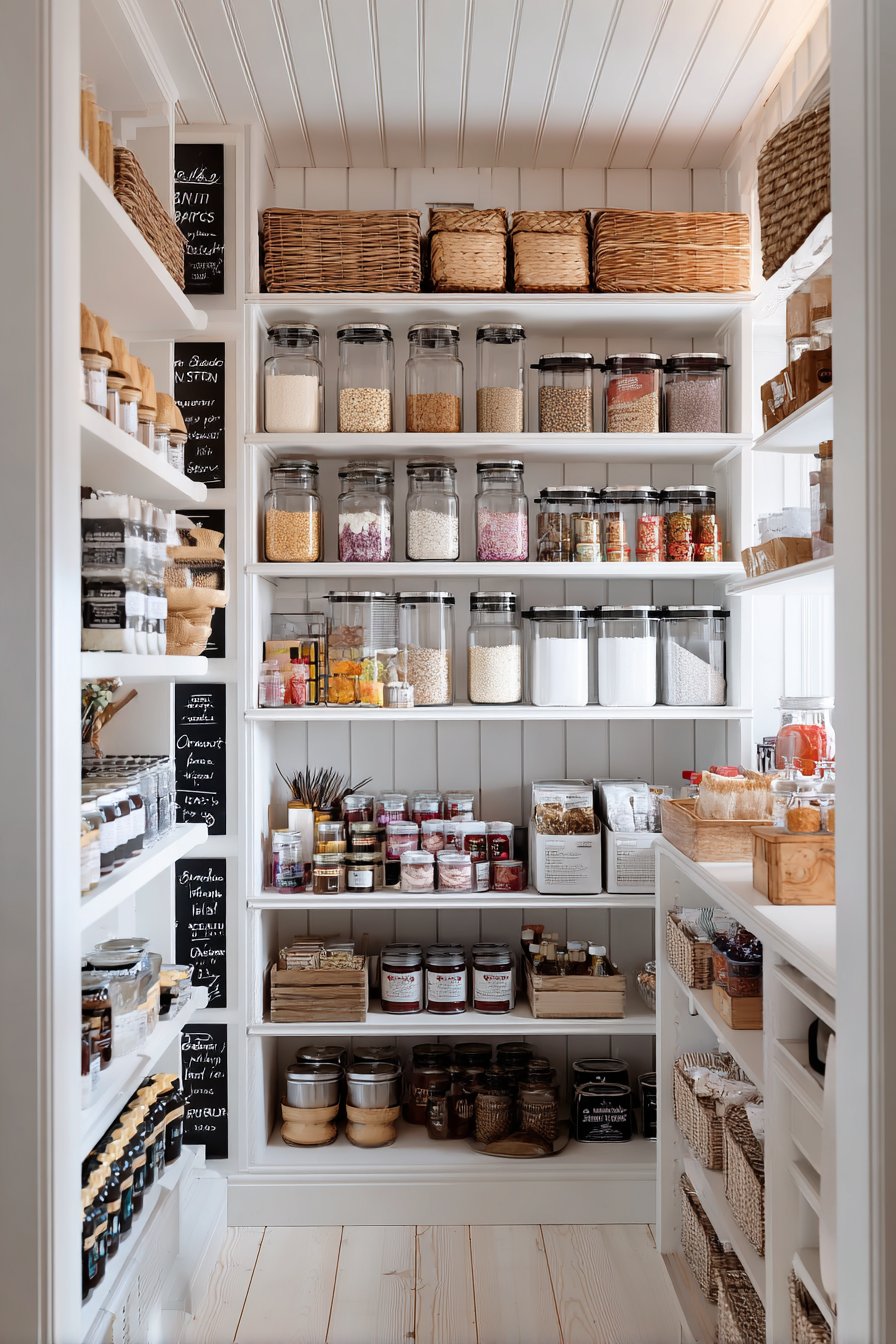
Position frequently accessed items between waist and shoulder height. Store heavy items on lower shelves for safety and ease of handling. Place seldom-used items or seasonal goods on higher shelves. Consistent placement creates muscle memory, making your pantry more efficient over time.
- Group breakfast items together on one dedicated shelf
- Create a baking zone with flour, sugar, and mixing essentials
- Designate a snack section at child-friendly heights
- Store canned goods by type (vegetables, soups, fruits)
- Use clear, airtight containers for dry goods and grains
- Implement a first-in-first-out rotation system for perishables
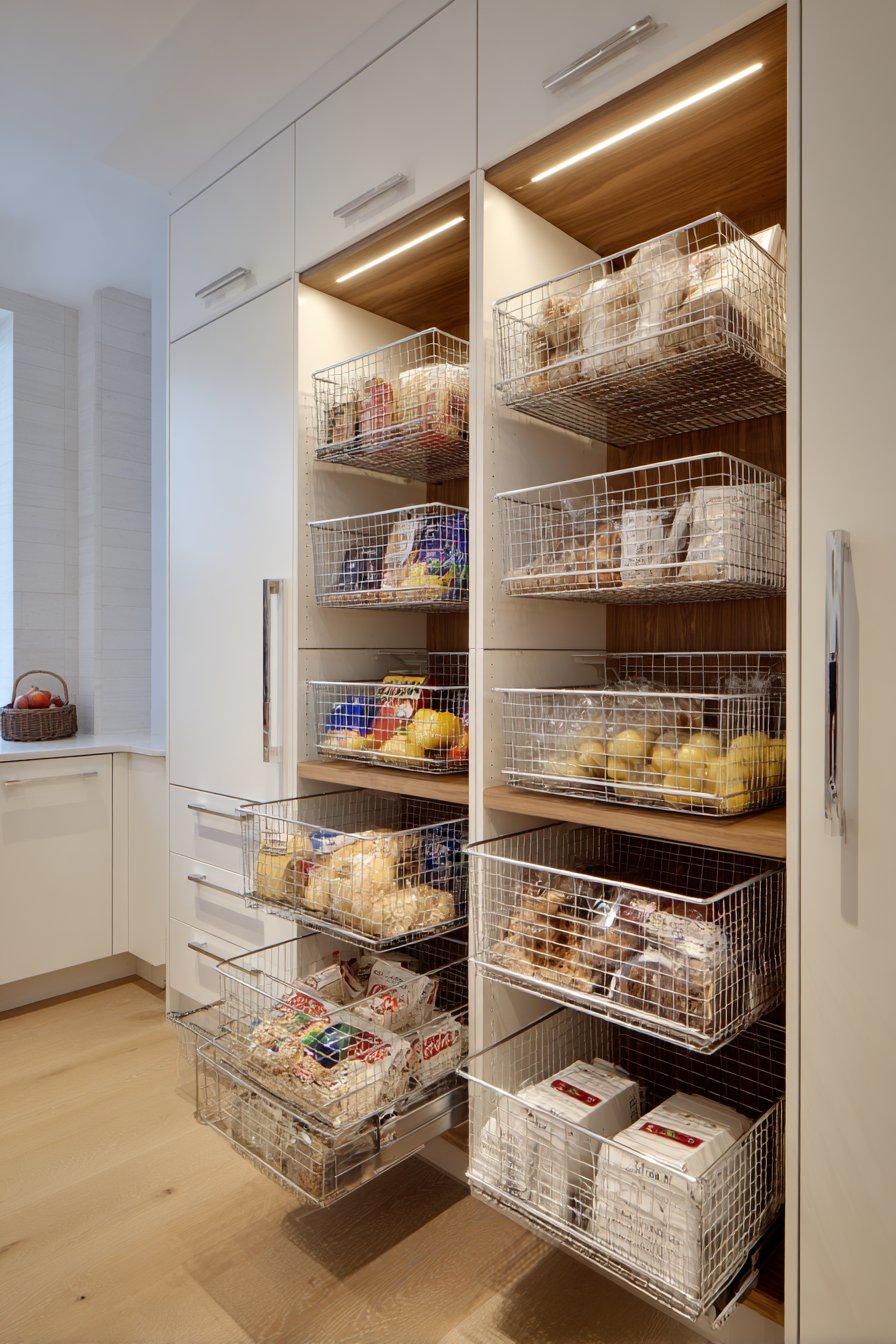
5. Incorporate Pull-Out Drawers and Baskets
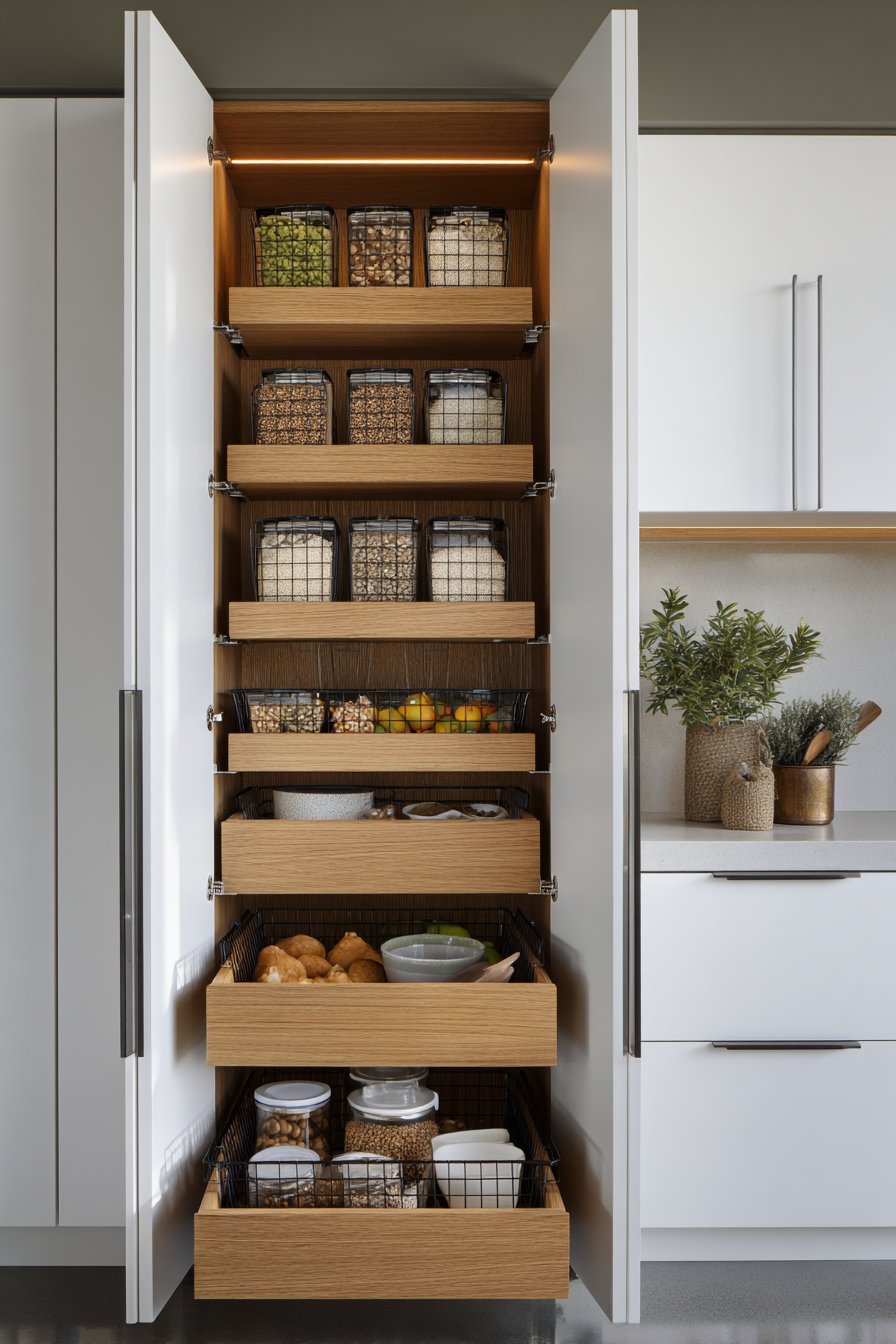
Deep shelves in narrow pantries create accessibility problems. Items pushed to the back become forgotten and wasted. Pull-out drawers and sliding baskets solve this issue by bringing contents forward effortlessly.
Wire or plastic pull-out baskets install easily onto existing shelving. These sliding solutions work particularly well for produce, snacks, or small appliances. Deep drawers accommodate bulky items like cereal boxes or large packages. Full-extension slides ensure complete access to drawer contents.
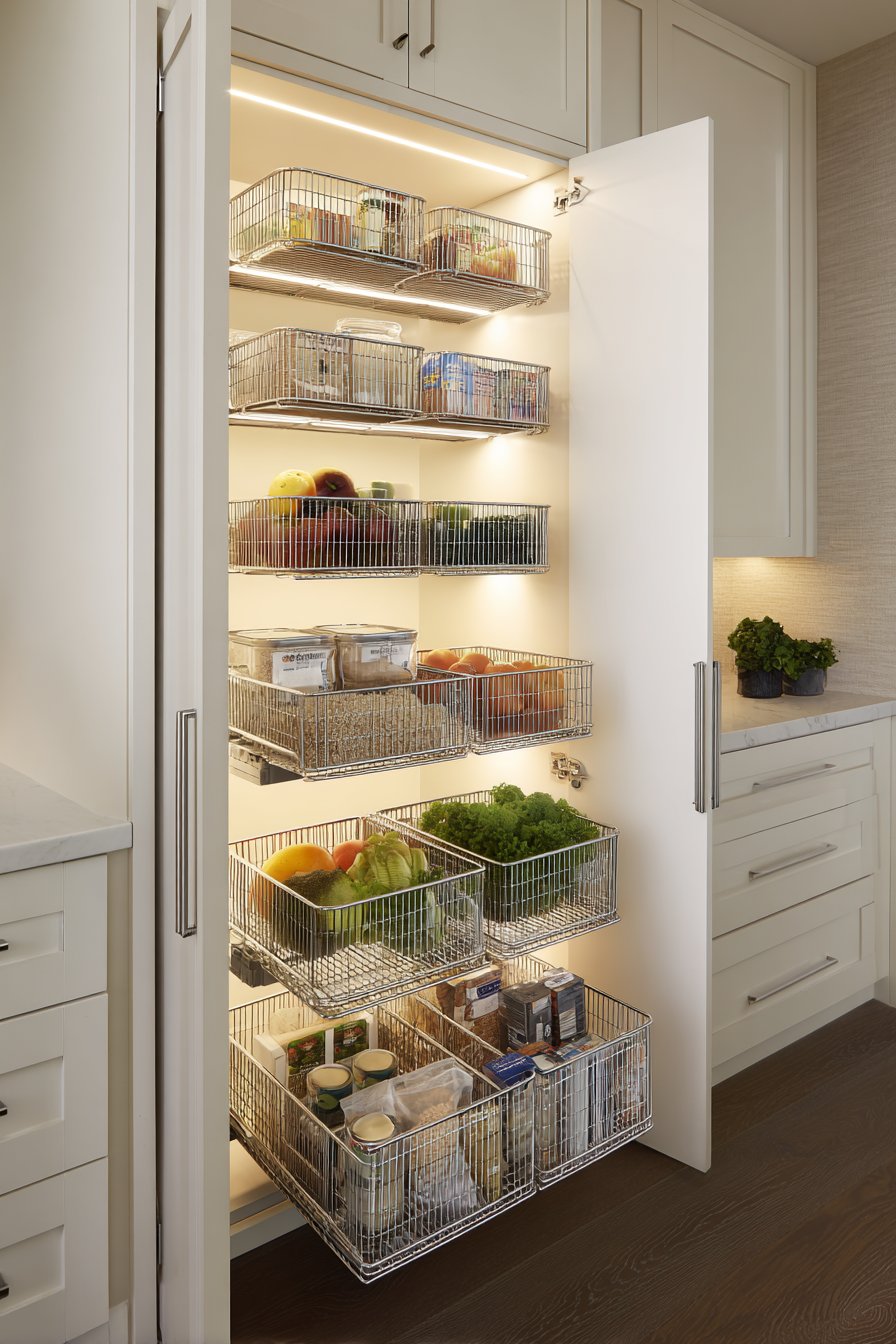
Consider pull-out systems for lower shelves where bending and reaching prove most difficult. These ergonomic solutions reduce strain and make pantry use more comfortable. Soft-close mechanisms prevent slamming and extend hardware lifespan. Smooth operation encourages consistent use and organization maintenance.
- Install full-extension pull-out shelves on lower levels
- Use wire baskets for produce that needs air circulation
- Add deep pull-out drawers for small appliances or bulk items
- Choose soft-close slides for quiet, gentle operation
- Install pull-outs at varying heights for different item types
- Label each drawer or basket for quick identification
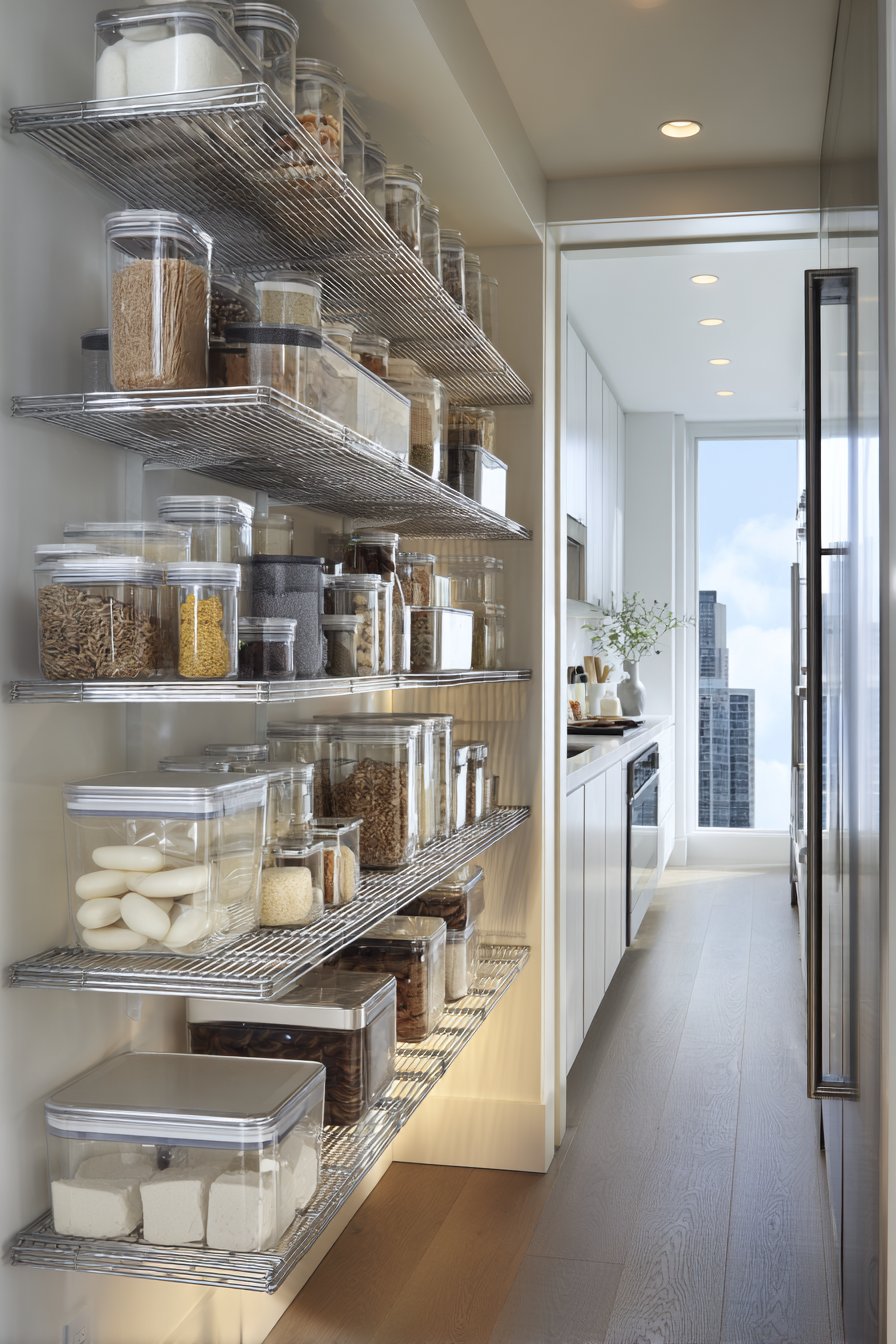
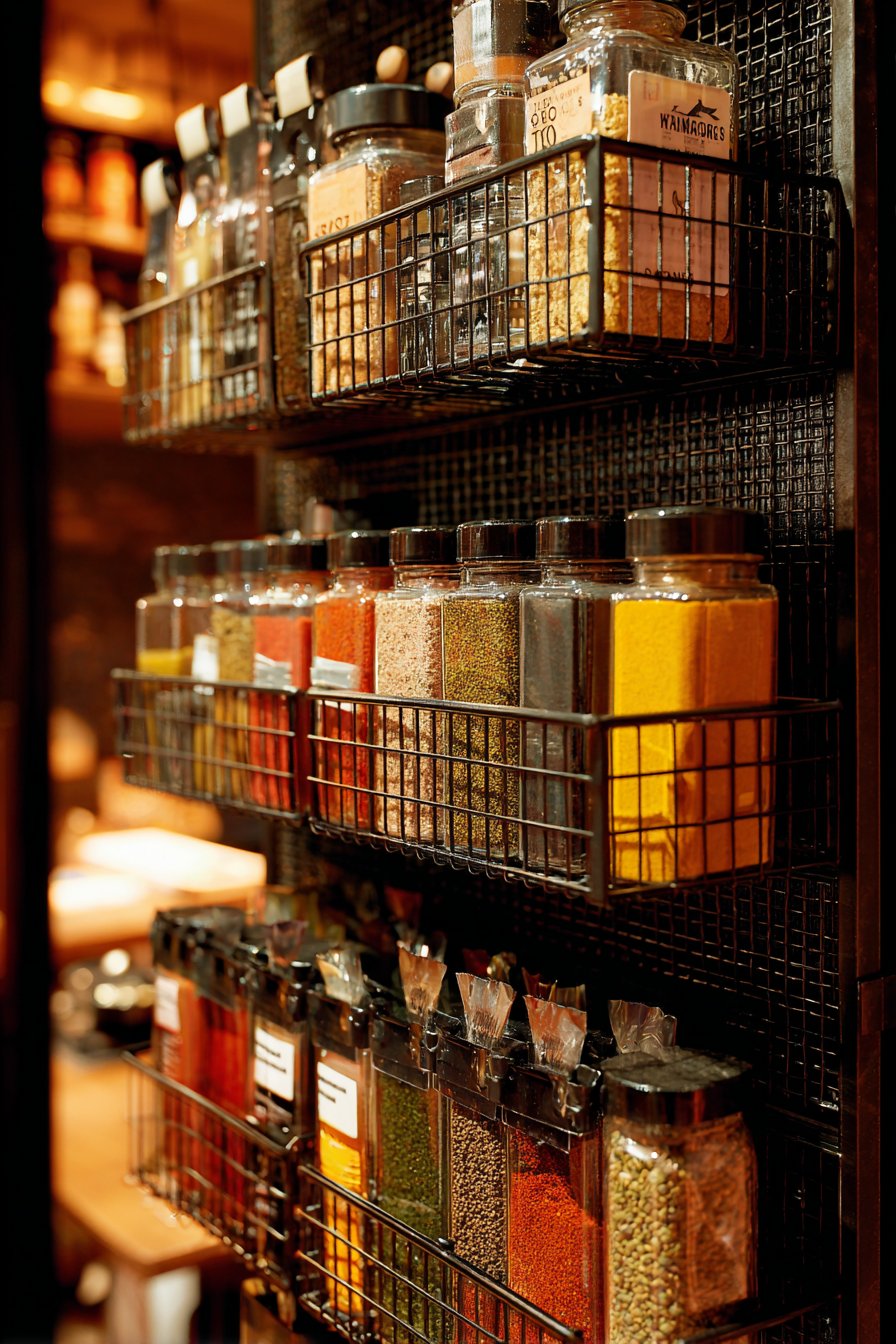
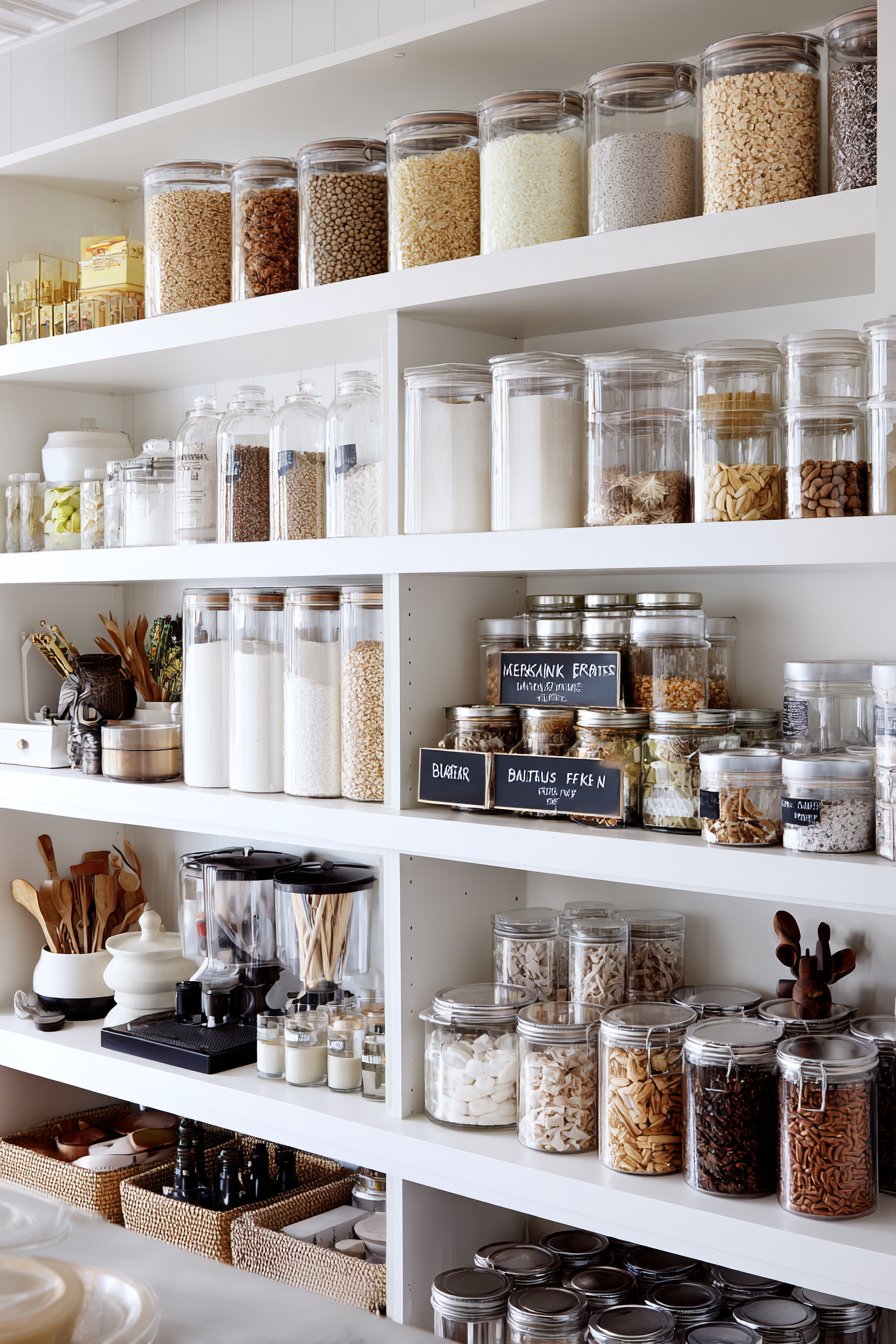
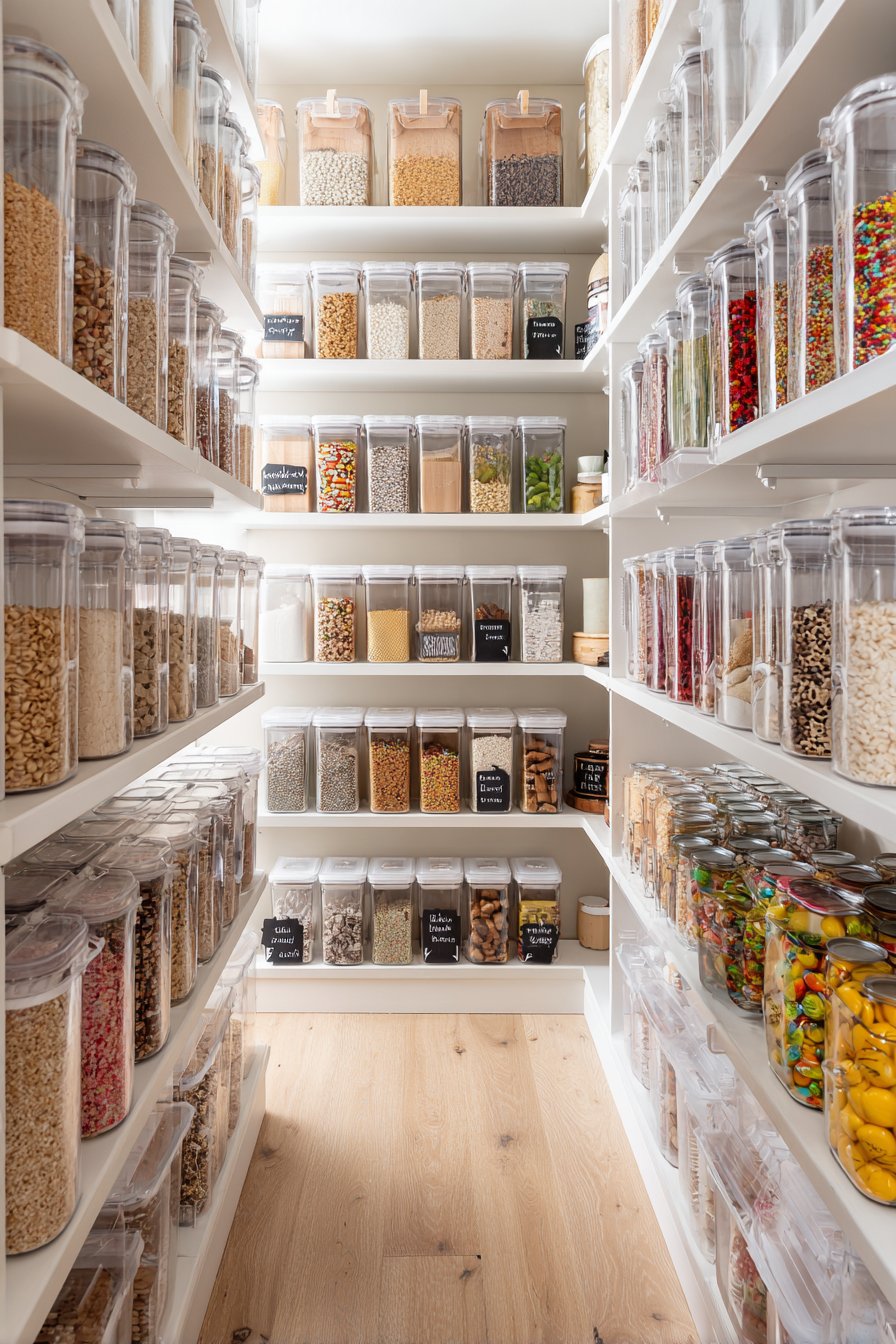
6. Optimize with Space-Saving Containers and Tools
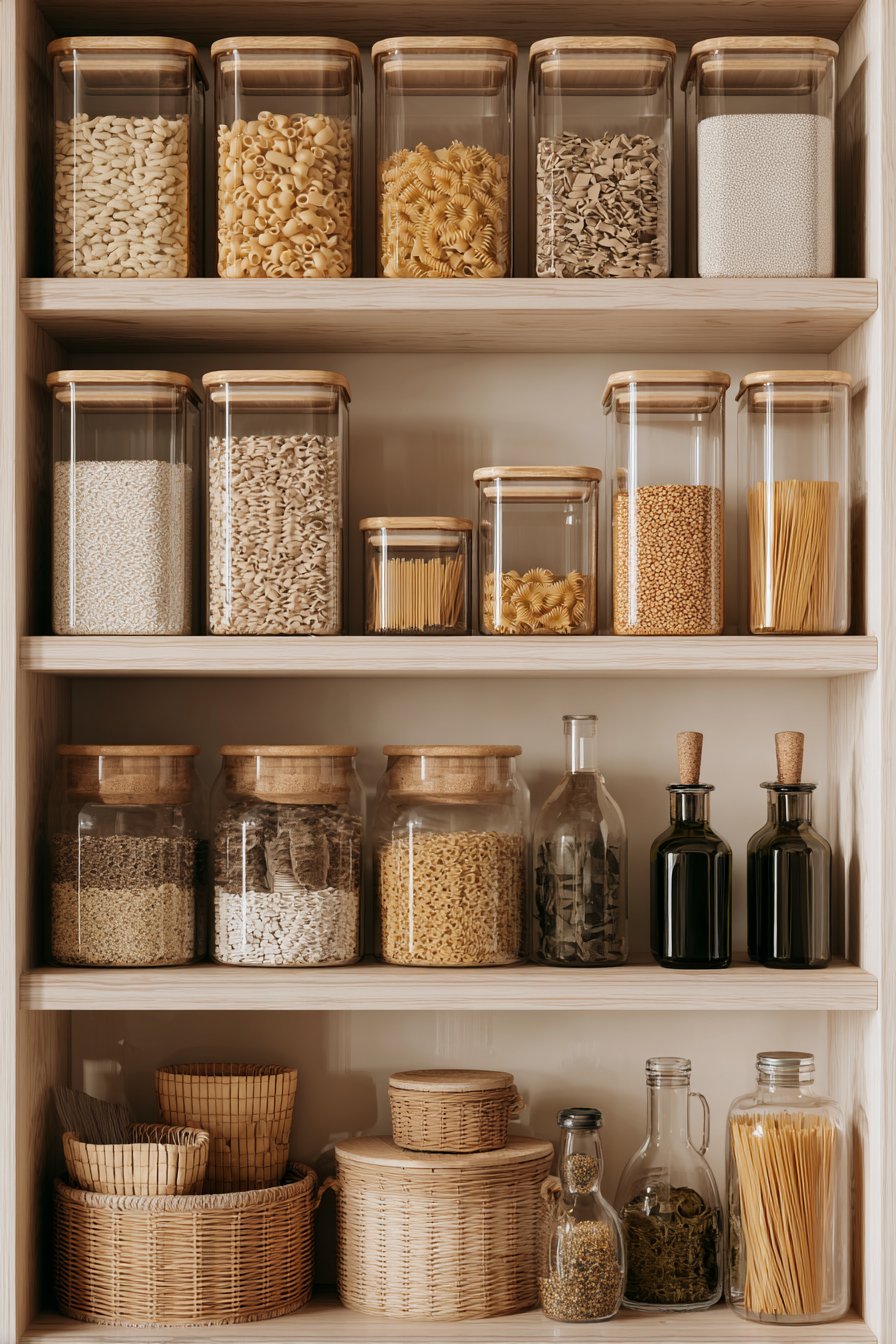
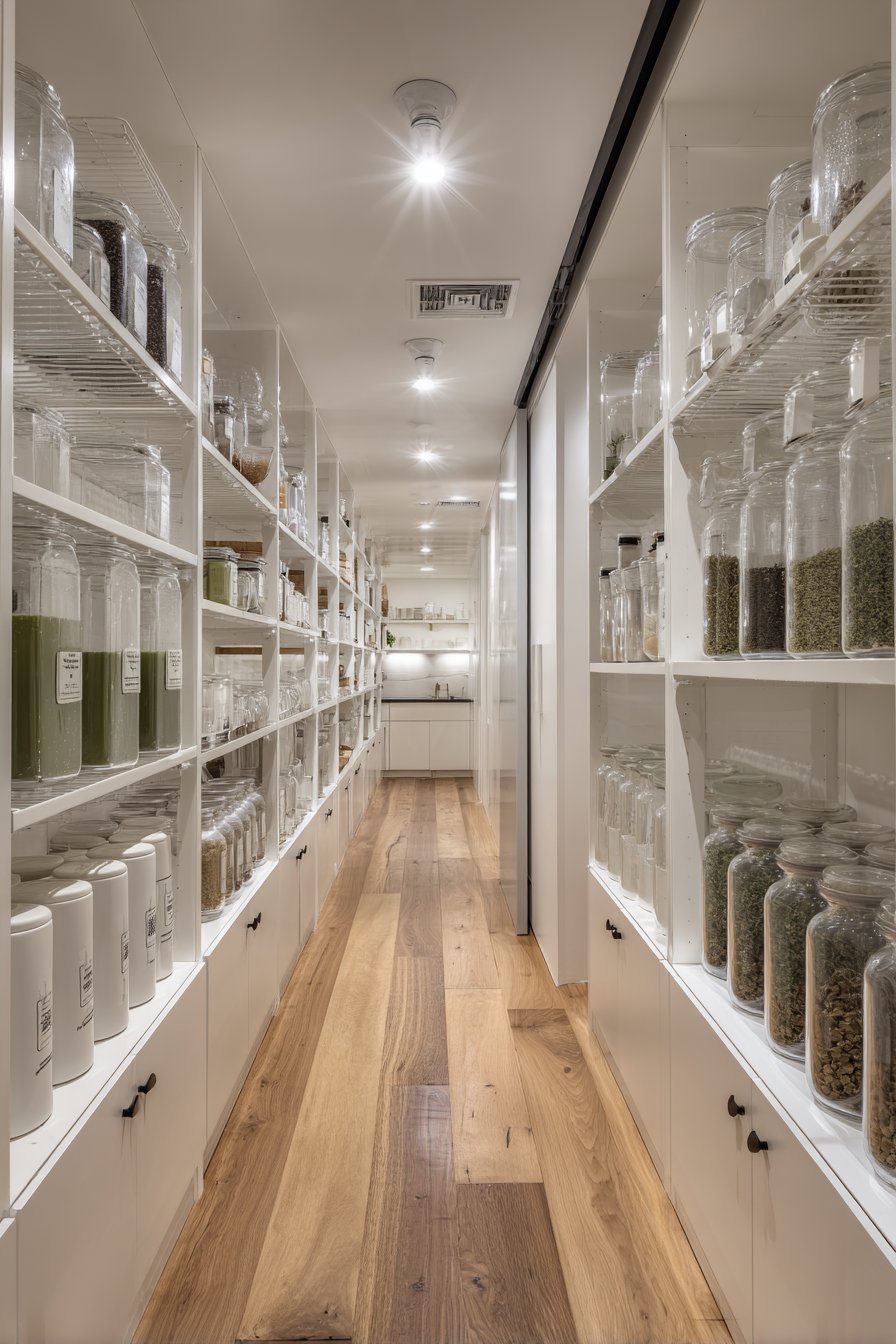
The right containers multiply your storage capacity significantly. Uniform containers stack efficiently and maximize vertical space. Square or rectangular shapes utilize space better than round containers, eliminating wasted gaps.
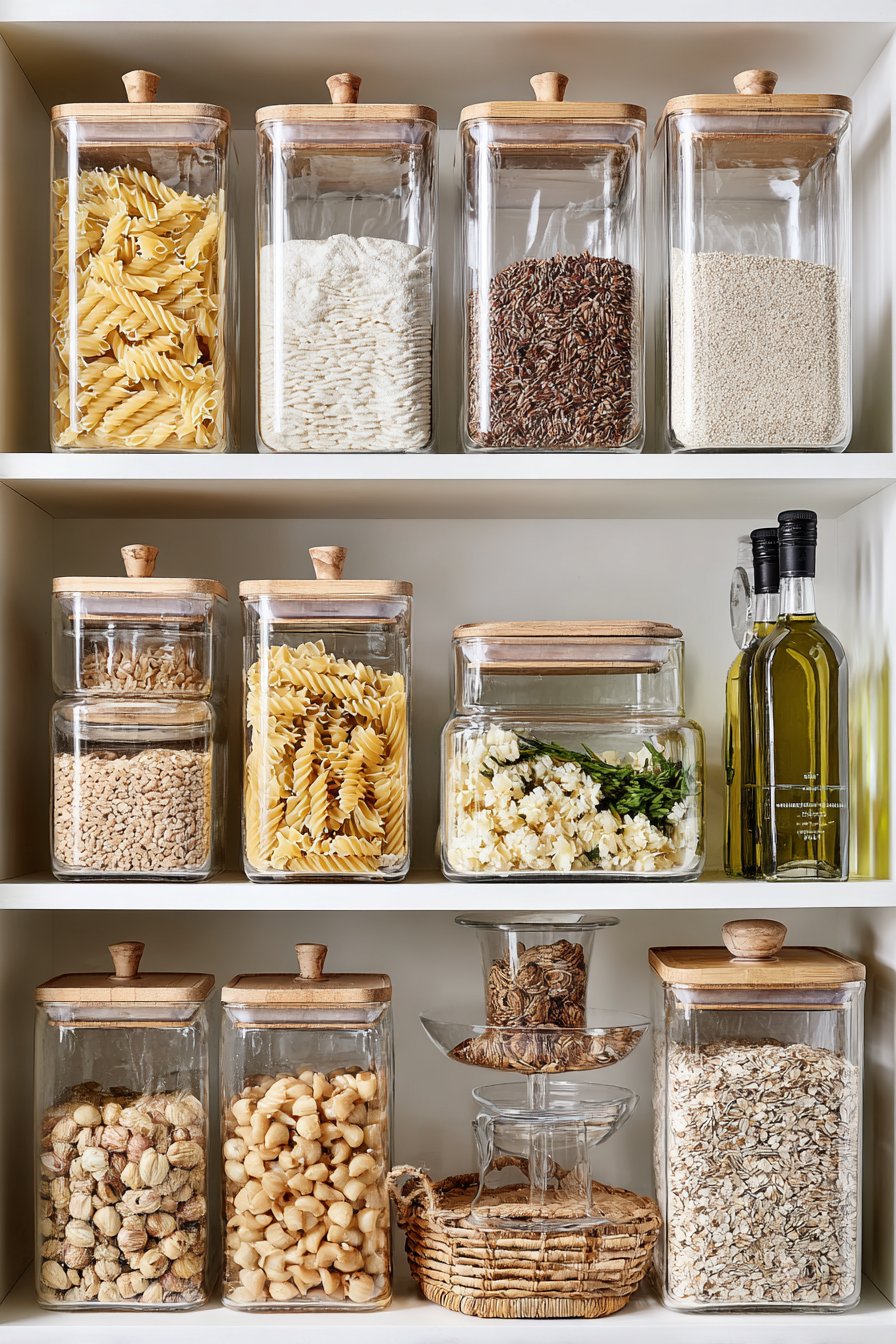
Clear containers serve double duty by protecting food freshness and displaying contents. Airtight seals keep cereals, crackers, and baking supplies fresh longer. Stackable designs create vertical organization within shelves. Decanted dry goods occupy less space than original packaging while looking more cohesive.
Invest in graduated container sizes that nest when not in use. Add lazy Susans to corner spaces or deep shelves for accessing items easily. Tiered organizers create levels within single shelves, effectively doubling capacity. Space-saving tools like hanging fruit baskets or under-shelf baskets extract value from every inch.

- Choose square or rectangular containers over round ones
- Invest in clear, airtight containers for dry goods
- Use stackable designs to maximize vertical space
- Add lazy Susans for corner areas or hard-to-reach spots
- Install under-shelf baskets to create additional levels
- Label all containers clearly with contents and expiration dates
Conclusion
Transforming a narrow walk-in pantry requires thoughtful planning and strategic implementation of space-saving solutions. By focusing on vertical storage, proper lighting, and smart organization systems, you can create a pantry that exceeds expectations. Each strategy presented here addresses specific challenges while enhancing overall functionality.
Remember that small changes yield significant improvements in narrow spaces. Start with one or two strategies that resonate most with your needs, then expand gradually. Your pantry should evolve with your lifestyle, adapting to changing storage requirements. With these six approaches, you’ll create an organized, accessible, and visually pleasing space that makes cooking and meal planning genuinely enjoyable.