Creating a dream pantry doesn’t require a massive renovation budget or professional designer fees. With strategic planning and creative solutions, you can transform even the smallest storage space into an organized, efficient, and beautiful pantry that serves your household perfectly. The key lies in understanding your needs, maximizing every inch of available space, and making smart purchasing decisions that deliver both functionality and style.
A well-designed pantry goes beyond mere storage—it becomes the command center of your kitchen, streamlining meal preparation and reducing food waste. Whether you’re working with a spacious walk-in closet or a modest cabinet, the principles of budget-friendly design remain consistent. This article explores six practical strategies that combine clever organization, DIY solutions, and affordable materials to help you create a pantry that looks professionally designed without the hefty price tag.
The beauty of budget pantry design lies in its accessibility. You don’t need expensive custom cabinetry or designer containers to achieve stunning results. What you need is a clear vision, some elbow grease, and the willingness to think creatively about storage solutions. Let’s dive into the essential elements that will transform your pantry from chaotic to extraordinary.
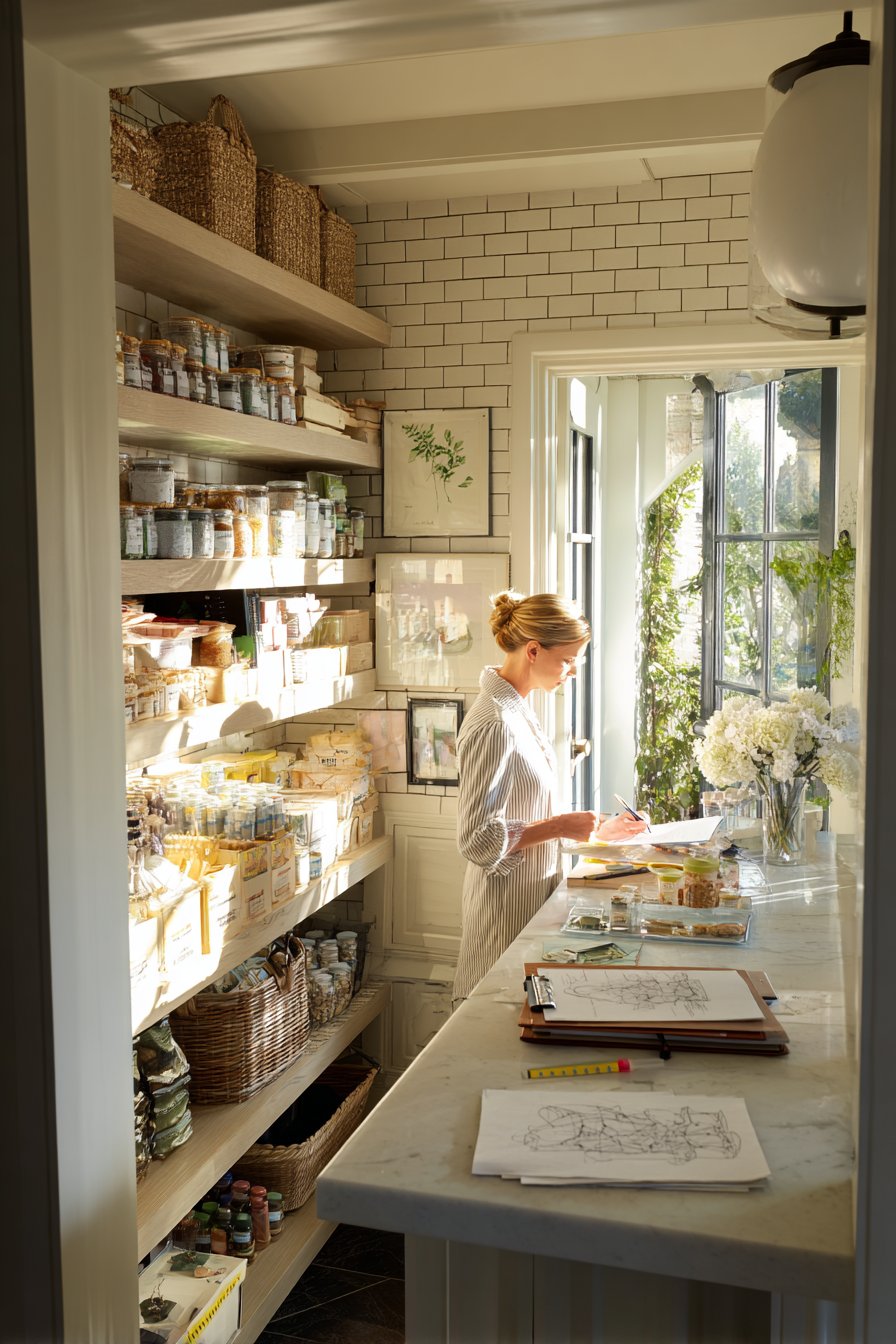
1. Start with a Complete Inventory and Measurement Plan
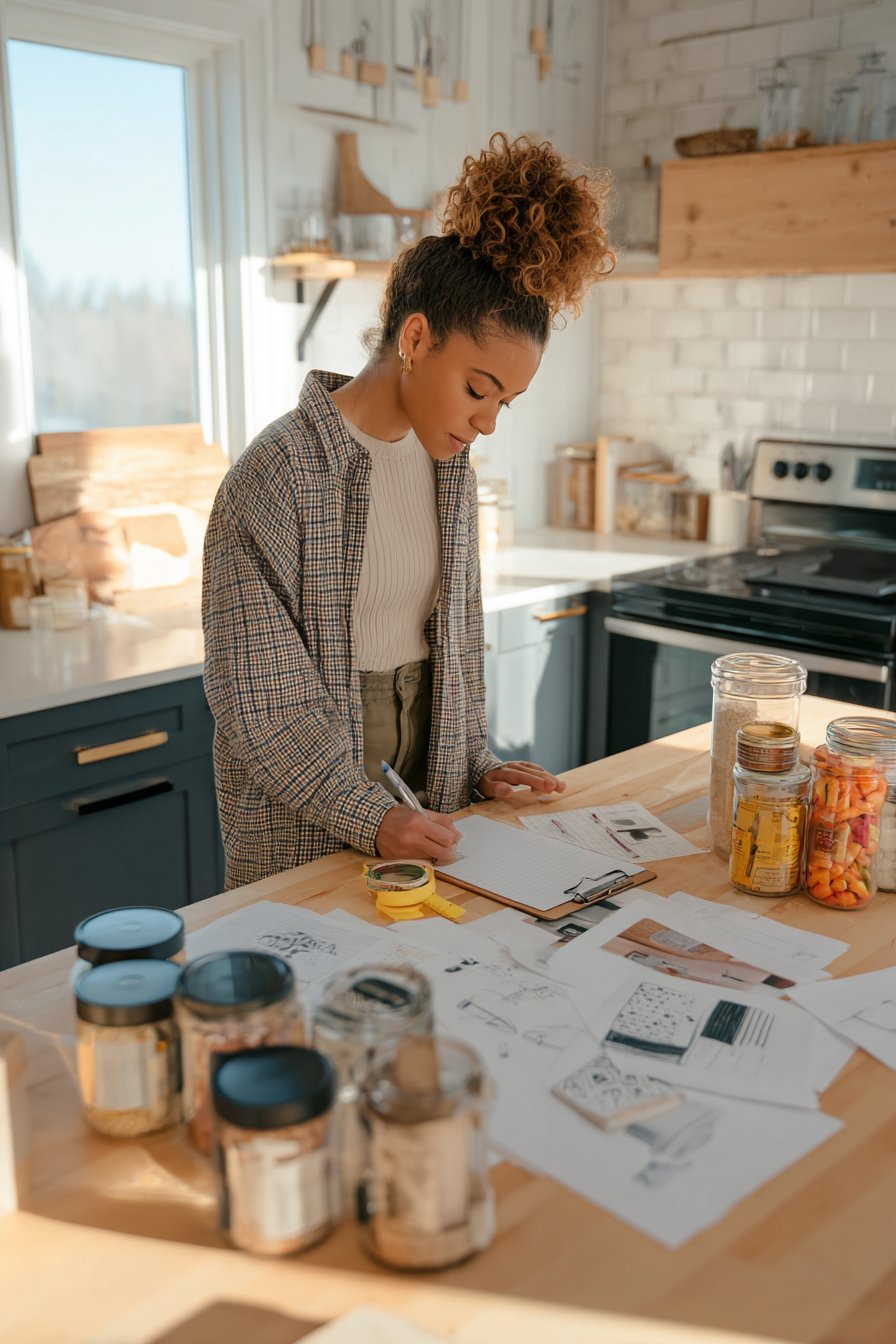
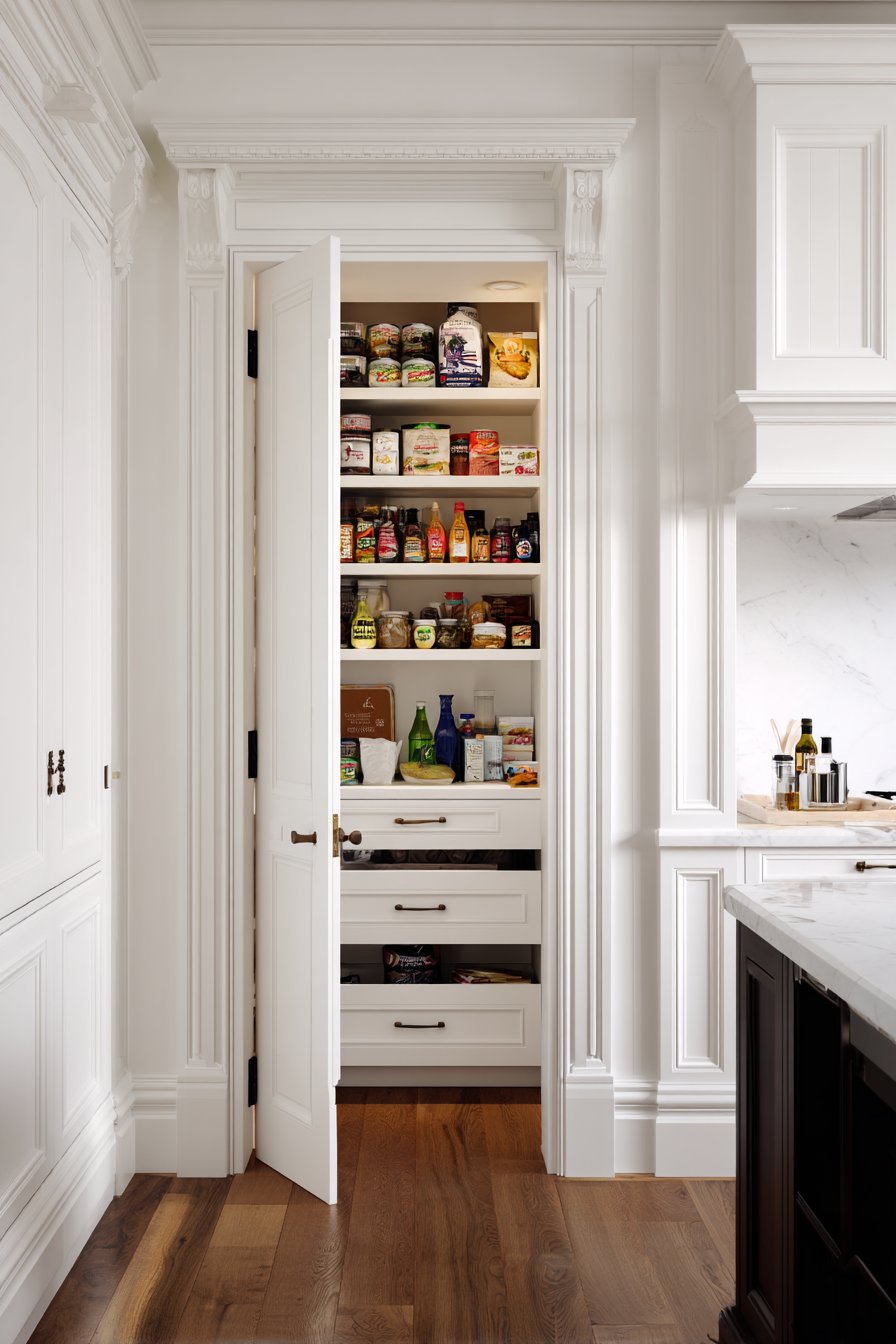
Before purchasing a single organizing product, you need to understand exactly what you’re working with and what you need to store. Taking accurate measurements of your pantry space prevents costly mistakes and ensures every storage solution fits perfectly. This foundational step saves money by eliminating guesswork and returns.
Conduct a thorough inventory of your current food items, kitchen tools, and appliances that need pantry storage. Group items by category—baking supplies, canned goods, snacks, breakfast items—to determine how much dedicated space each category requires. This process often reveals duplicates and expired items that can be discarded, immediately freeing up valuable space without spending a dollar.
Document your pantry dimensions including height, width, and depth of shelves. Note the location of existing shelving, door swing direction, and any obstacles like light fixtures or electrical outlets. These details become your design blueprint for selecting appropriately sized containers and organizational systems that maximize every cubic inch.

- Photograph your empty pantry from multiple angles for reference
- Measure shelf spacing to determine container height requirements
- List all items that will be stored, organized by frequency of use
- Identify problem areas like wasted corner space or awkward dimensions
- Create zones on paper before purchasing any products
- Calculate cubic footage to estimate storage capacity needs
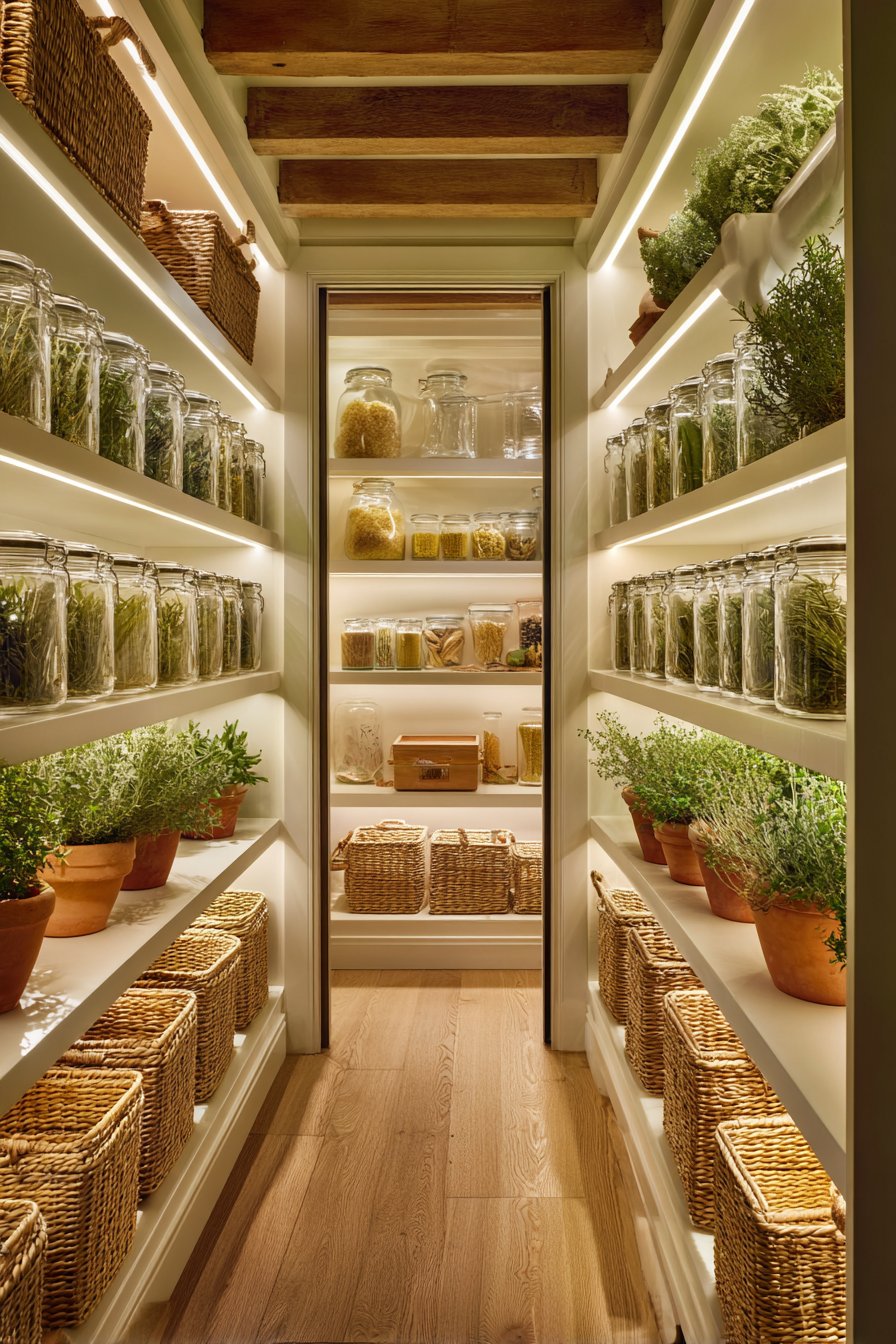
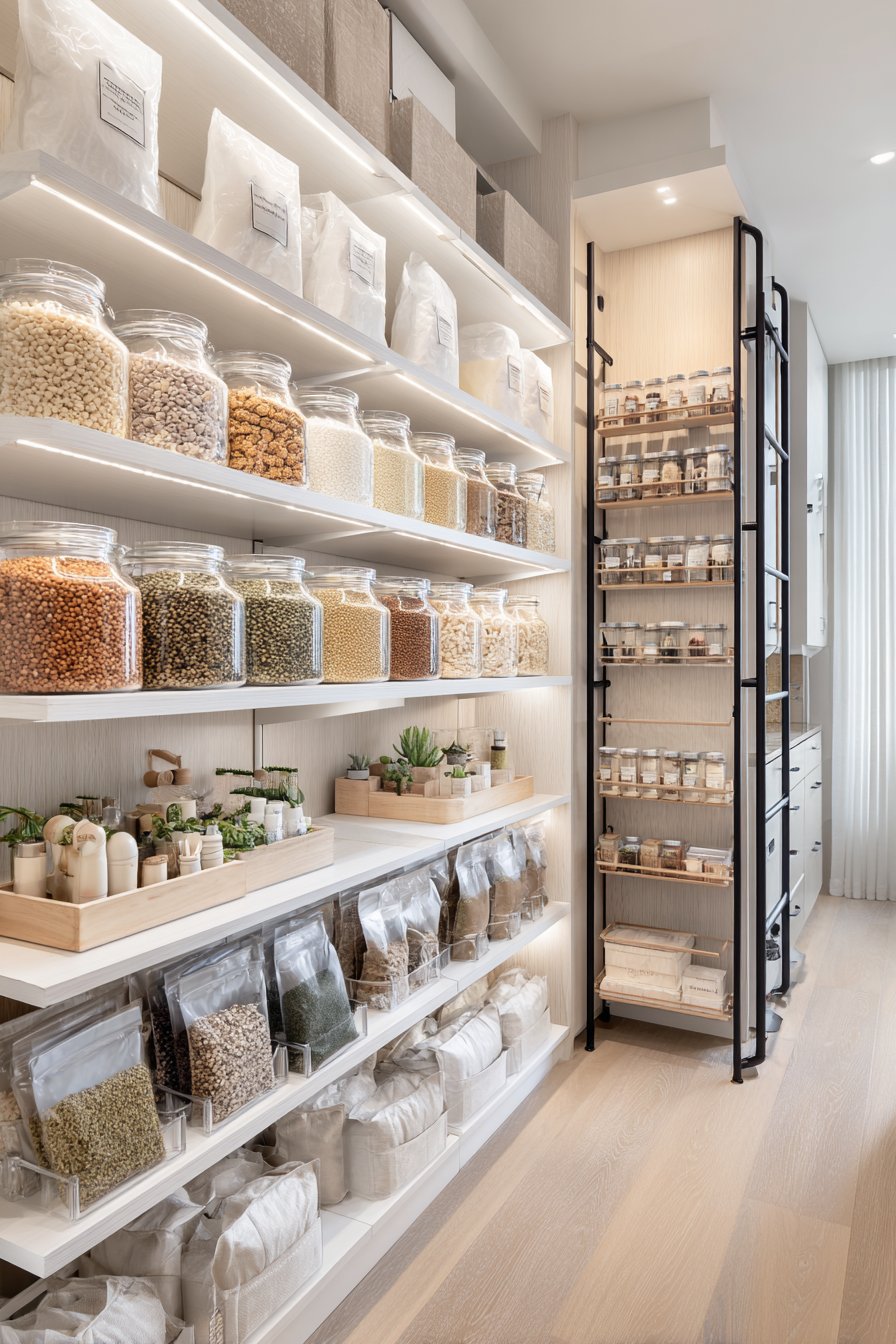
2. Embrace Vertical Space with DIY Shelving Solutions
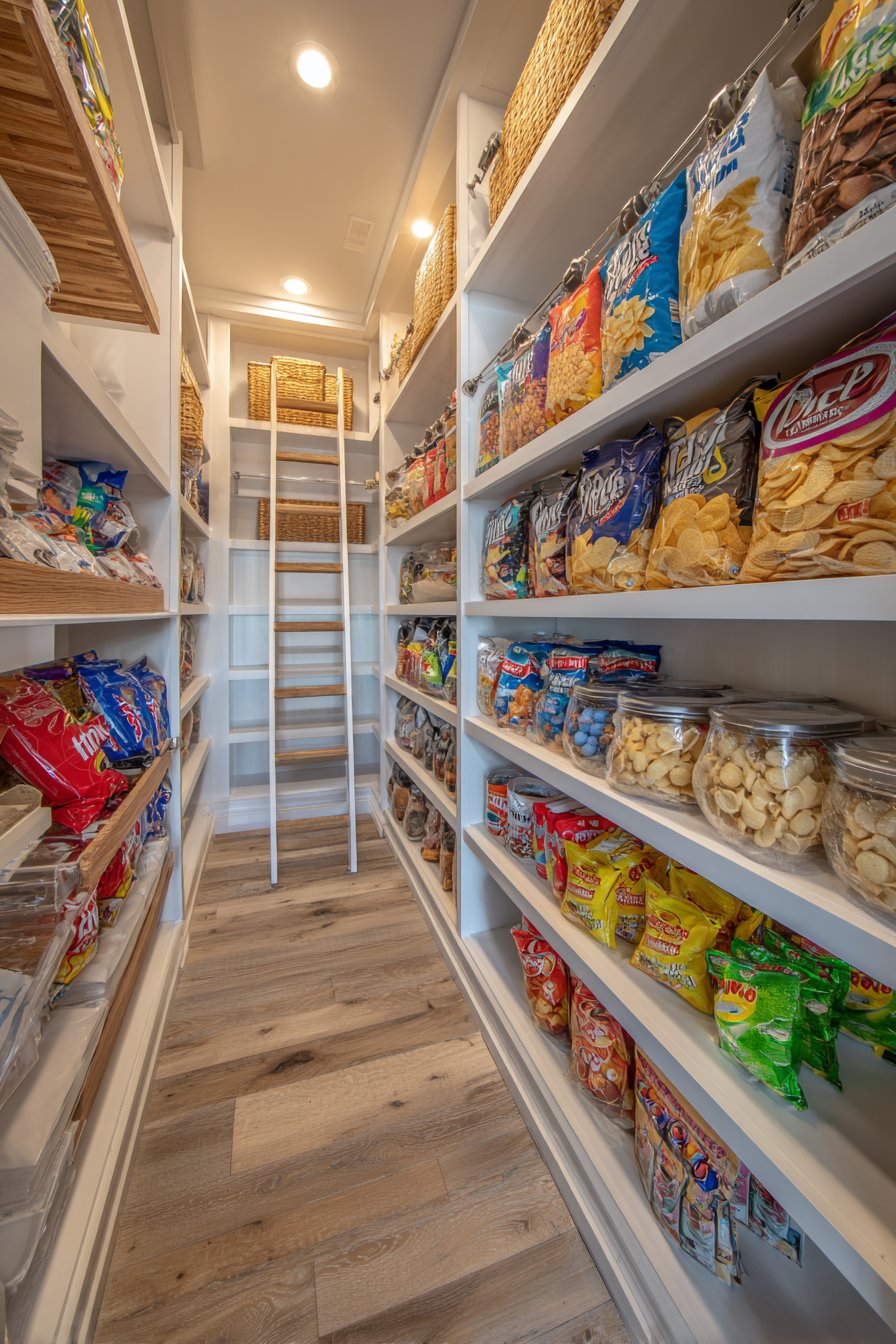
Most pantries suffer from underutilized vertical space, leaving precious storage potential untapped. Adding extra shelving between existing shelves doubles or triples your storage capacity without expanding your pantry’s footprint. Simple wire shelving or wooden boards on brackets cost significantly less than custom built-ins while delivering impressive results.
Home improvement stores offer affordable shelving systems starting under $20 per unit. These modular systems allow you to customize height and configuration based on your specific needs. For even greater savings, repurpose wood planks and install them with basic L-brackets—a weekend DIY project that costs minimal money but maximizes impact.
Consider installing tension rods between shelves to create hanging storage for lightweight items like chip bags or cleaning cloths. Over-the-door organizers add instant storage without tools or permanent installation. These solutions work perfectly for renters or anyone wanting reversible modifications that don’t damage walls or existing structures.
- Install adjustable shelving tracks for future flexibility
- Add half-shelves to double storage in tall spaces
- Use stackable shelf risers to create tiered storage within single shelves
- Mount narrow shelves on the back of pantry doors
- Create pull-out drawers using wire baskets and drawer slides
- Paint or stain budget shelving to match your kitchen aesthetic
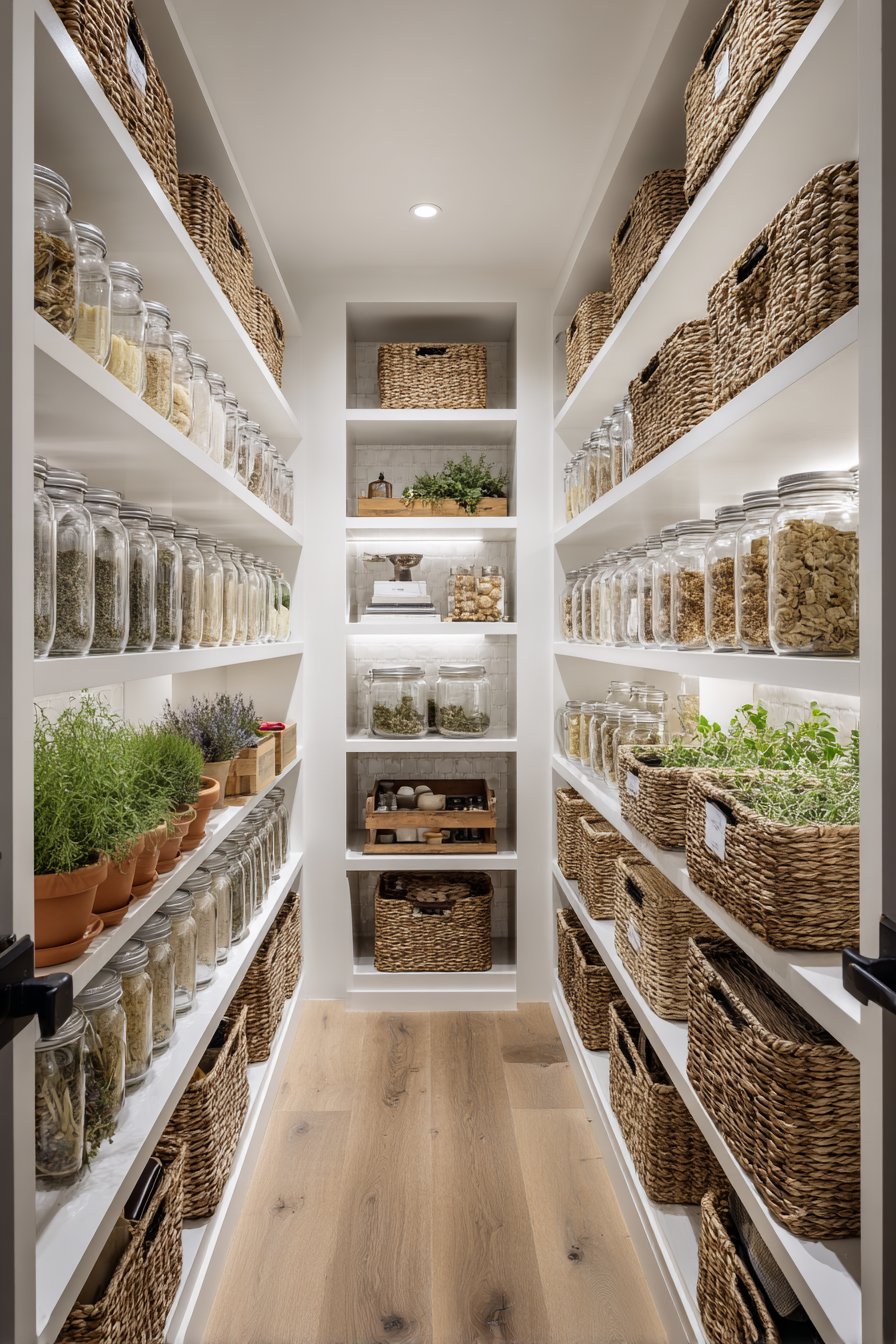
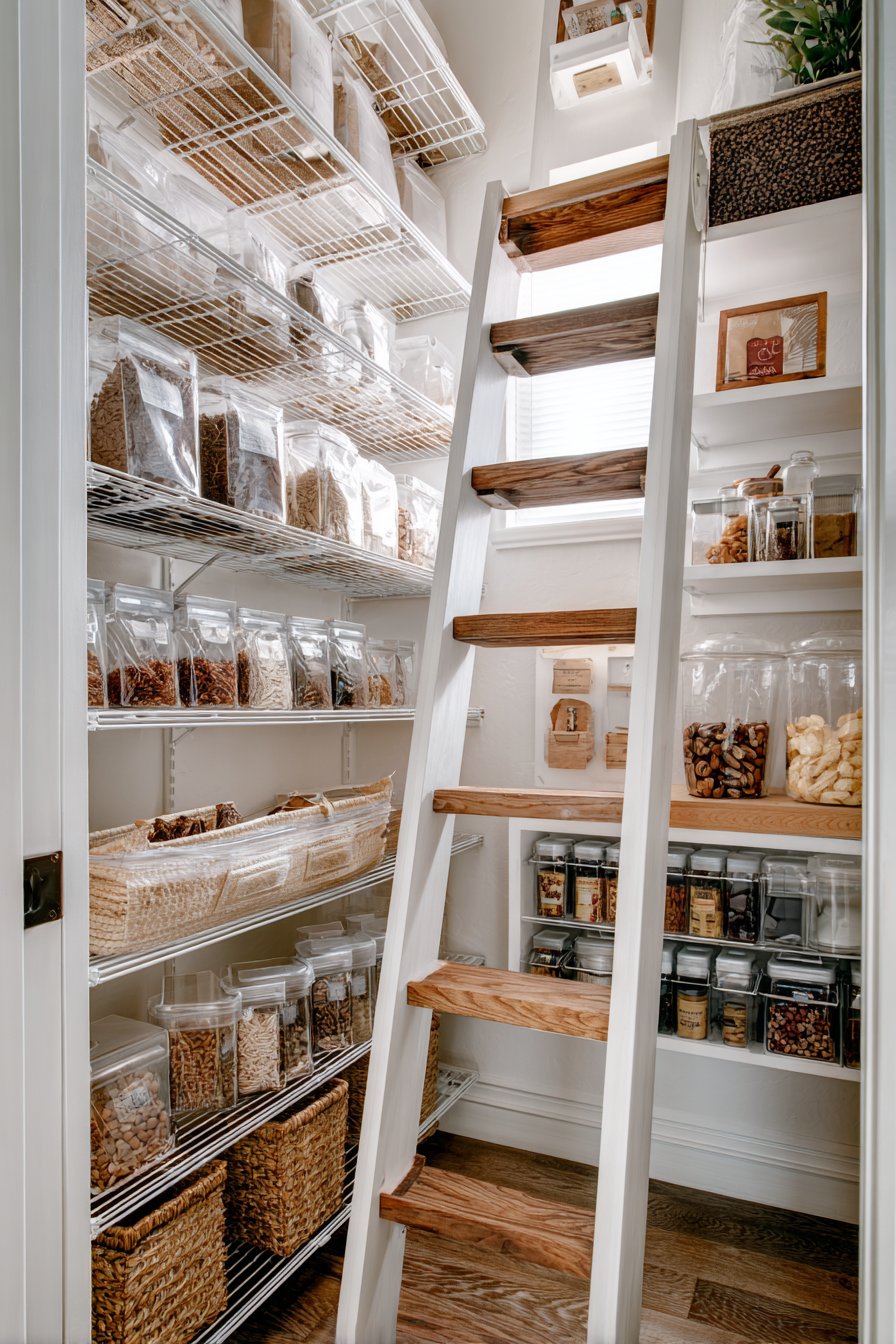
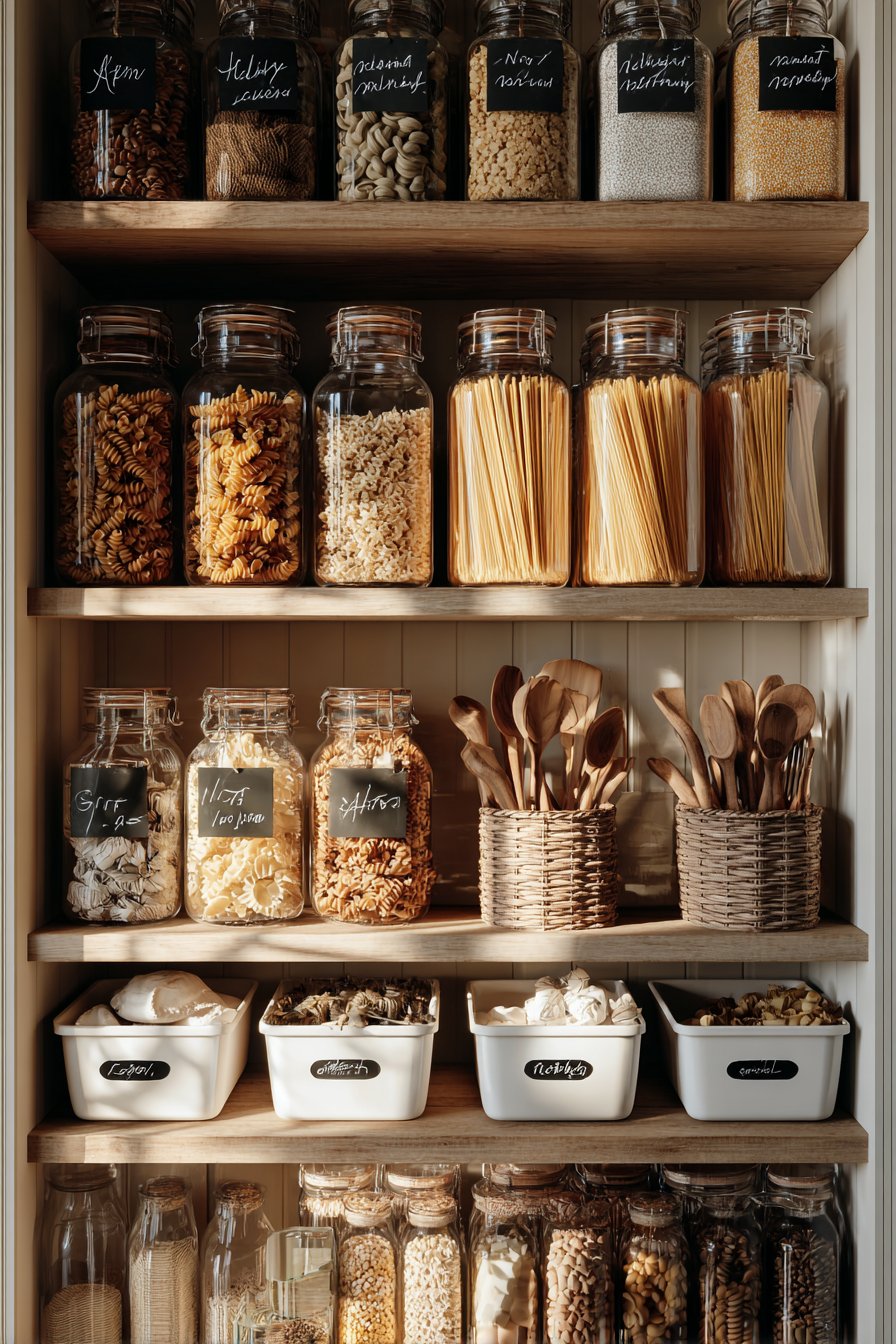
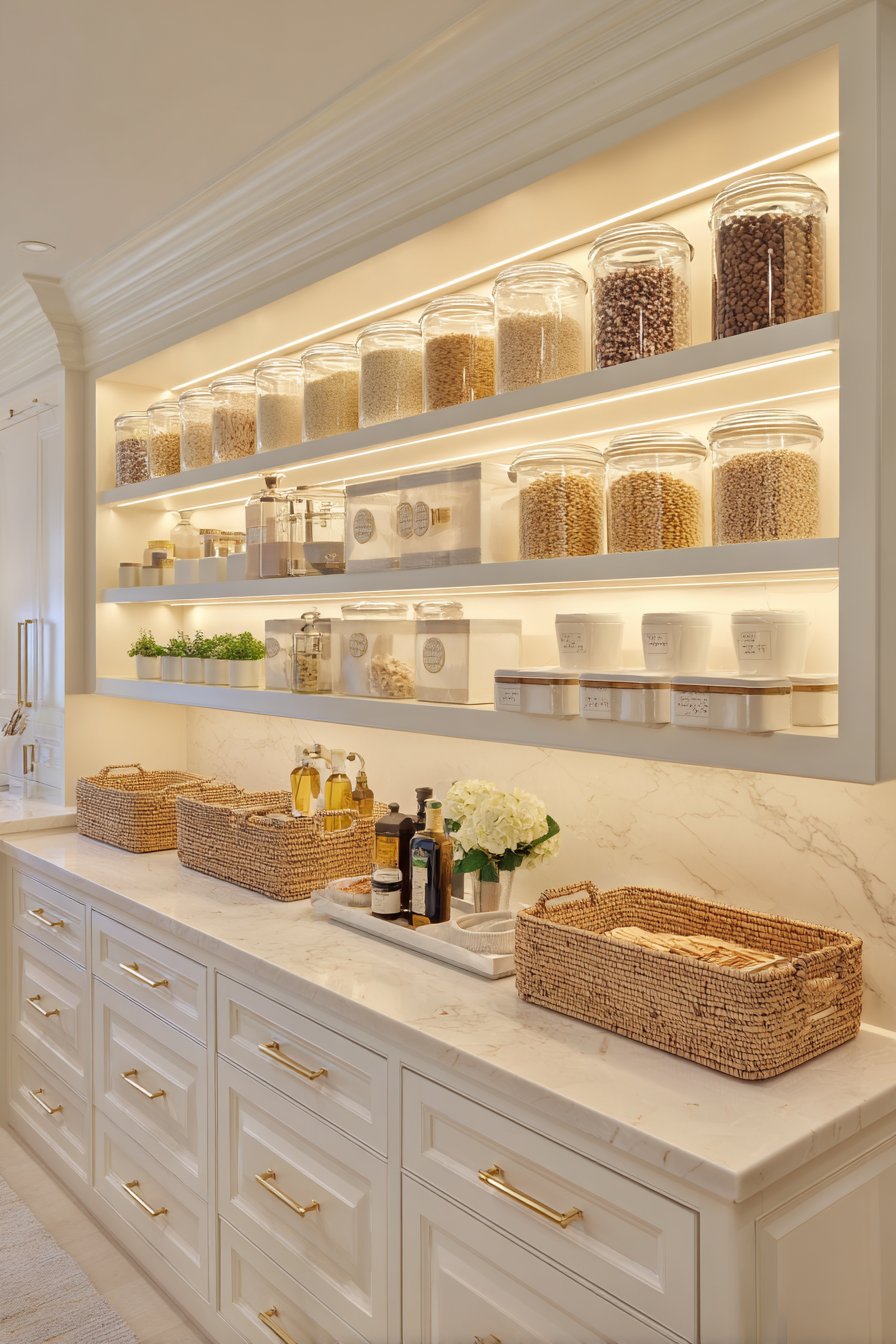
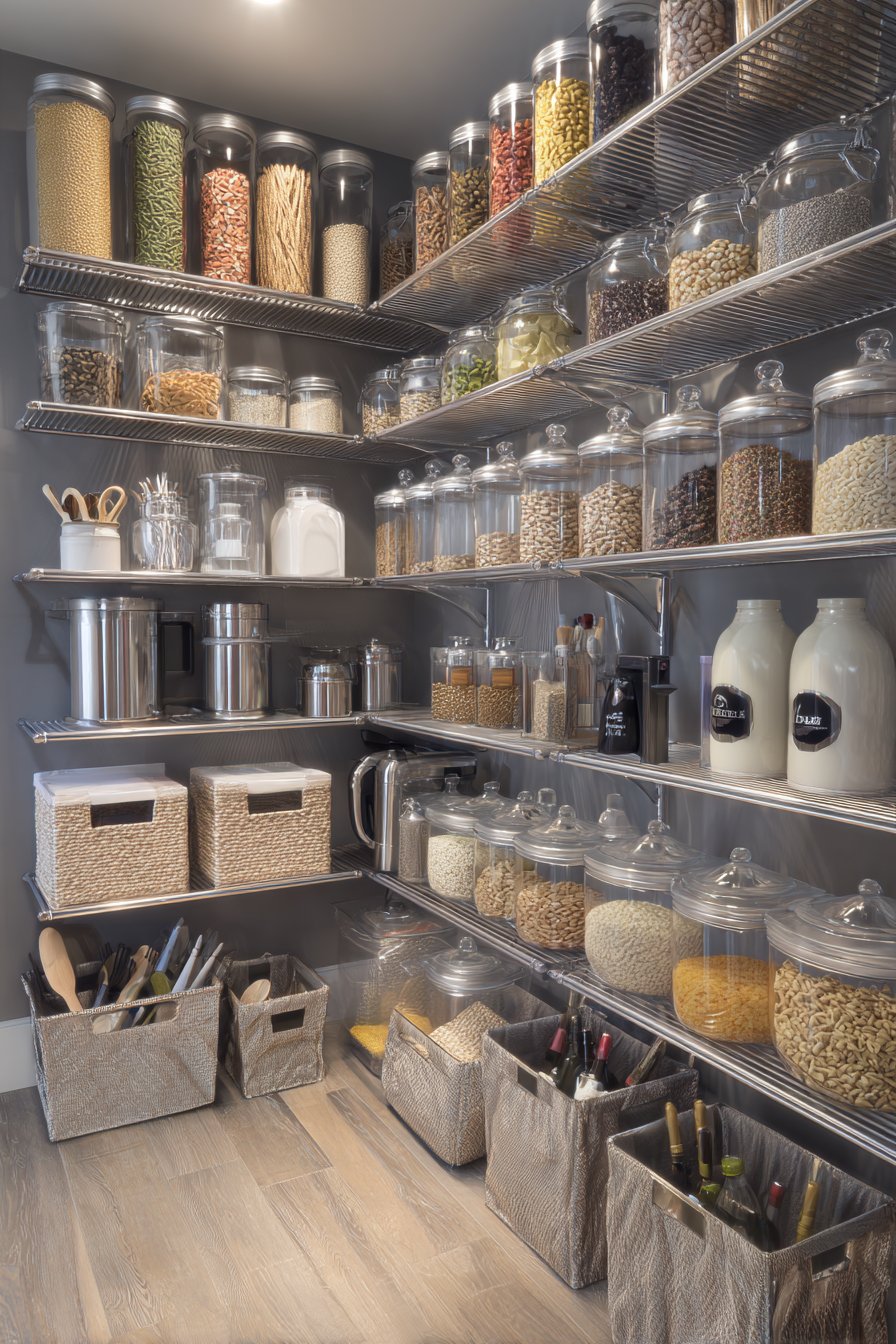
3. Shop Smart for Affordable Containers and Labels
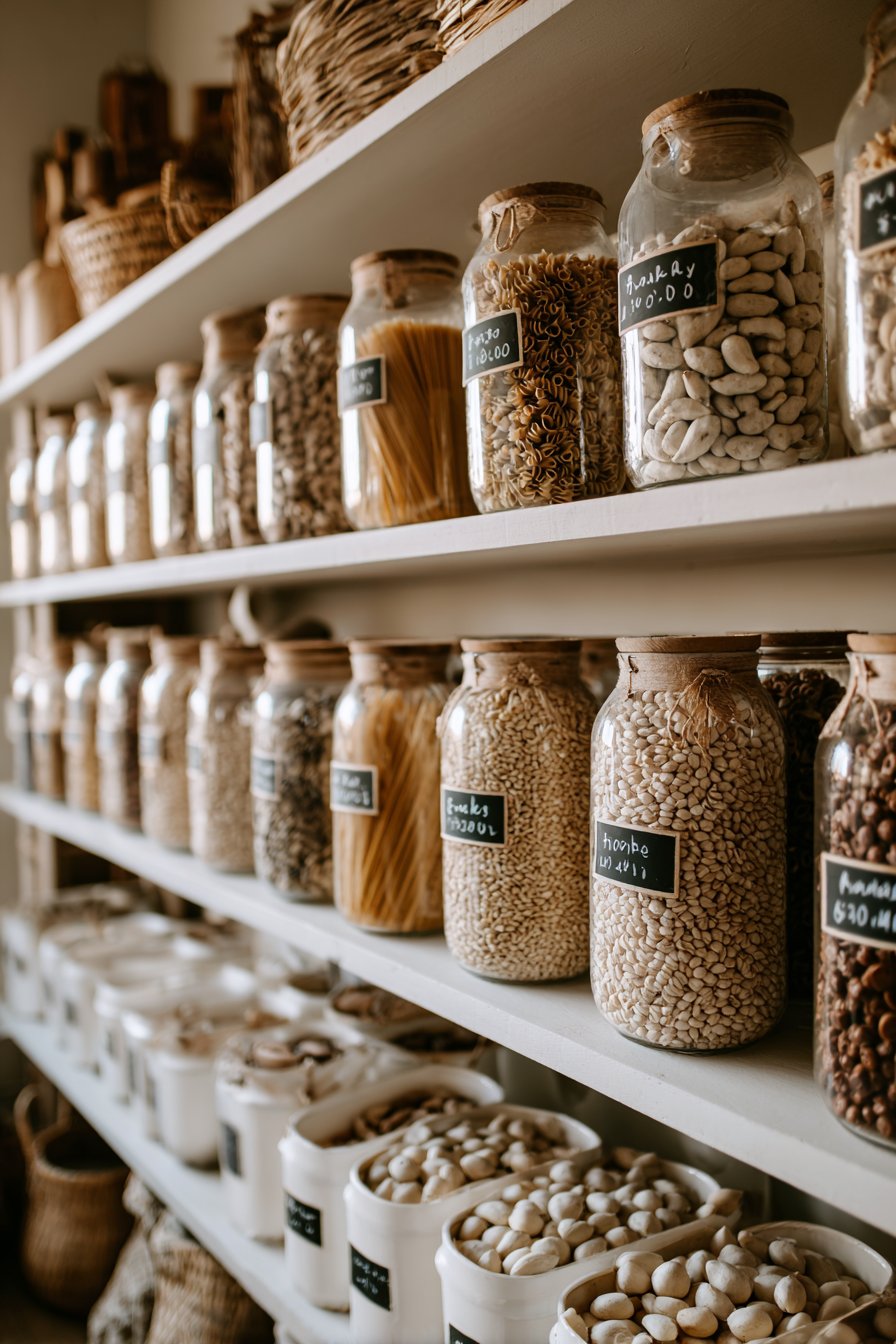
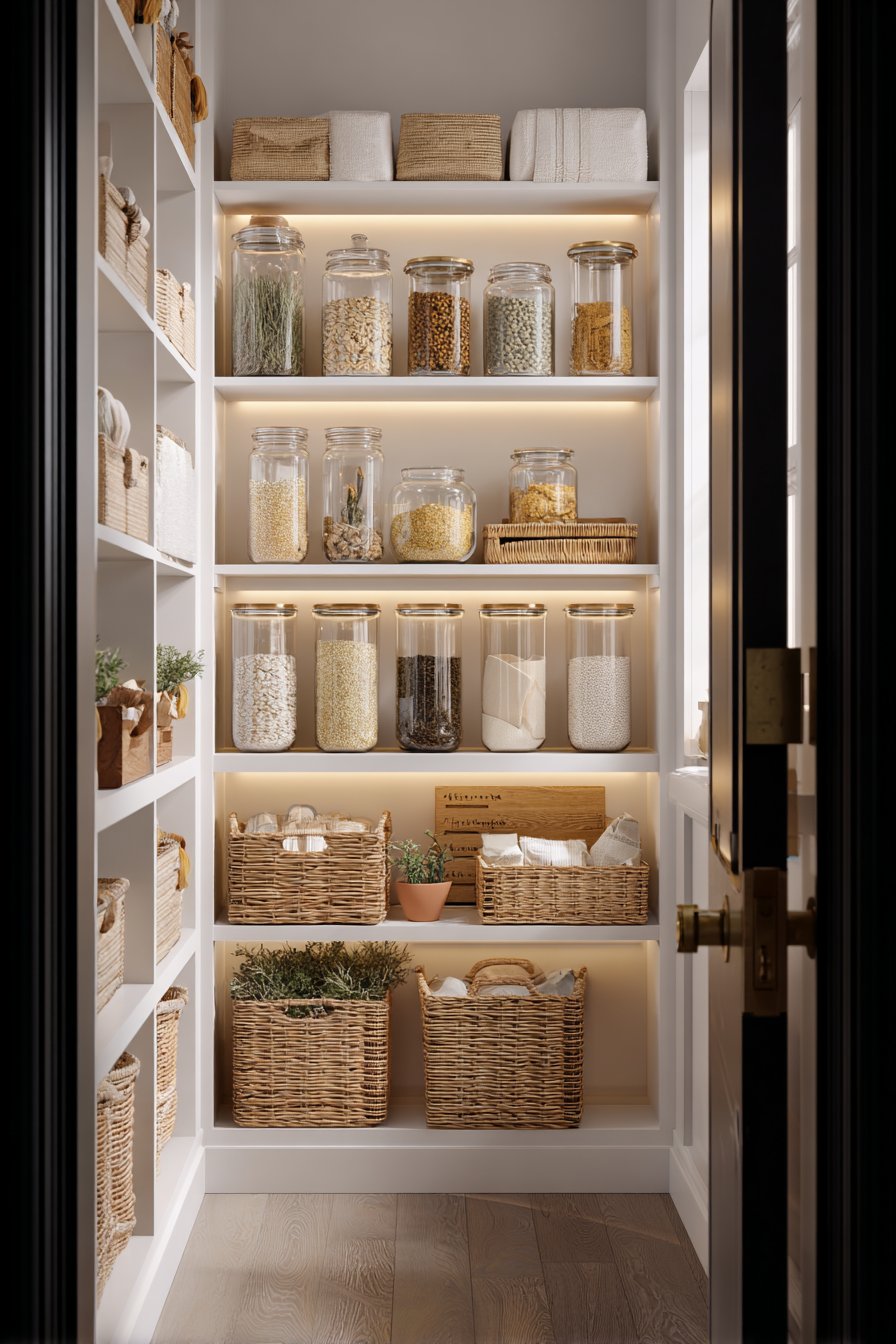
Clear containers create the organized, cohesive look of expensive pantries without the premium price tag. Dollar stores, discount retailers, and online marketplaces offer budget-friendly alternatives to designer organizing products. Focus on finding uniform containers in a few standard sizes rather than collecting mismatched pieces.
Glass jars from pasta sauce or pickles make excellent free storage containers after labels are removed. These repurposed containers work beautifully for dry goods like pasta, rice, and beans while adding zero cost to your project. For a cohesive appearance, create custom labels using free printable templates or a label maker purchased for under $20.
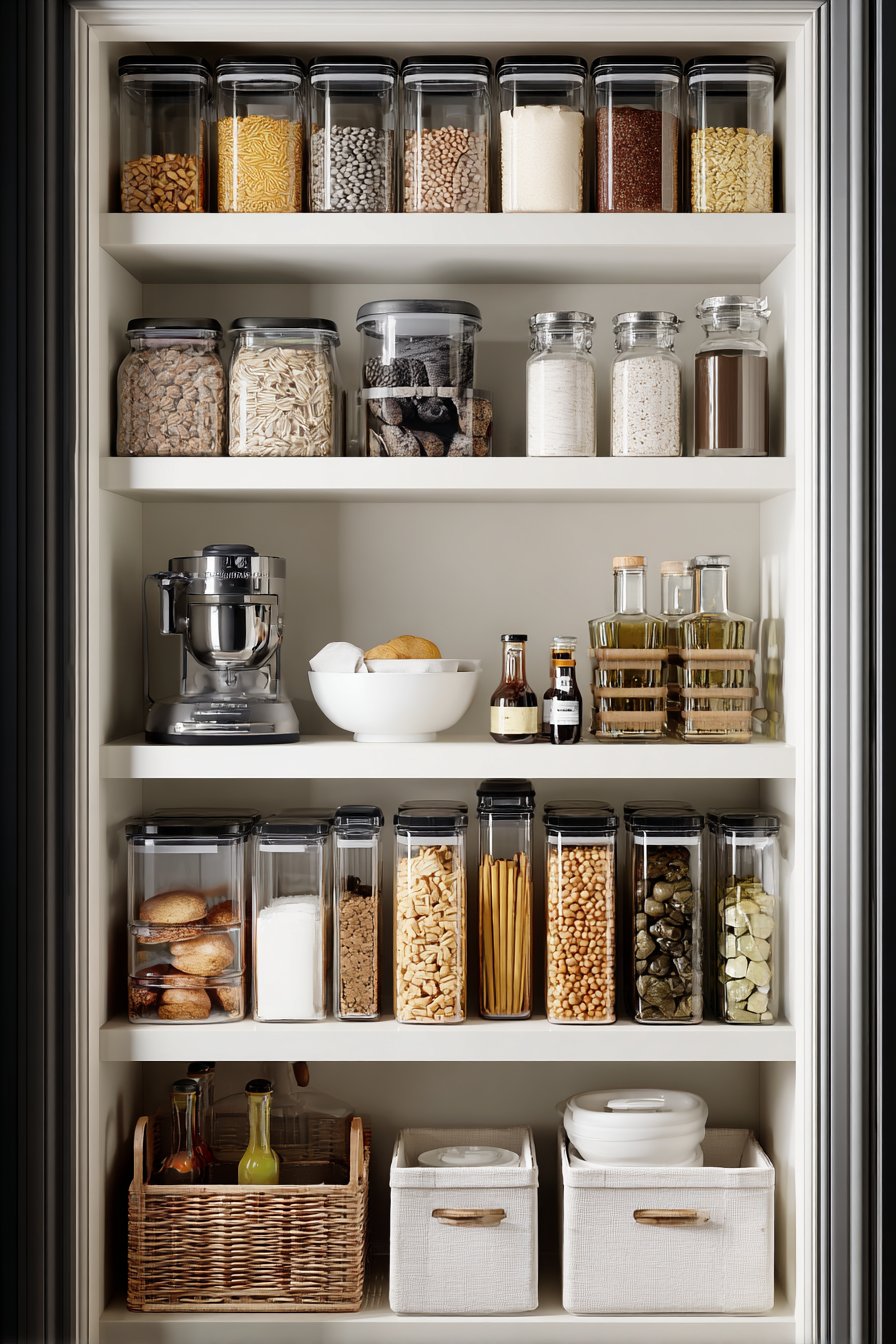
Plastic shoeboxes and storage bins from discount stores serve as perfect category containers for grouping similar items like baking supplies or snack packets. These cost just a few dollars each but create defined zones that prevent clutter from spreading. Choose clear or uniform colored containers for a professional appearance that rivals expensive organizational systems.
- Purchase containers during post-holiday clearance sales for maximum savings
- Mix budget containers with a few statement pieces in highly visible areas
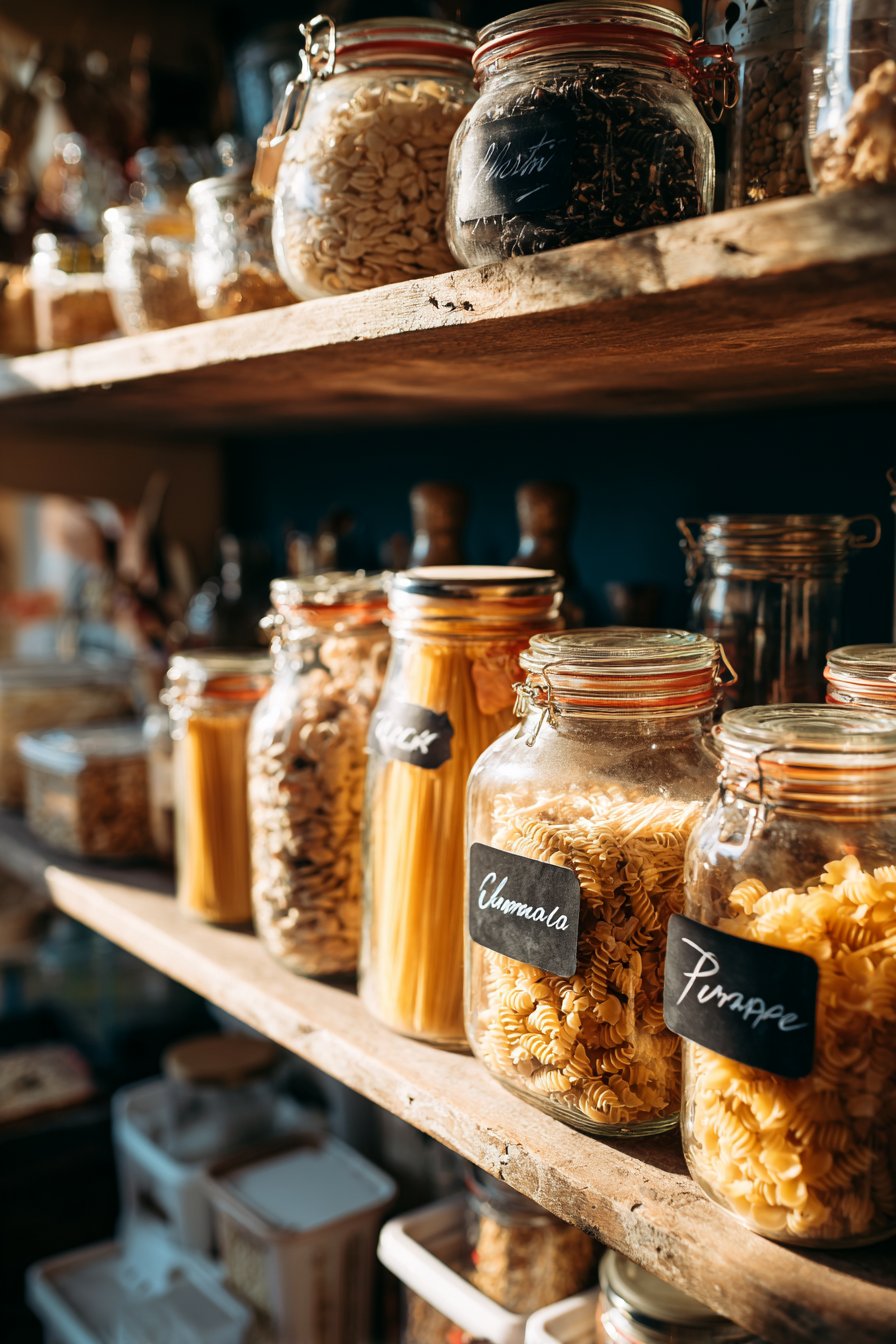
- Use mason jars for frequently accessed items like flour and sugar
- Create DIY chalkboard labels using paint and contact paper
- Group small items in magazine holders or cardboard boxes covered in contact paper
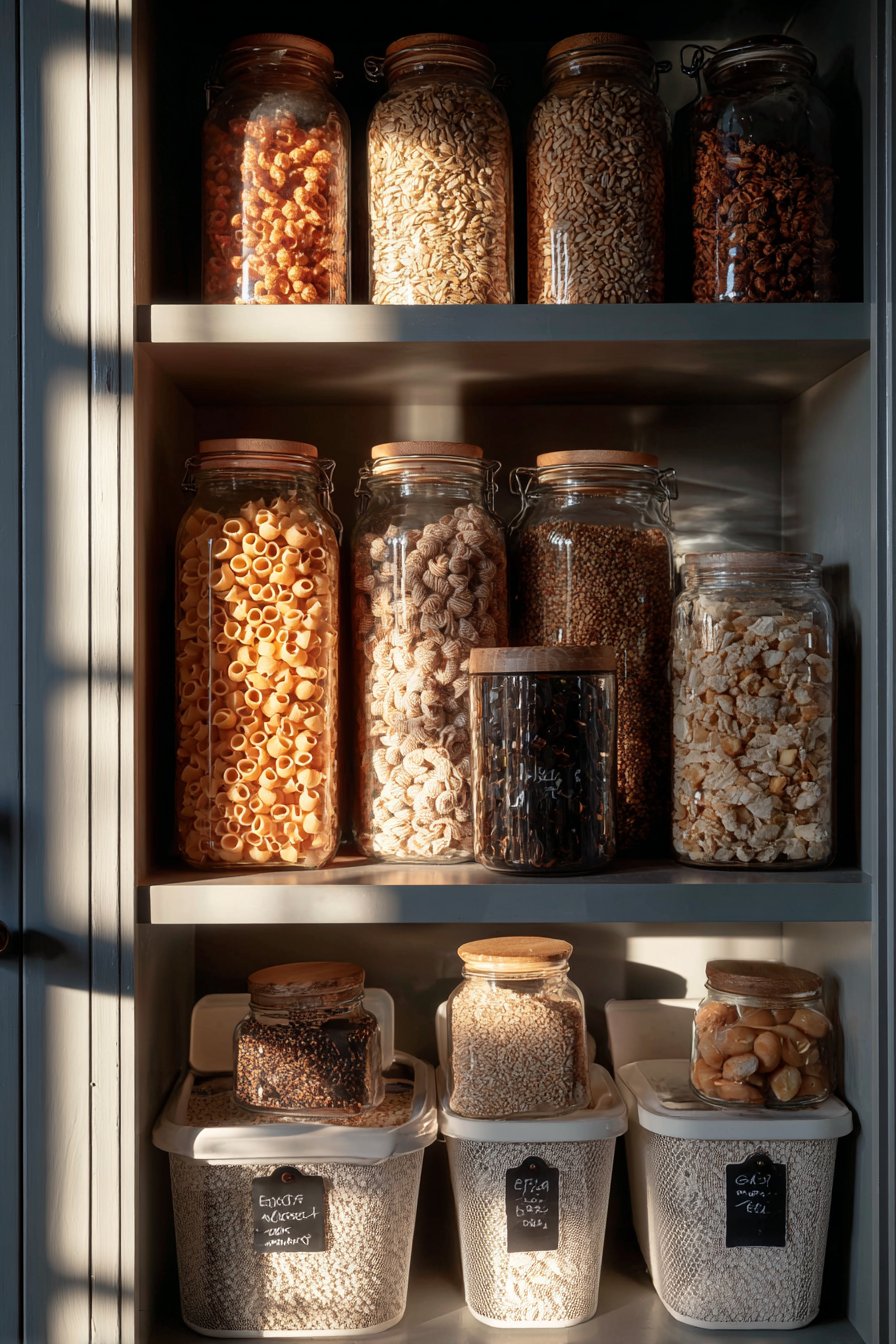
- Invest in airtight containers only for items requiring freshness protection
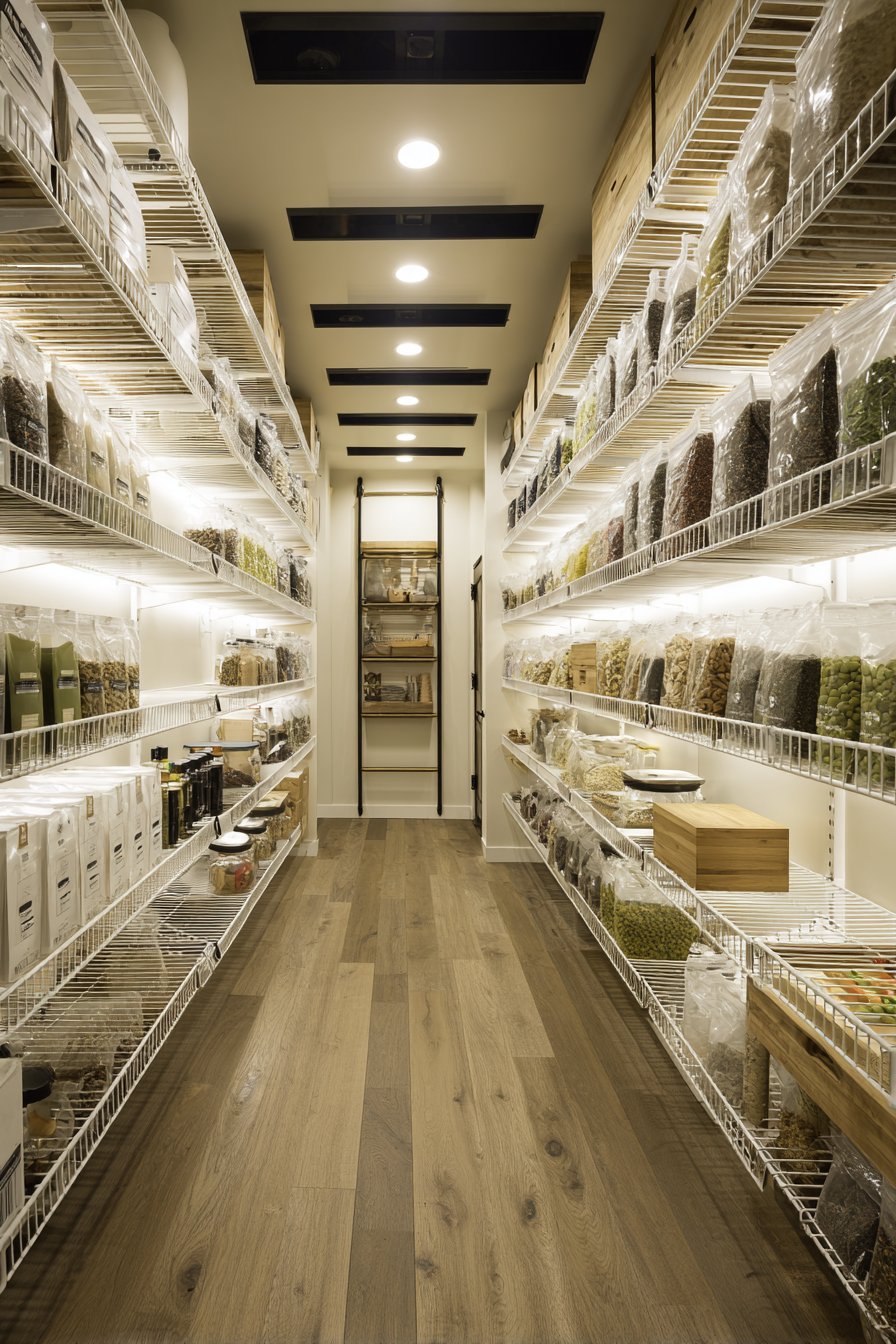
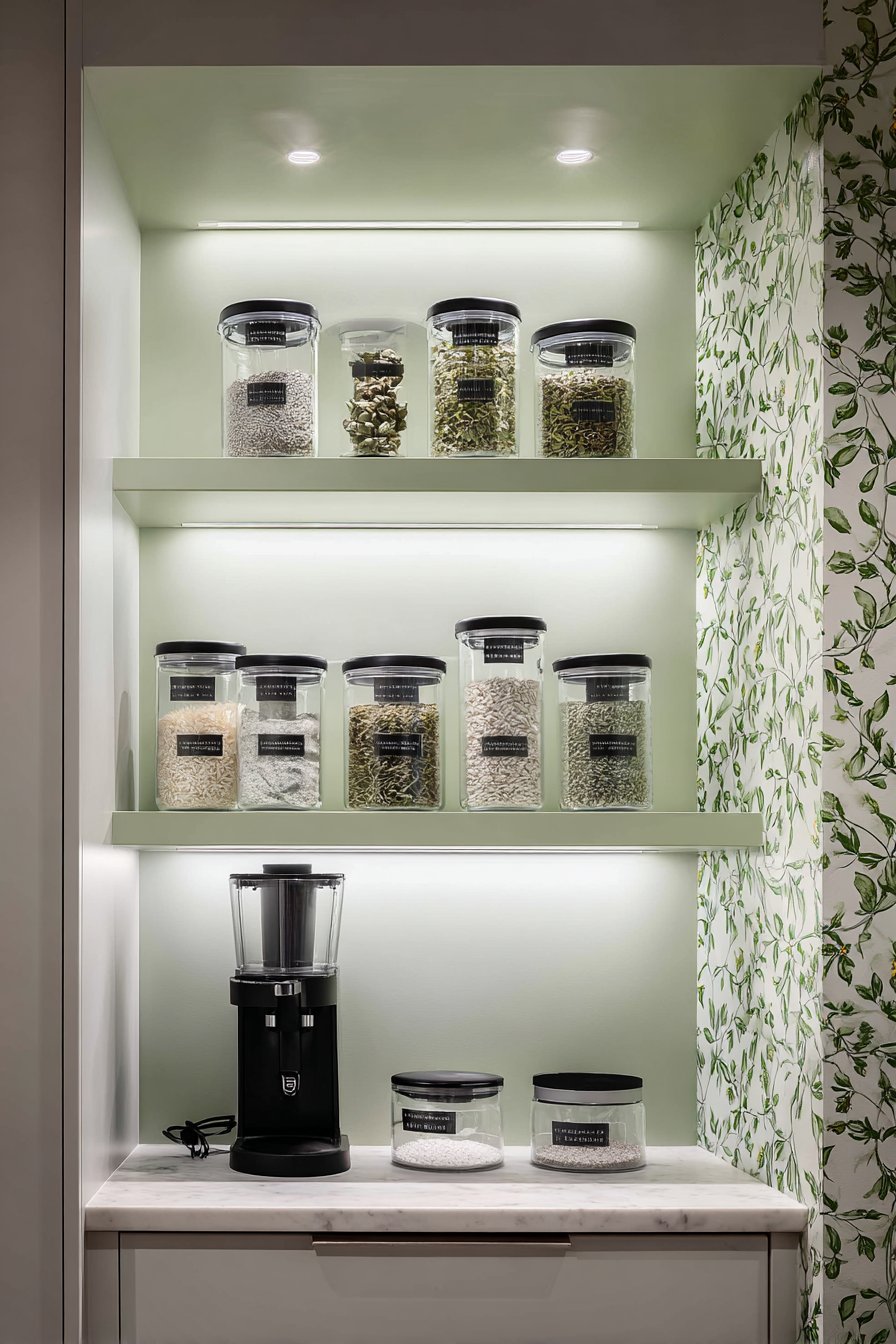
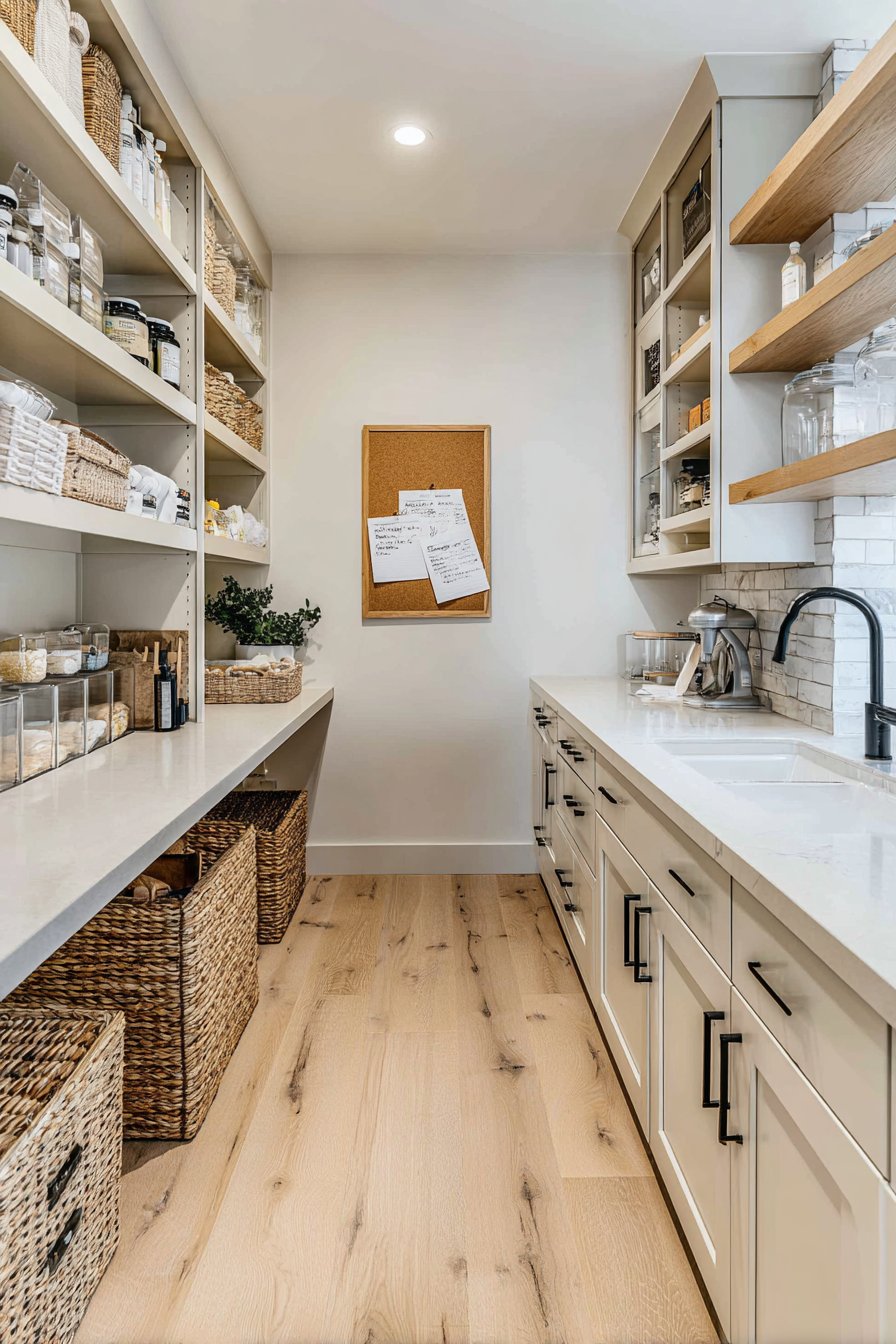
4. Implement a Strategic Color and Lighting Plan
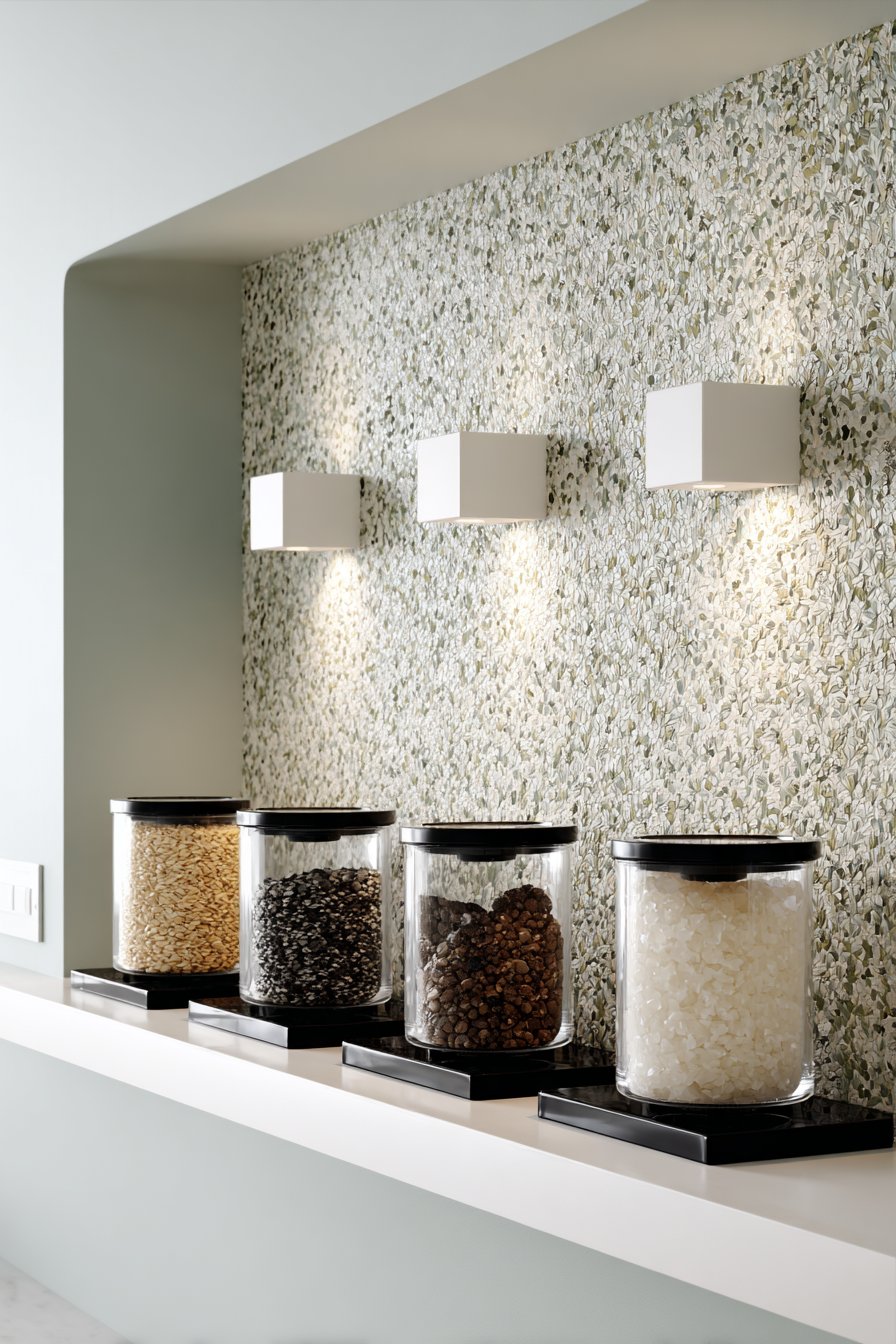
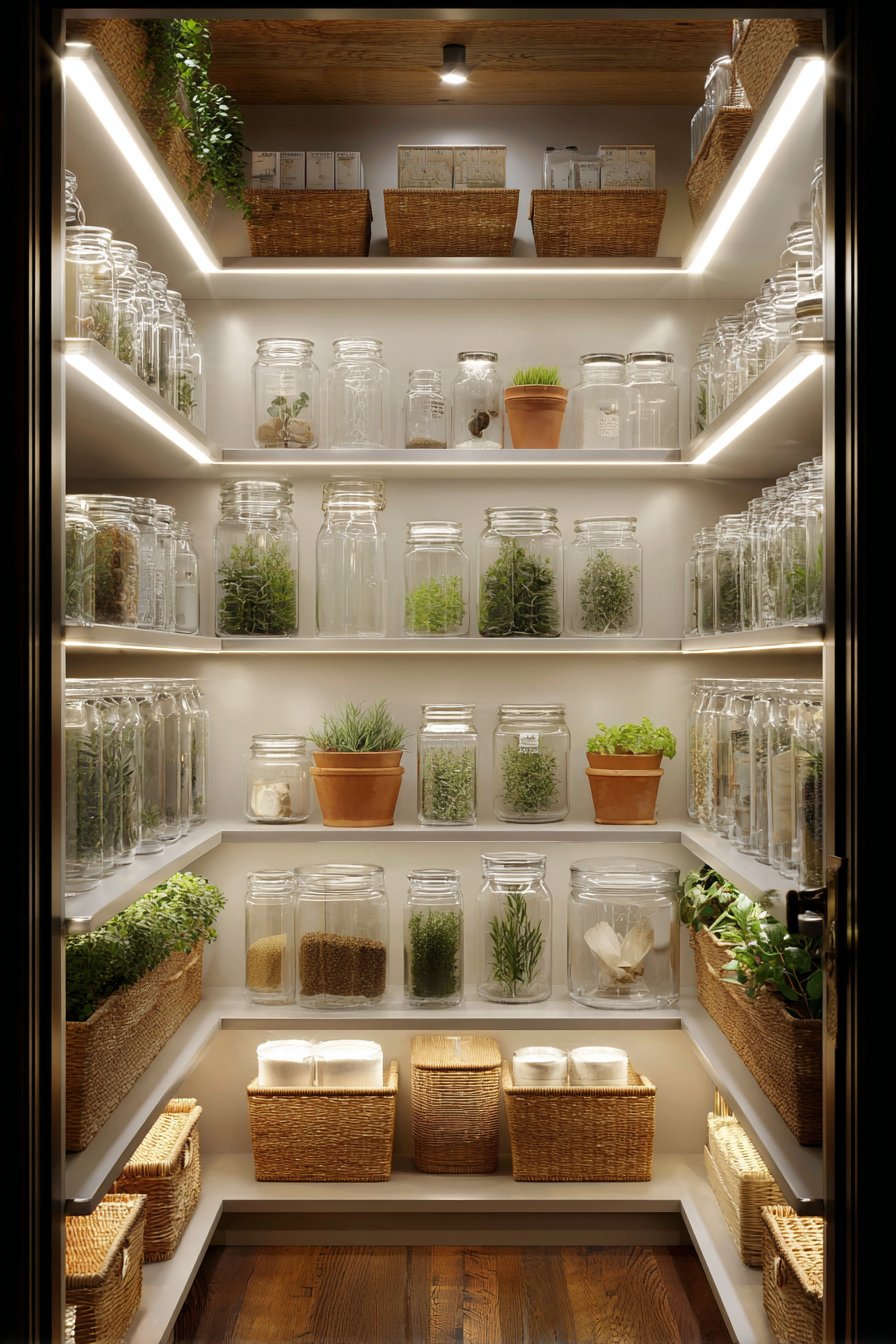
Good lighting transforms a functional space into an inviting one, and affordable LED options make this upgrade accessible on any budget. Battery-operated LED puck lights or strip lighting cost under $15 and install without electrical work. Proper illumination helps you find items quickly and makes your pantry feel larger and more welcoming.
A cohesive color scheme creates visual harmony that makes even budget materials look intentional and designed. Paint existing shelves, walls, or door interiors in light, neutral colors to brighten the space and create a fresh backdrop. White, light gray, or soft beige reflect light and make your organizational containers stand out beautifully.
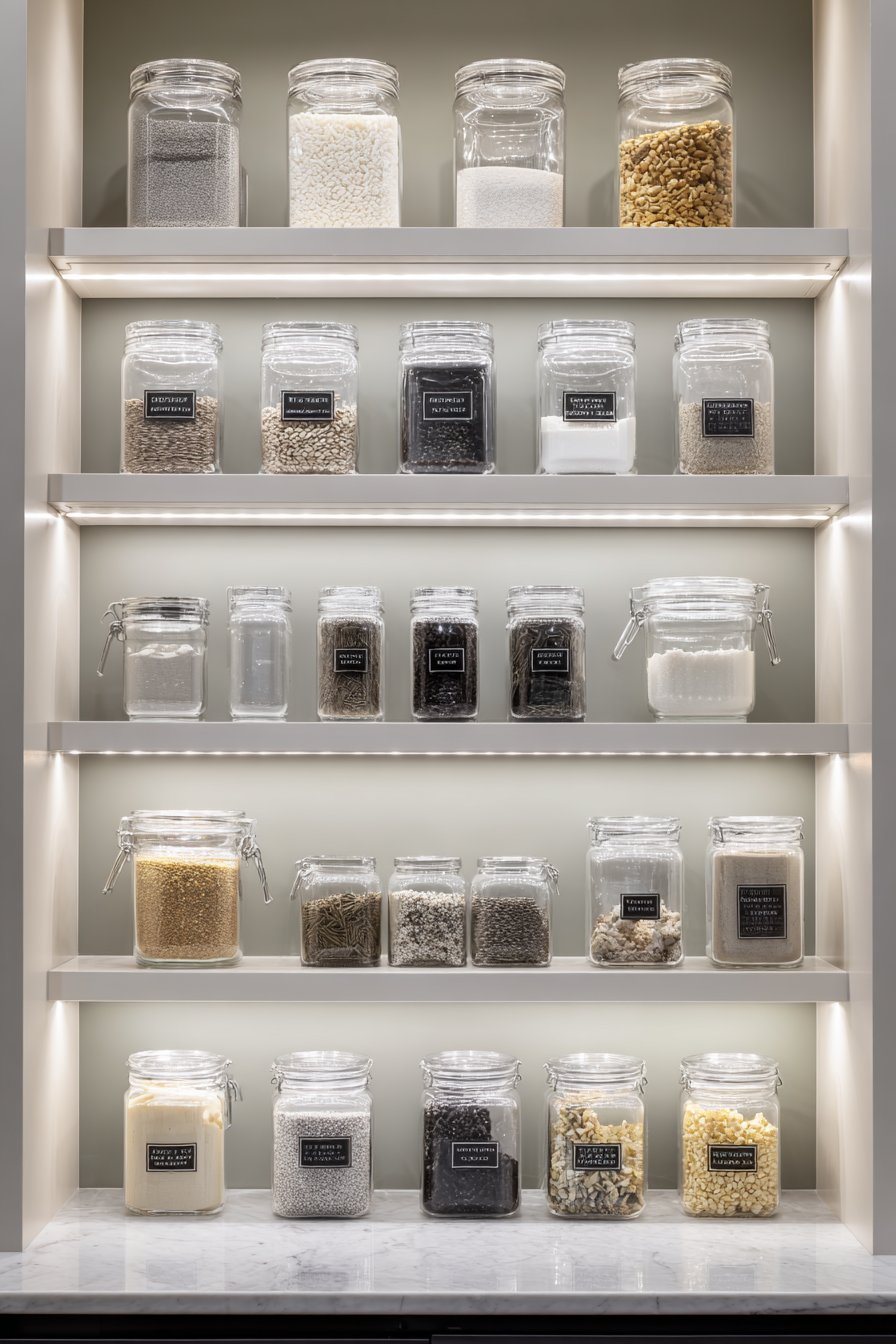
Consider the psychological impact of color when selecting containers and labels. Stick to two or three coordinating colors maximum—perhaps white containers with black labels and natural wood accents. This disciplined approach creates a magazine-worthy aesthetic without spending money on designer accessories or custom installations.
- Install motion-sensor LED lights for hands-free illumination
- Paint the ceiling white to maximize light reflection
- Use removable wallpaper on one wall as an inexpensive focal point
- Add a small mirror to reflect light and create depth
- Choose containers in clear glass or white plastic for visual consistency
- Replace standard bulbs with daylight LEDs for better color rendering
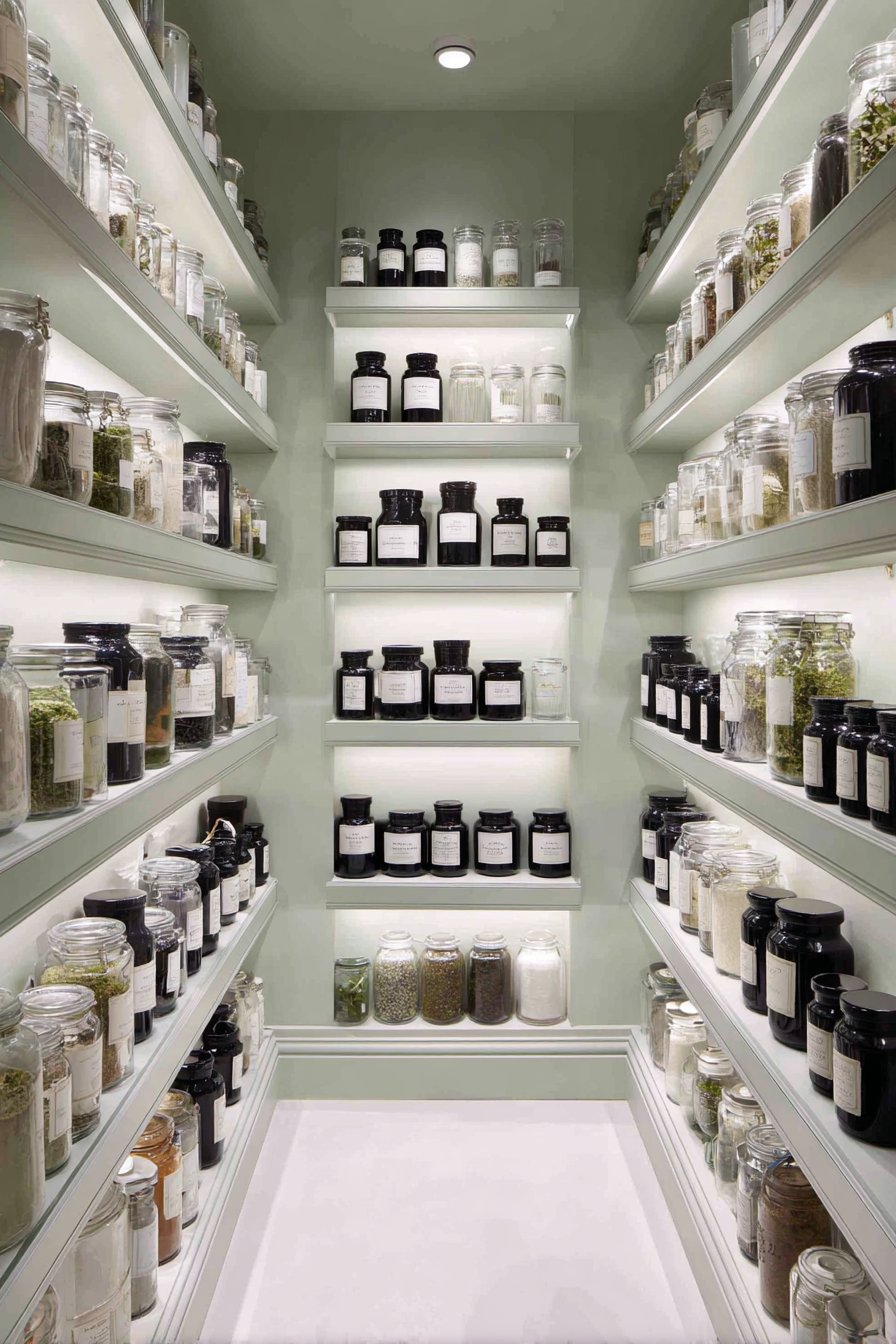
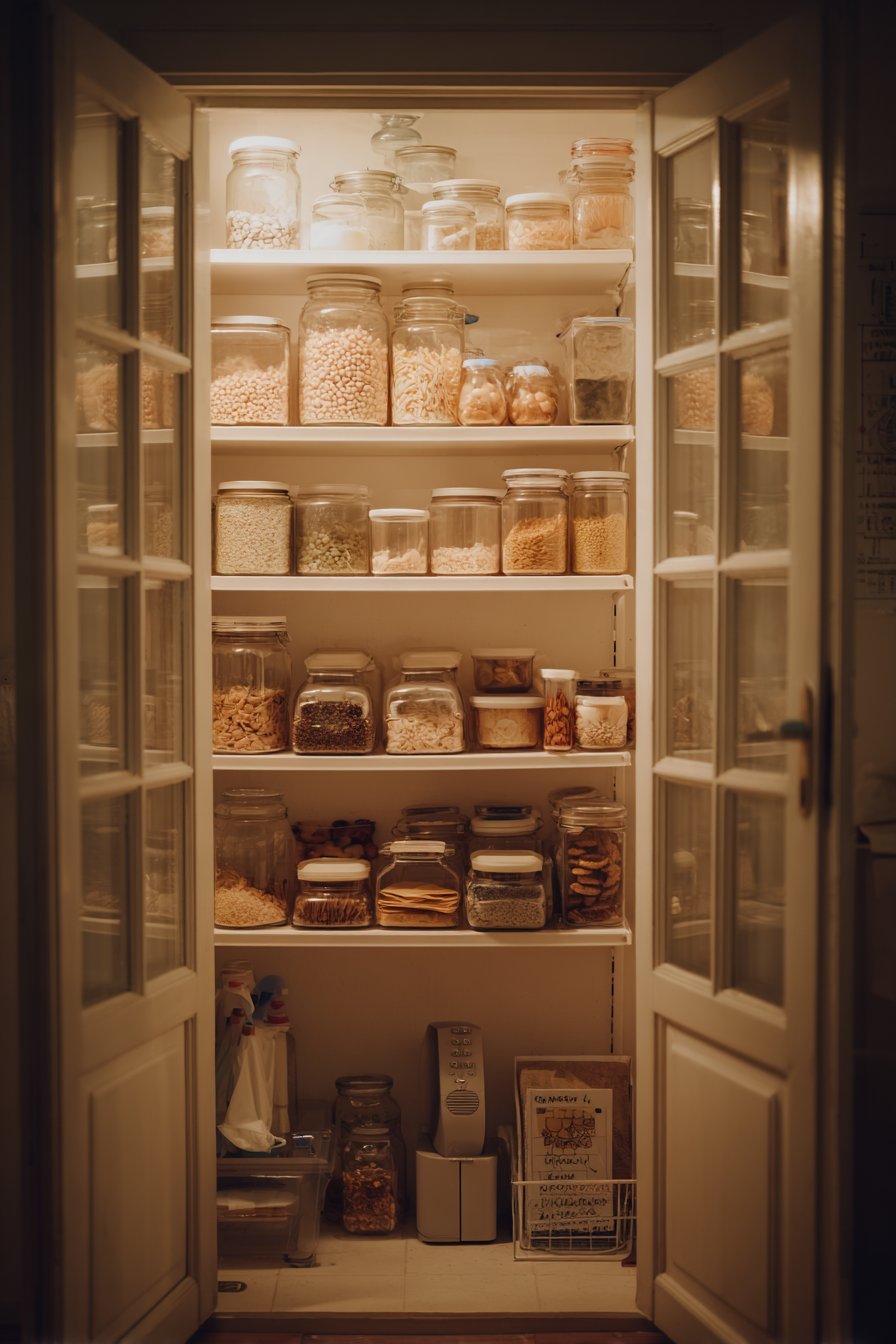
5. Create Zones Based on Usage Frequency and Function
The most efficient pantries organize items by frequency of use, placing everyday essentials at eye level and special-occasion items higher or lower. This functional approach reduces frustration and speeds up meal preparation. Group items by function—breakfast zone, baking zone, snack zone—so everything needed for specific tasks lives together.
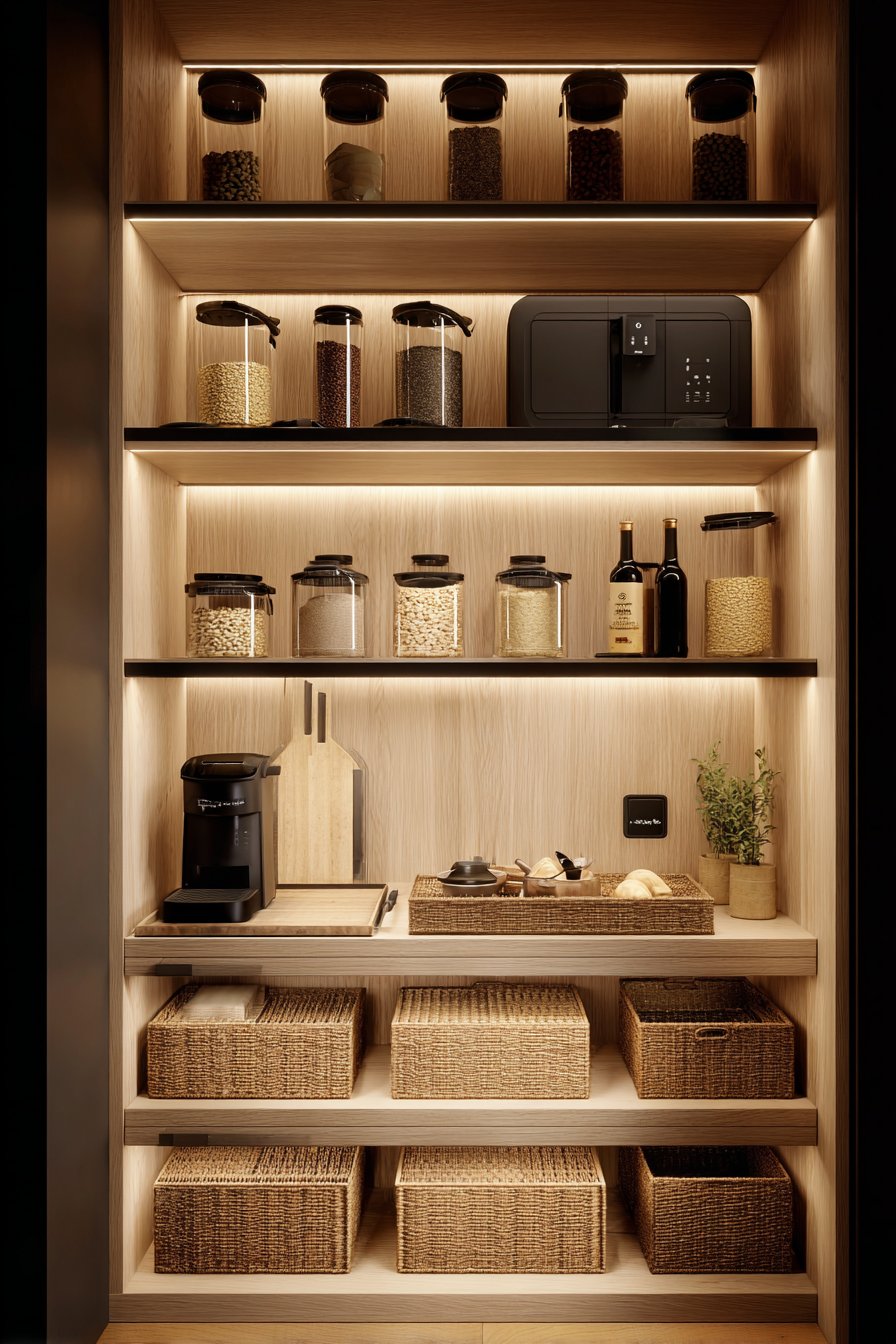
Designate prime real estate between knee and eye height for items you reach for daily like coffee, cereal, and cooking oils. Store bulk items, infrequently used appliances, and extra paper goods in less accessible areas. This strategic placement means you’re not constantly moving obstacles to access essentials, saving time and reducing clutter accumulation.
Establish a dedicated rotation system where new purchases go behind existing items, ensuring older products get used first. Mark zones with simple labels or colored tape to maintain organization even when multiple household members access the pantry. These systematic approaches cost nothing but deliver enormous efficiency benefits.
- Create a “landing zone” near the entrance for items awaiting storage
- Dedicate one shelf exclusively to meal planning and prep supplies
- Store heavy items on lower shelves for safety and accessibility
- Keep kid-friendly snacks in a designated low drawer or basket
- Establish a “first in, first out” rotation for perishable items
- Leave space in each zone for new purchases and category growth
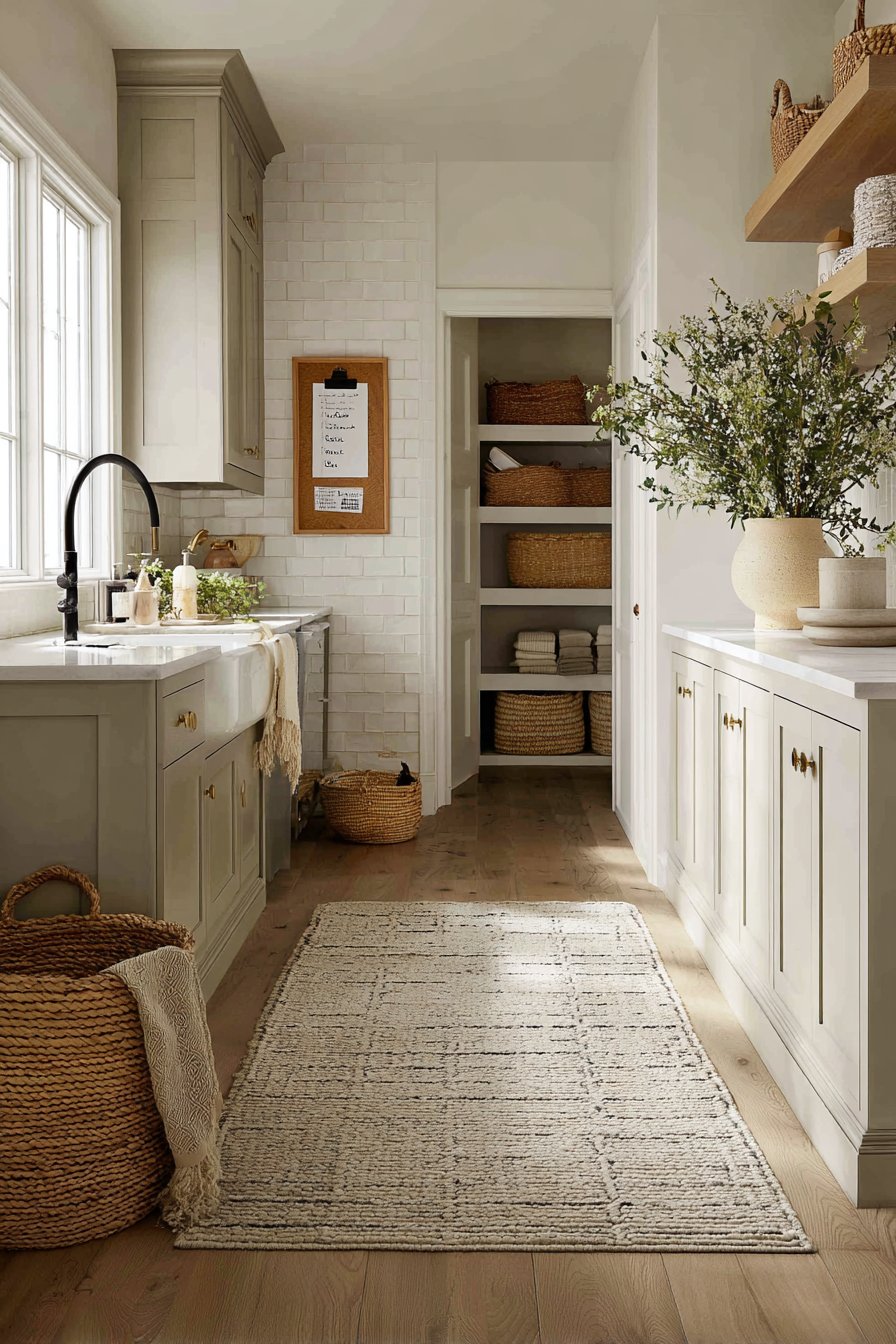
6. Maintain Organization with Simple Daily Habits
Even the best-designed pantry fails without consistent maintenance, but maintaining organization doesn’t require significant time investment. Spending just five minutes daily returning items to their designated spots prevents chaos from accumulating. These small habits protect your initial investment of time and money while keeping your pantry functional and attractive.
Implement a weekly quick audit where you scan for expired items, consolidate partially used products, and wipe down shelves as needed. This routine maintenance catches problems before they escalate into major reorganization projects. Schedule deeper quarterly cleanouts to reassess your system and adjust as household needs change throughout the year.
Involve all household members in maintaining the organizational system by clearly labeling zones and establishing simple rules about returning items after use. When everyone understands the system and their role in preserving it, your dream pantry stays dreamy without constant supervision or correction from one designated organizer.
- Set a phone reminder for weekly pantry checks
- Keep cleaning supplies in the pantry for quick wipe-downs
- Create a shopping list system that tracks inventory as items run low
- Photograph your organized pantry to remember the ideal setup
- Establish a “one in, one out” rule to prevent overcrowding
- Celebrate small wins to build positive organizational habits
Conclusion
Designing a dream pantry on a budget proves that thoughtful planning outweighs unlimited spending every time. By focusing on strategic organization, creative solutions, and consistent maintenance, you can create a beautiful and functional space that rivals professionally designed pantries. The six strategies outlined here provide a roadmap that anyone can follow regardless of starting budget or existing space limitations.
Remember that pantry organization is a personal journey that should reflect your household’s unique needs and cooking habits. Start with one strategy, perfect it, then add another layer of organization as budget and time allow. Your dream pantry doesn’t need to happen overnight—small, consistent improvements compound into remarkable transformations. Take that first step today, and enjoy the daily satisfaction of a beautifully organized space that makes cooking and meal planning genuinely enjoyable.