The right outdoor lighting transforms ordinary yards into enchanting evening retreats. Whether you’re hosting summer gatherings or enjoying quiet nights under the stars, thoughtful illumination creates atmosphere while enhancing safety and security. Well-designed outdoor lighting extends your living space beyond four walls, making gardens, patios, and walkways usable long after sunset.
Creating the perfect outdoor ambiance requires more than installing a few random fixtures. It demands careful consideration of light layering, fixture placement, and the interplay between illumination and shadow. Just as interior designers layer lighting to create depth and interest, outdoor spaces benefit from combining ambient, task, and accent lighting. This approach ensures your outdoor areas feel inviting rather than harsh or institutional.
From subtle pathway lights that guide guests safely to dramatic uplighting that showcases architectural features, each lighting choice contributes to your property’s overall mood and functionality. The following tips will help you design an outdoor lighting scheme that’s both beautiful and practical, turning your exterior spaces into captivating nighttime destinations where memories are made.
1. Layer Your Lighting for Depth and Interest
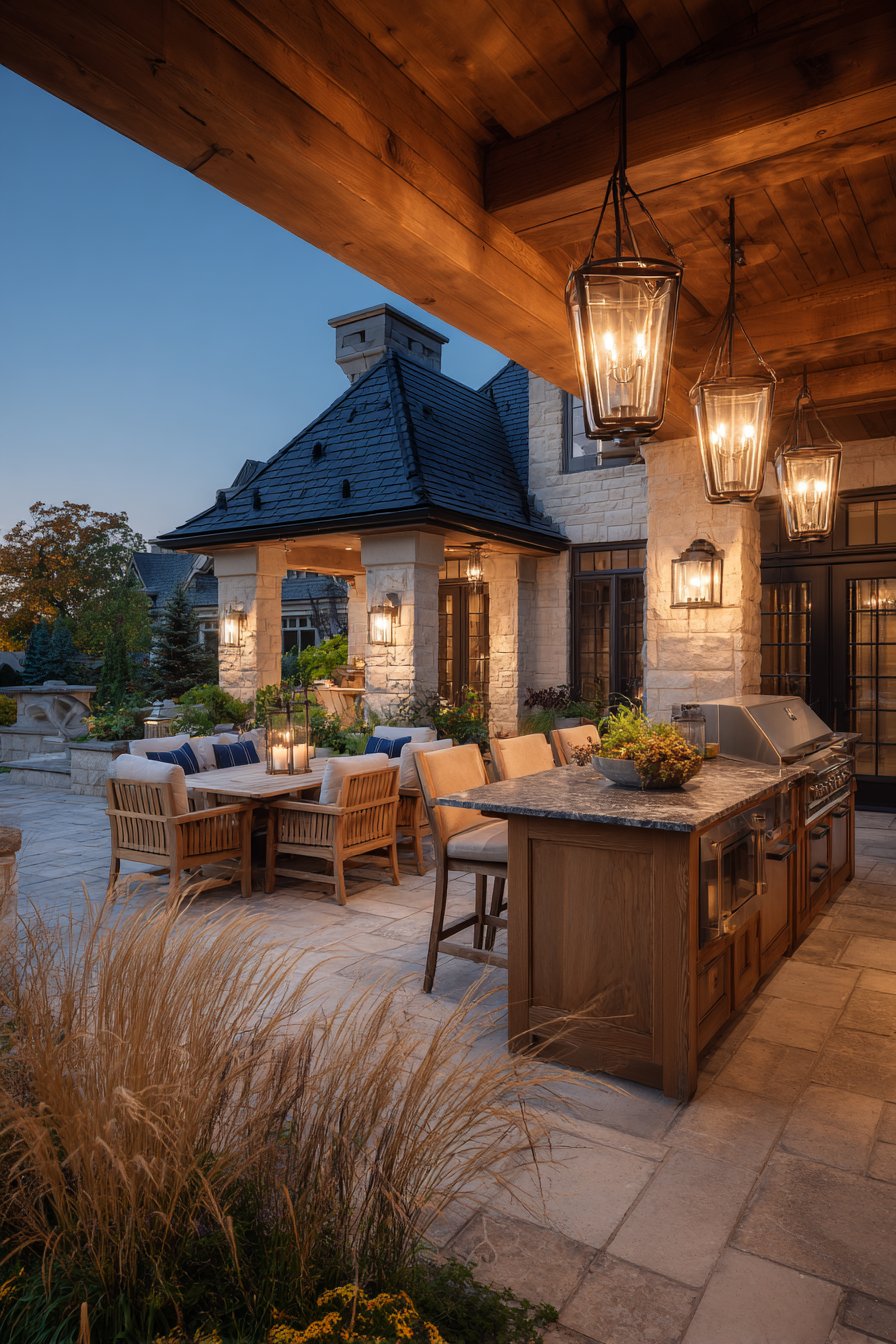
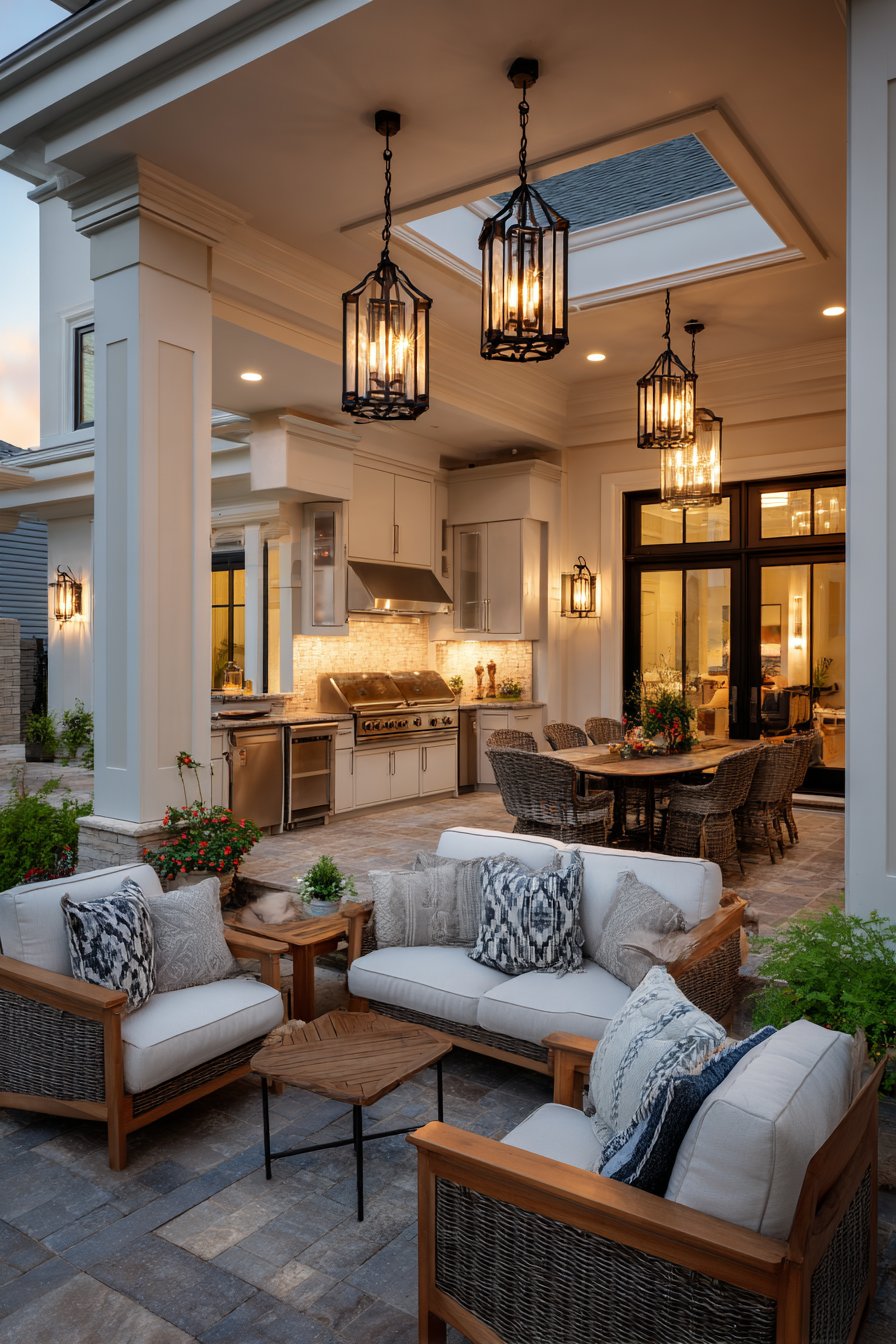
Single-source lighting creates flat, uninspiring outdoor spaces that lack visual appeal. Professional designers recommend layering different light types to achieve dimension and atmosphere. This technique combines ambient lighting for overall illumination, task lighting for specific activities, and accent lighting for dramatic focal points. The interplay between these layers creates dynamic visual interest that changes throughout the evening.
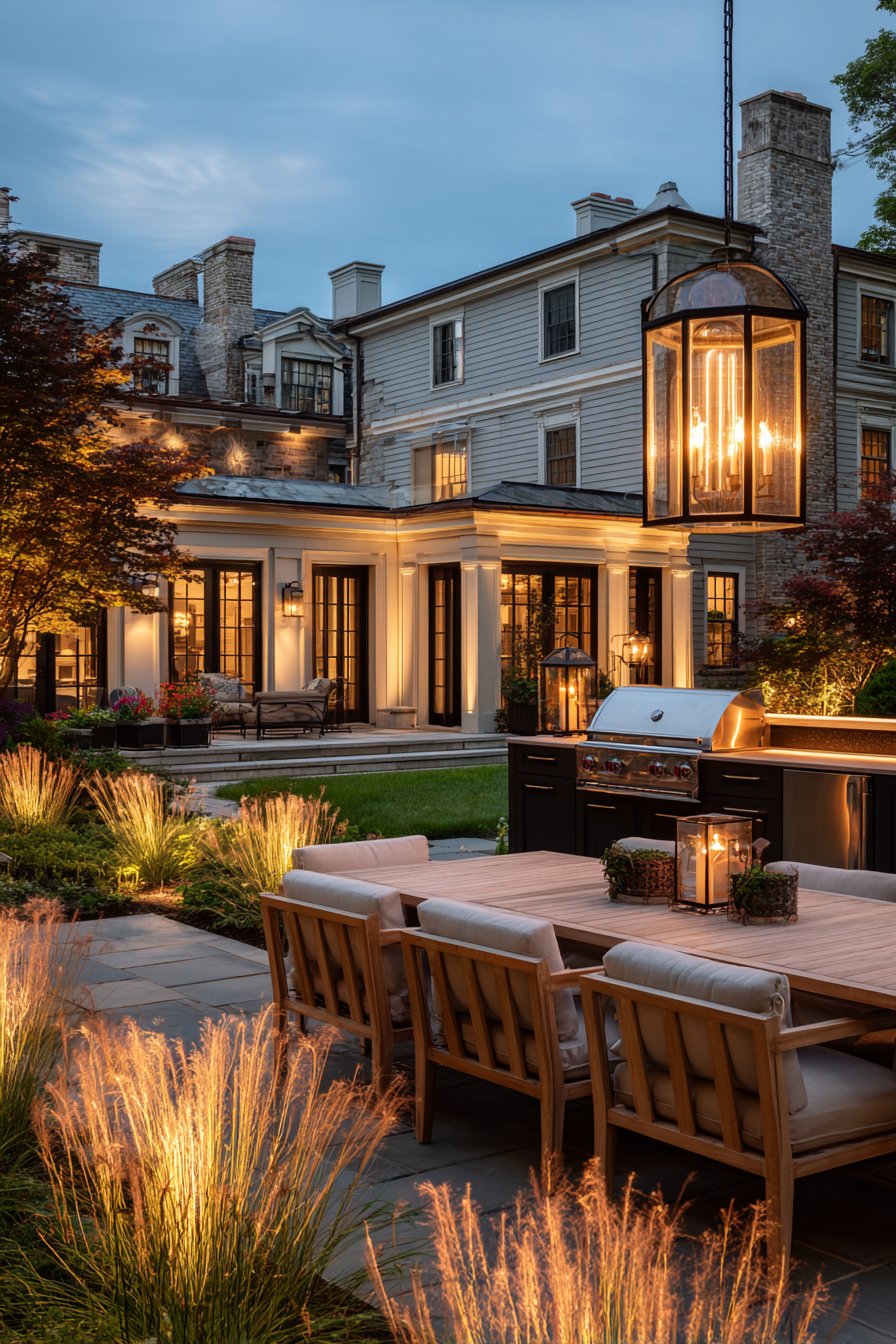
Start with ambient lighting as your foundation, using fixtures like hanging lanterns or wall sconces to provide general visibility. Then add task lighting near grills, outdoor kitchens, or seating areas where people need adequate illumination for specific activities. Finally, incorporate accent lights to highlight architectural details, specimen plants, or water features. This multi-layered approach prevents harsh shadows while creating inviting pockets of light.
Consider how different layers interact at various times. Dimmers allow you to adjust intensity for different occasions, transforming your space from bright and functional to soft and romantic. The key is creating zones of light rather than flooding everything uniformly.
- Install dimmer switches for flexible ambient lighting control
- Position task lights 24-36 inches above work surfaces for optimal visibility
- Use accent lights with narrow beams (15-30 degrees) for focused drama
- Mix warm and cool tones strategically to create visual interest
- Layer lights at different heights to avoid flatness
- Start with ambient lighting then add layers gradually
2. Choose the Right Color Temperature
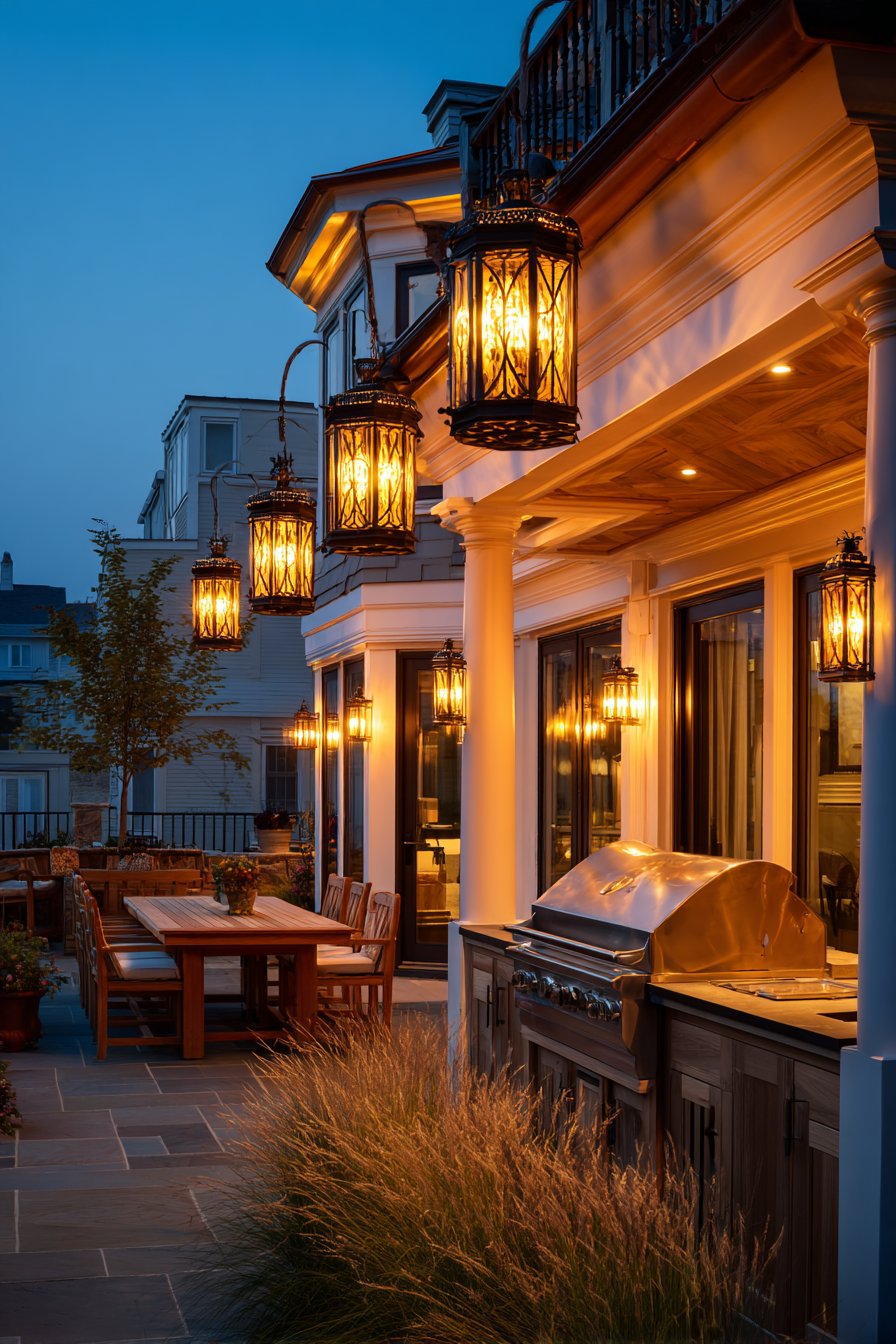
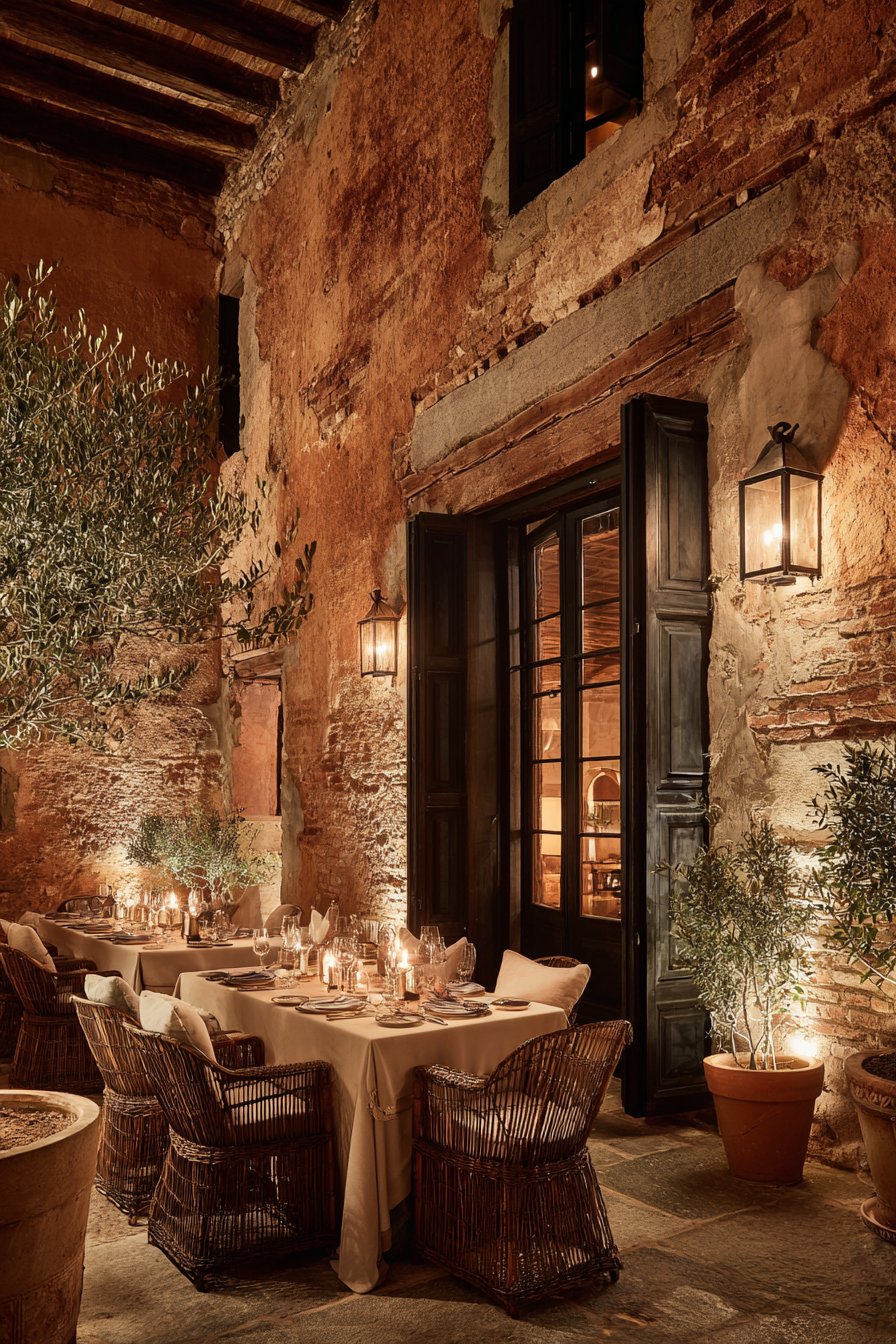
Color temperature dramatically affects outdoor ambiance, yet many homeowners overlook this crucial detail. Measured in Kelvin (K), lighting ranges from warm yellows to cool blues. For outdoor entertaining spaces, warm white (2700K-3000K) creates welcoming, comfortable environments that flatter skin tones and encourage relaxation. These temperatures mimic candlelight and sunset hues.
Cooler temperatures (4000K-5000K) work well for security and task lighting where clarity matters more than ambiance. However, mixing temperatures throughout your space creates visual confusion and disrupts the cohesive atmosphere you’re building. Stick to one temperature range for your primary lighting, allowing only intentional variations for specific purposes.
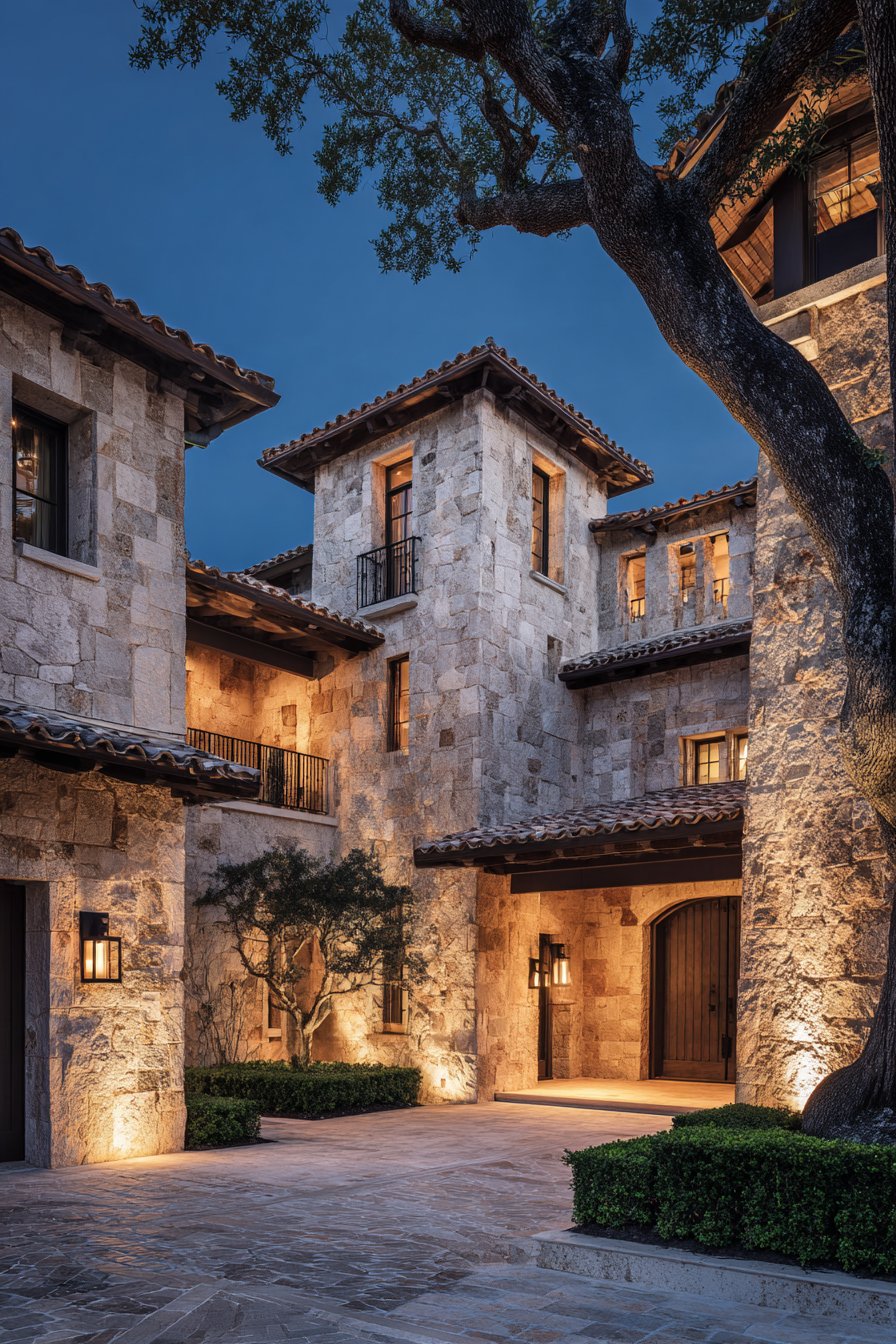
Natural settings especially benefit from warm lighting that complements foliage and stonework. Cool white lights can make plants appear washed out and spaces feel clinical rather than inviting. Test fixtures before permanent installation to ensure the color temperature achieves your desired effect.
- Select 2700K-3000K for dining and conversation areas
- Reserve 3500K-4000K for pathways requiring enhanced visibility
- Avoid mixing color temperatures in the same viewing area
- Use warm tones to enhance wood, brick, and stone features
- Choose fixtures with consistent color rendering (CRI above 80)
- Consider how colors appear under different temperatures before finalizing
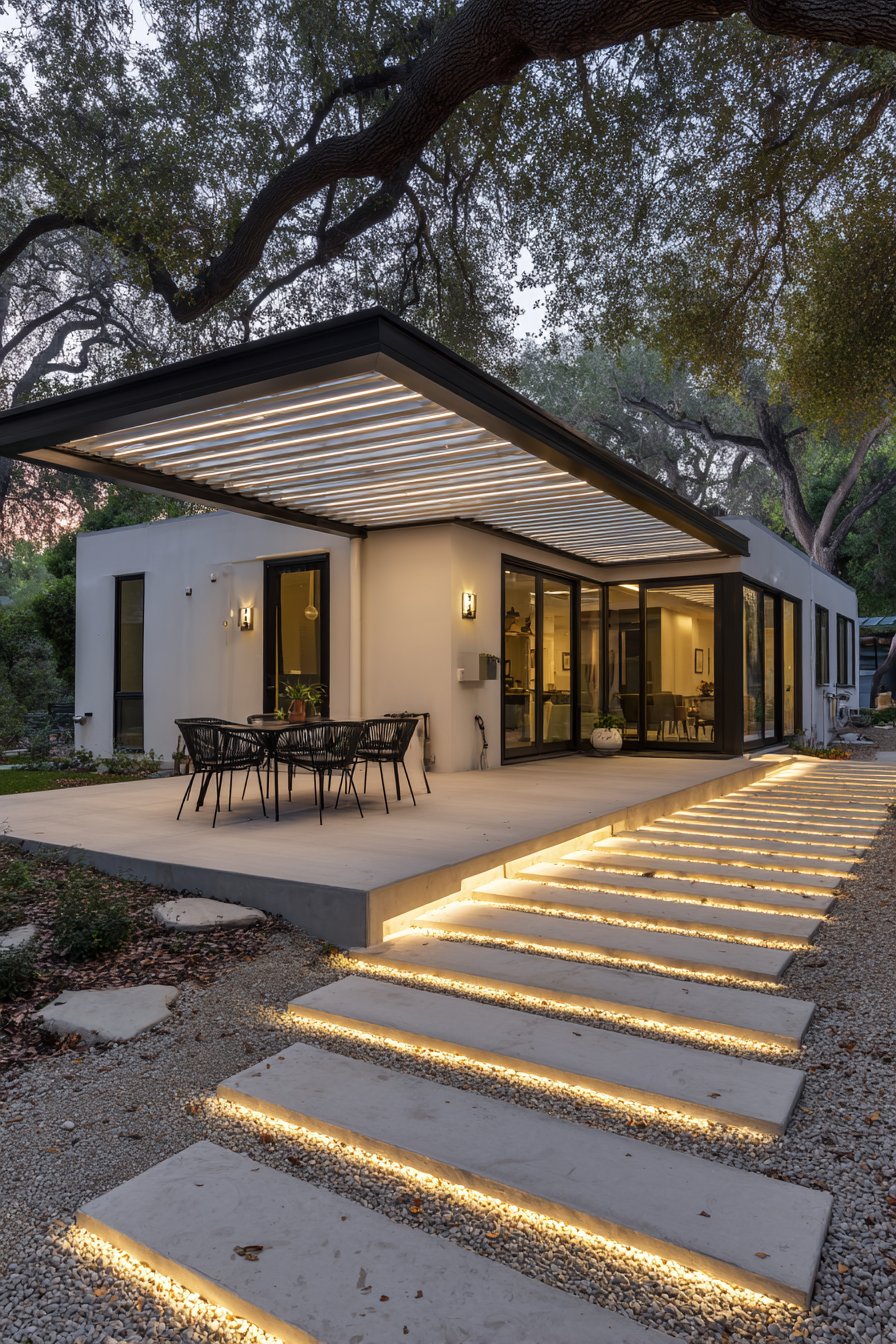
3. Embrace Path Lighting for Safety and Style
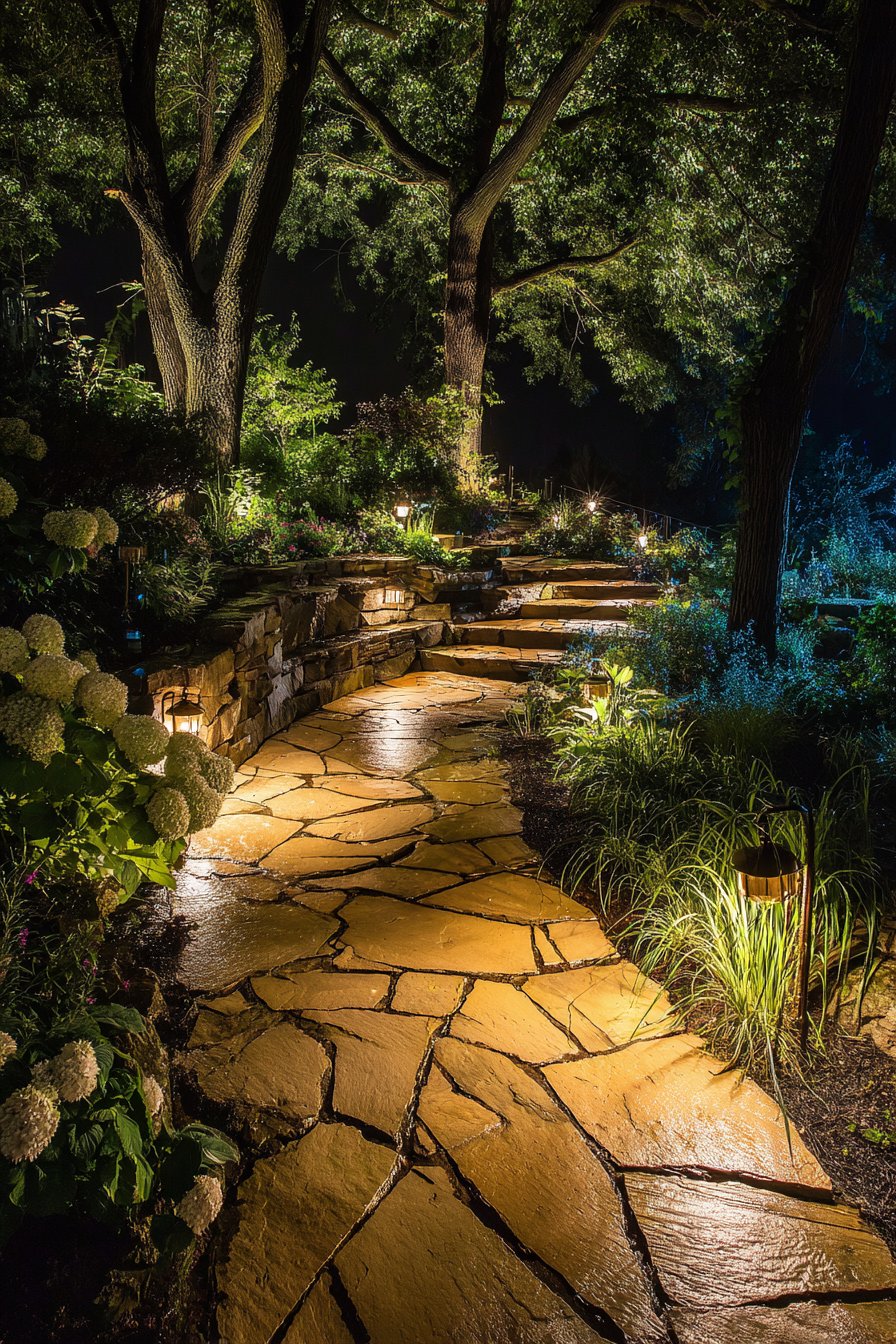
Well-designed path lighting serves dual purposes: guiding visitors safely while adding architectural interest to your landscape. Rather than lining pathways with identical fixtures at regular intervals, create rhythm and variation. Strategic placement every 8-10 feet provides adequate illumination without the “runway effect” that feels institutional.
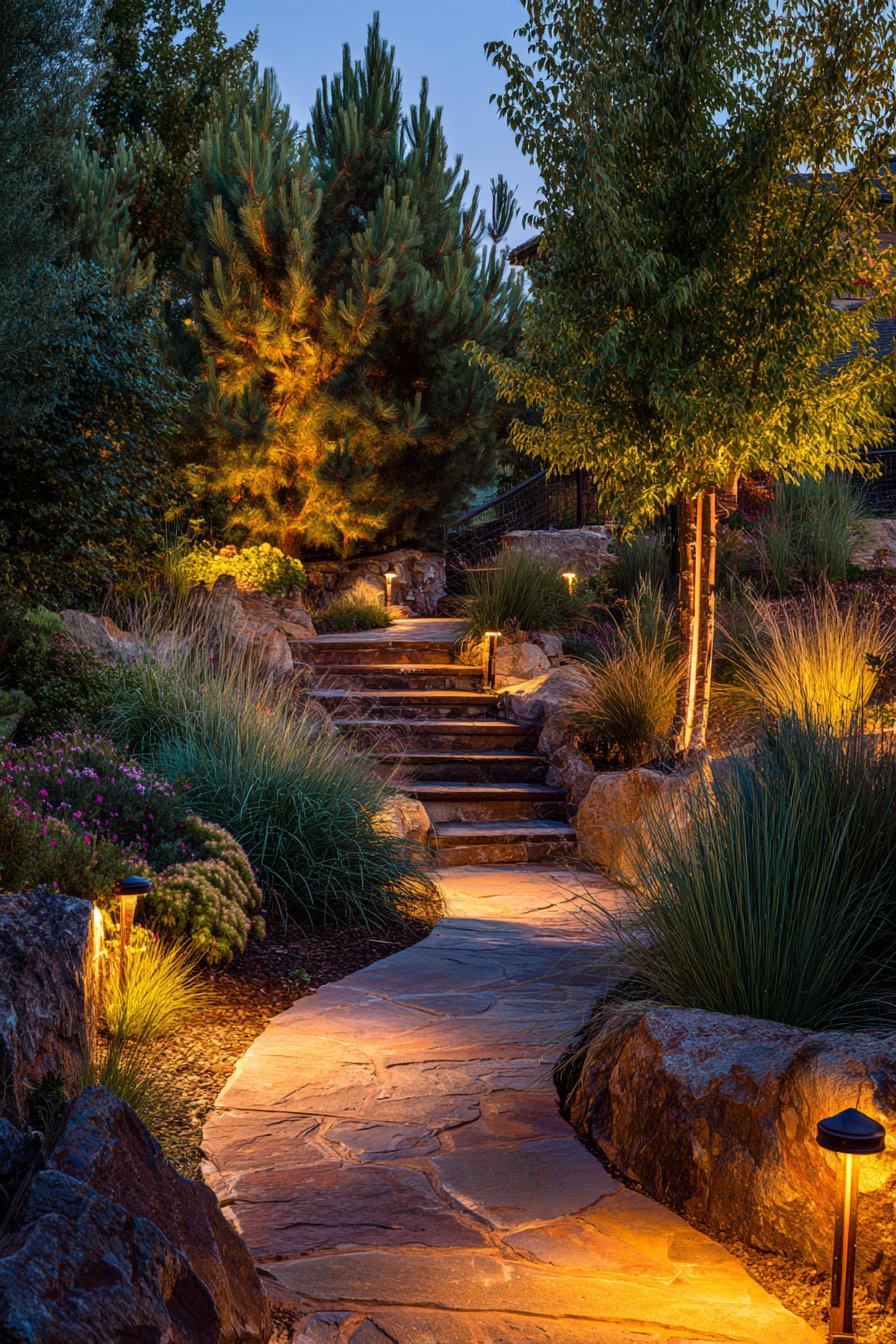
Low-voltage path lights offer flexibility and energy efficiency while reducing installation complexity. Position fixtures to cast light downward and across walking surfaces, minimizing glare that blinds rather than guides. The best path lighting remains subtle during the day while providing confident navigation after dark.
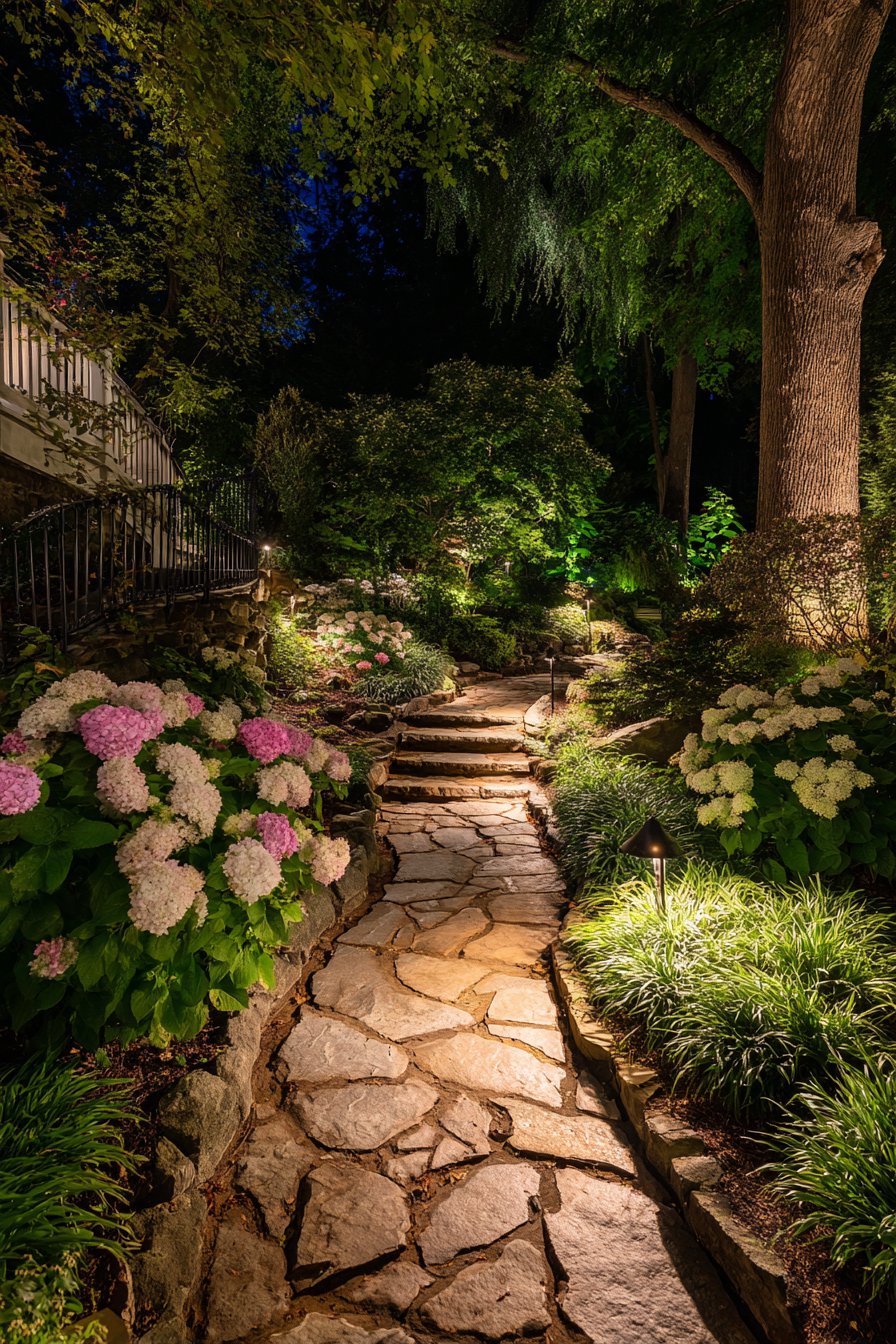
Consider pathway width and curvature when planning placement. Straight paths benefit from staggered fixtures on alternating sides, while curved walkways need strategic positioning at bends and decision points. Illuminate potential hazards like steps, grade changes, and intersections more brightly than straightaways.

- Space fixtures 8-10 feet apart for optimal coverage without over-lighting
- Install lights 12-18 inches from path edges to prevent tripping hazards
- Use fixtures producing 50-100 lumens for residential pathways
- Stagger lights on alternating sides for visual interest
- Increase lighting intensity at stairs, slopes, and intersections
- Choose fixtures that complement your home’s architectural style
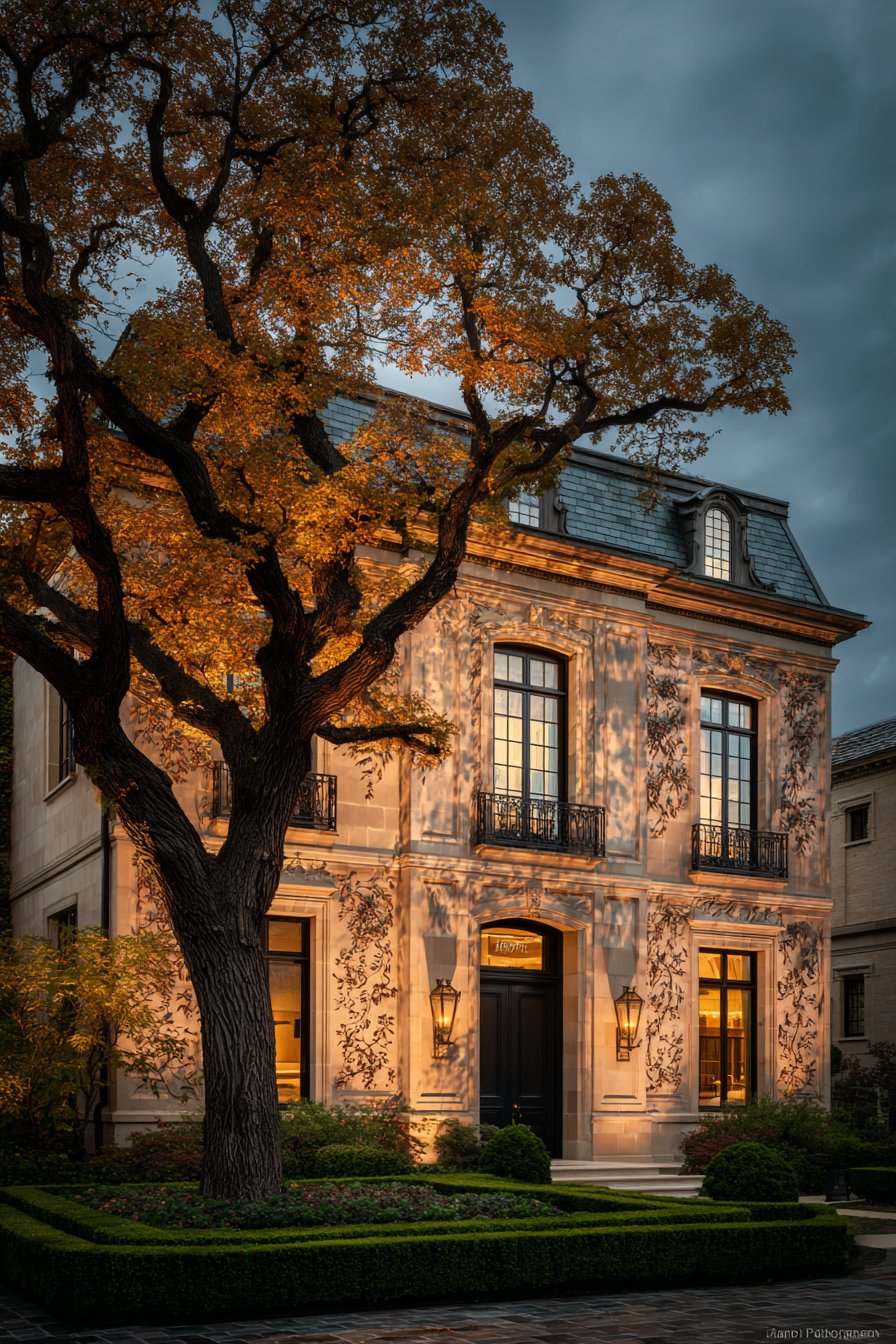
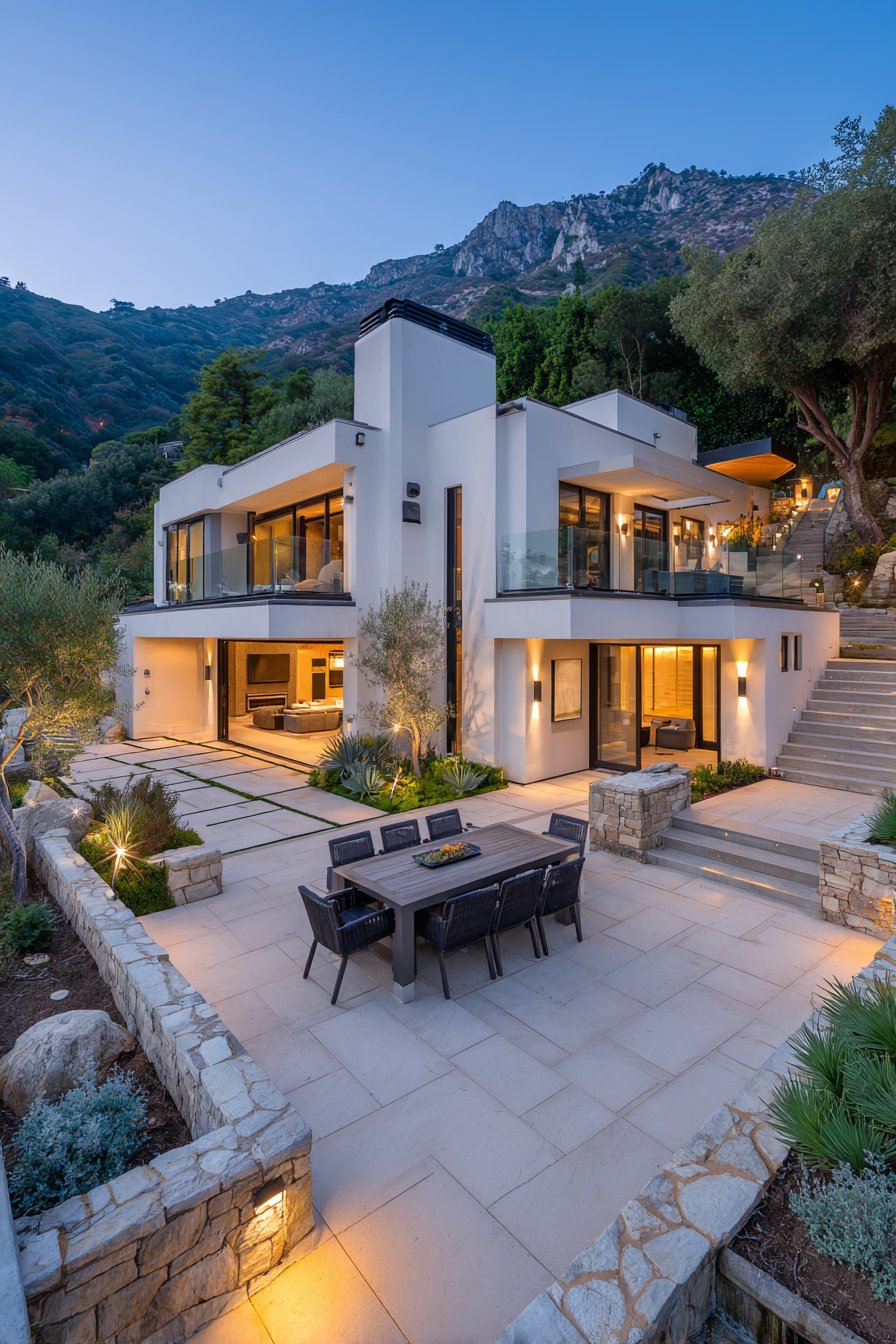
4. Highlight Architectural Features With Uplighting
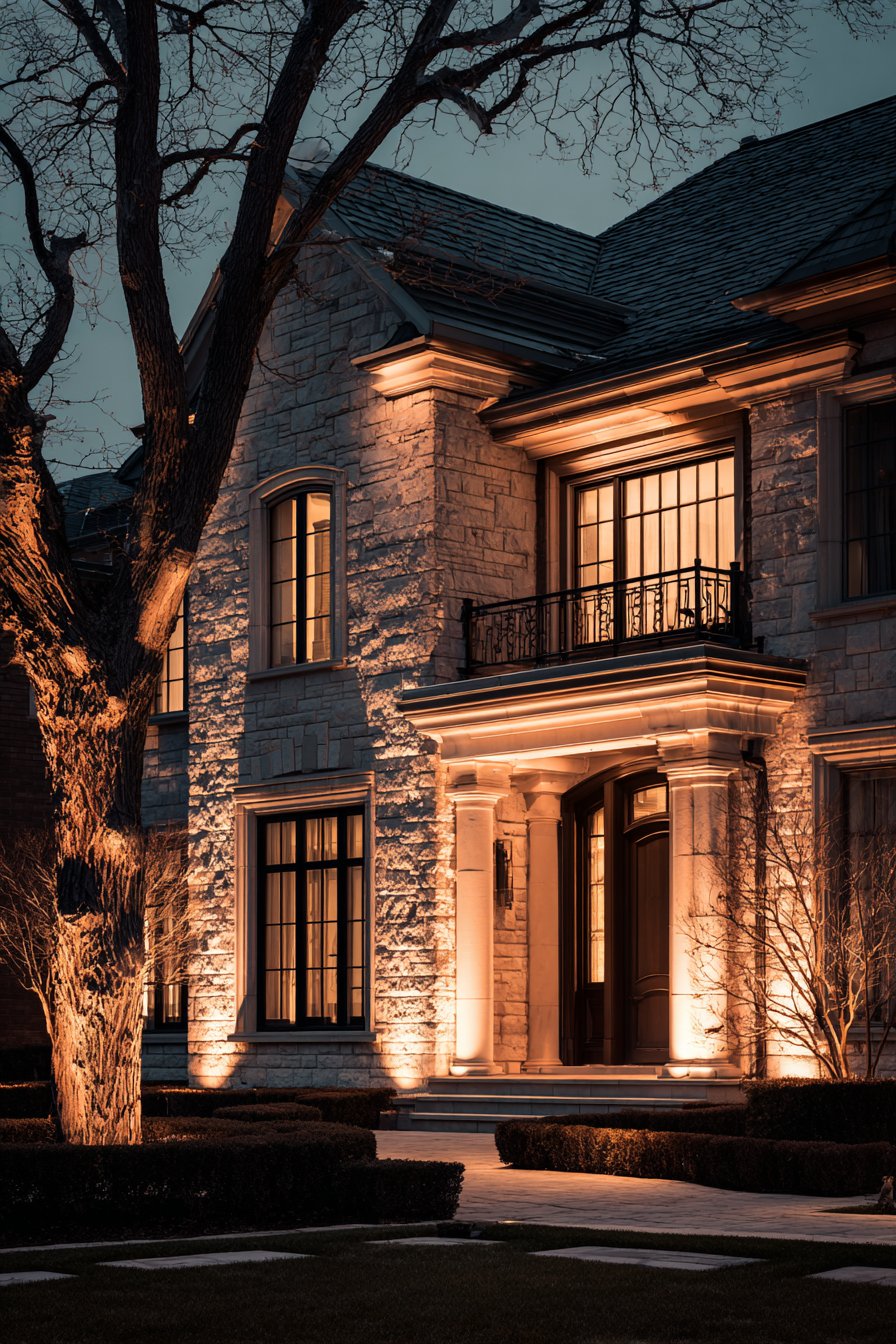
Uplighting transforms ordinary structures into dramatic nighttime sculptures by casting light upward onto walls, columns, and trees. This technique creates striking shadows and emphasizes vertical elements that might go unnoticed during daylight hours. Properly positioned uplights add sophistication and draw eyes upward, making spaces feel more expansive.
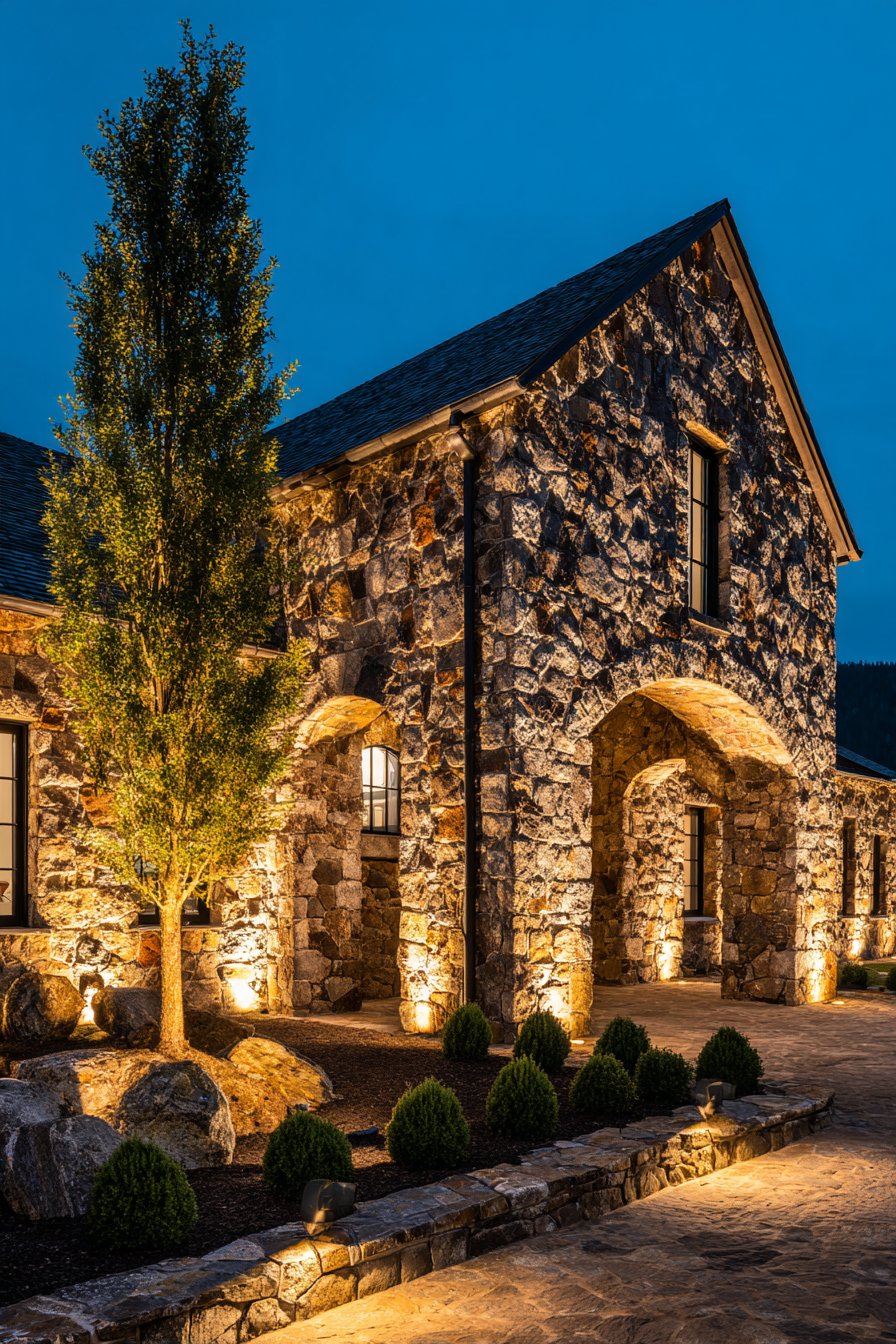
Place uplights at the base of features you want to emphasize, adjusting beam angles to achieve desired coverage. Narrow beams (15-30 degrees) create concentrated highlights, while wider beams provide more uniform illumination. Experiment with distances—moving lights closer creates sharp, dramatic effects, while positioning them farther produces softer washes.
Trees benefit especially from uplighting, with fixtures positioned to illuminate trunk texture and canopy structure. Avoid placing lights too close to living plants, as heat can damage foliage. The goal is creating visual drama without overwhelming the natural beauty you’re showcasing.
- Position uplights 12-24 inches from walls or tree trunks
- Use adjustable fixtures for precise beam control and future modifications
- Select LED uplights to minimize heat damage to plants
- Angle lights at 30-45 degrees for optimal architectural emphasis
- Use multiple uplights for large trees or wide facades
- Test placement during installation to perfect the effect
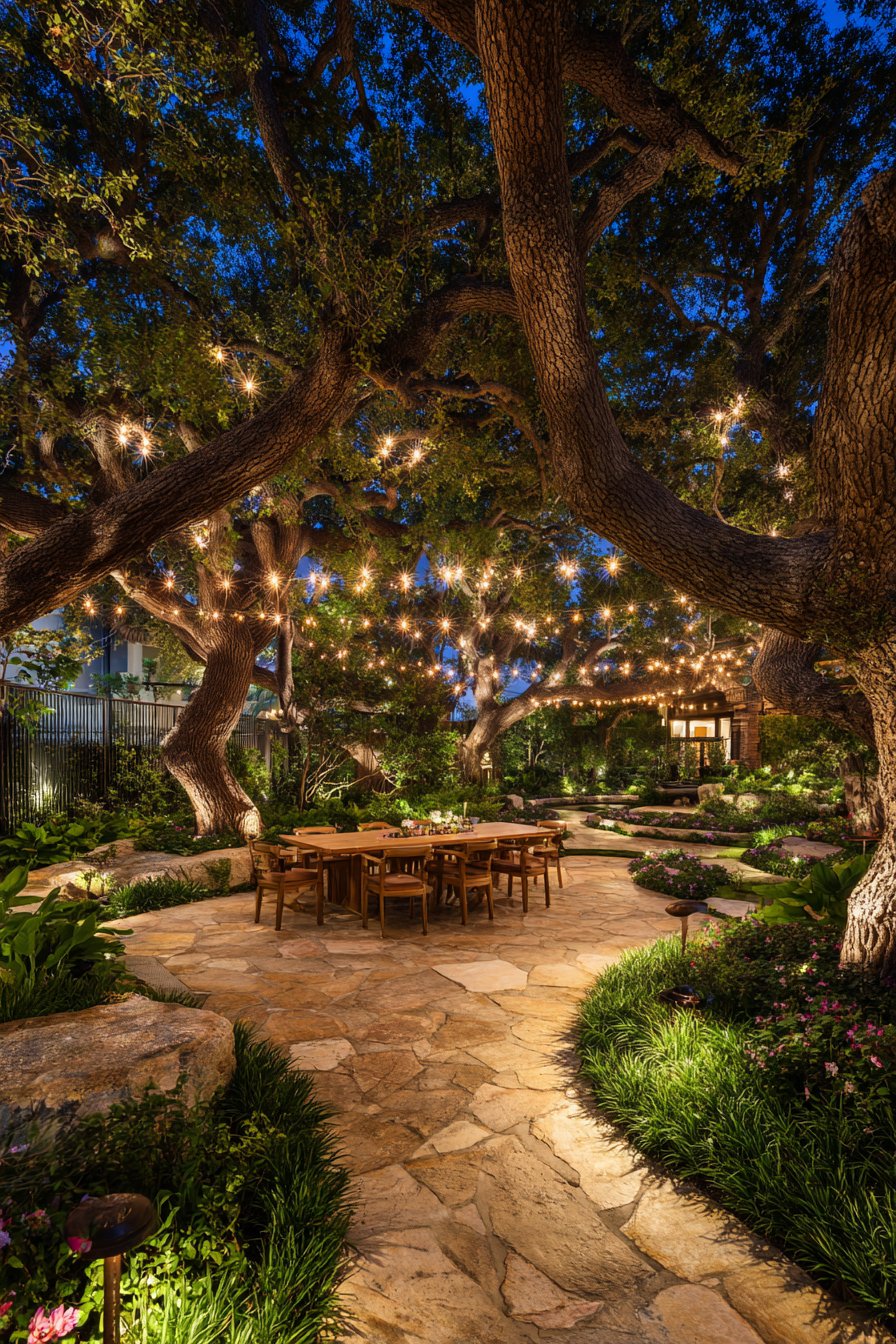
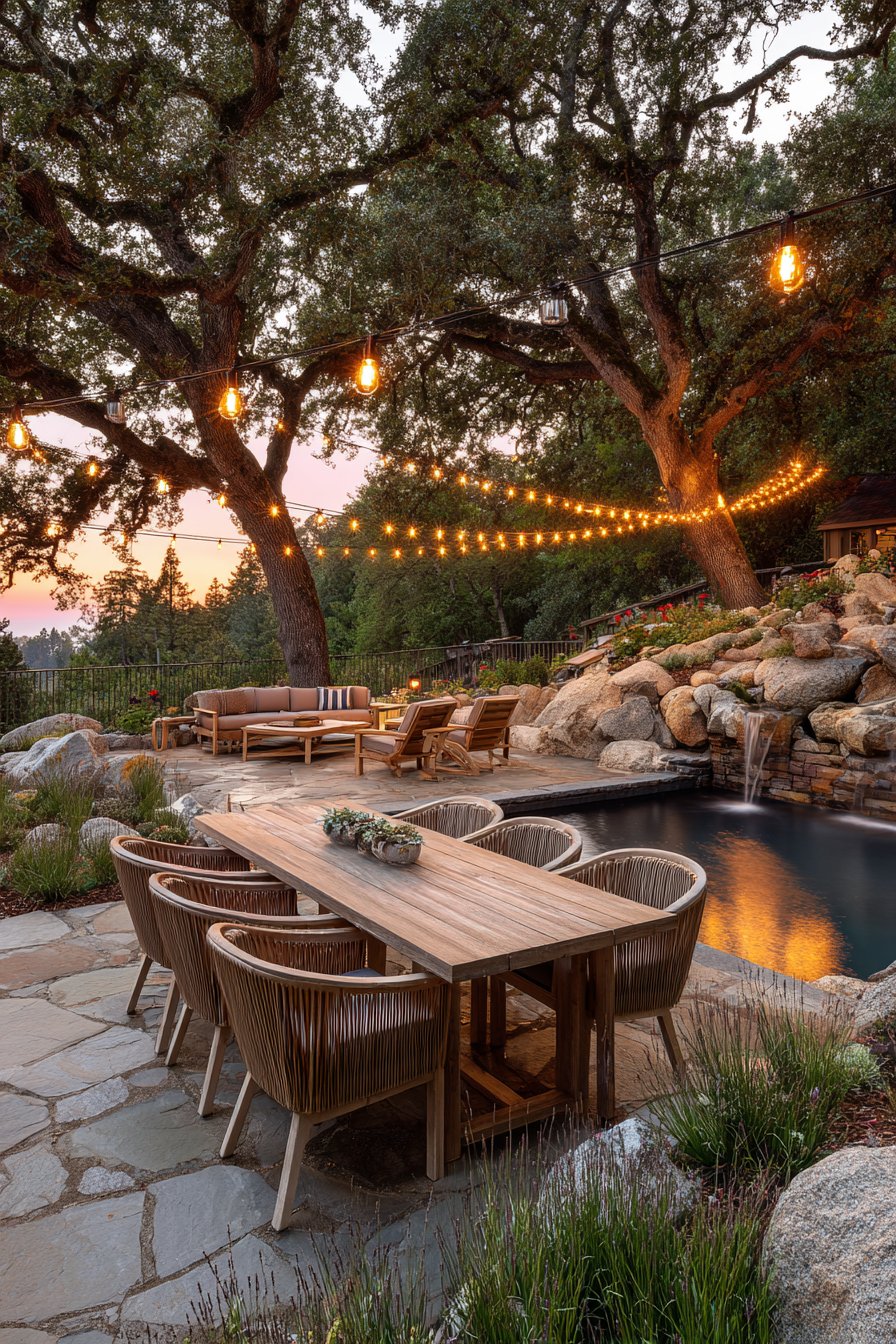
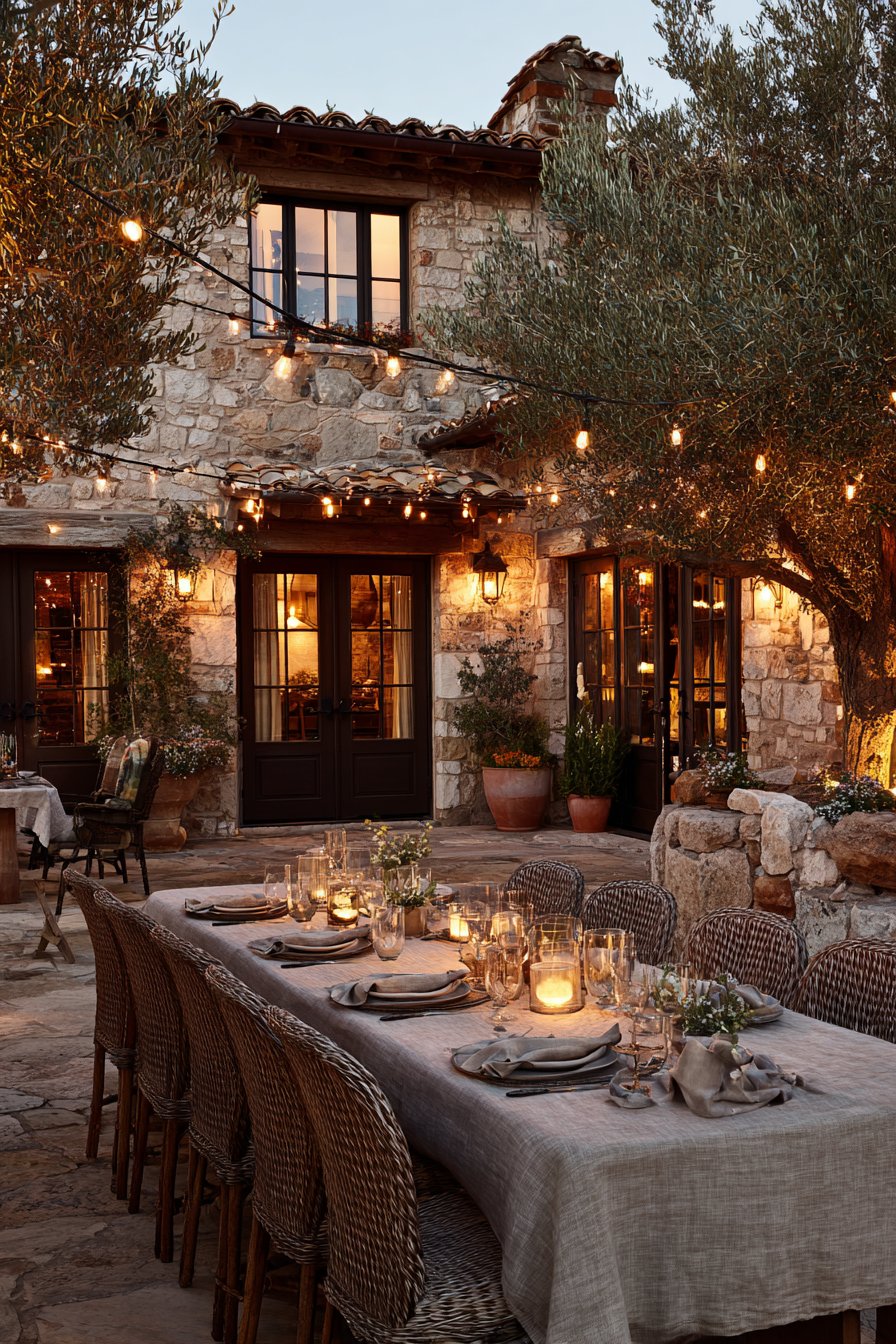
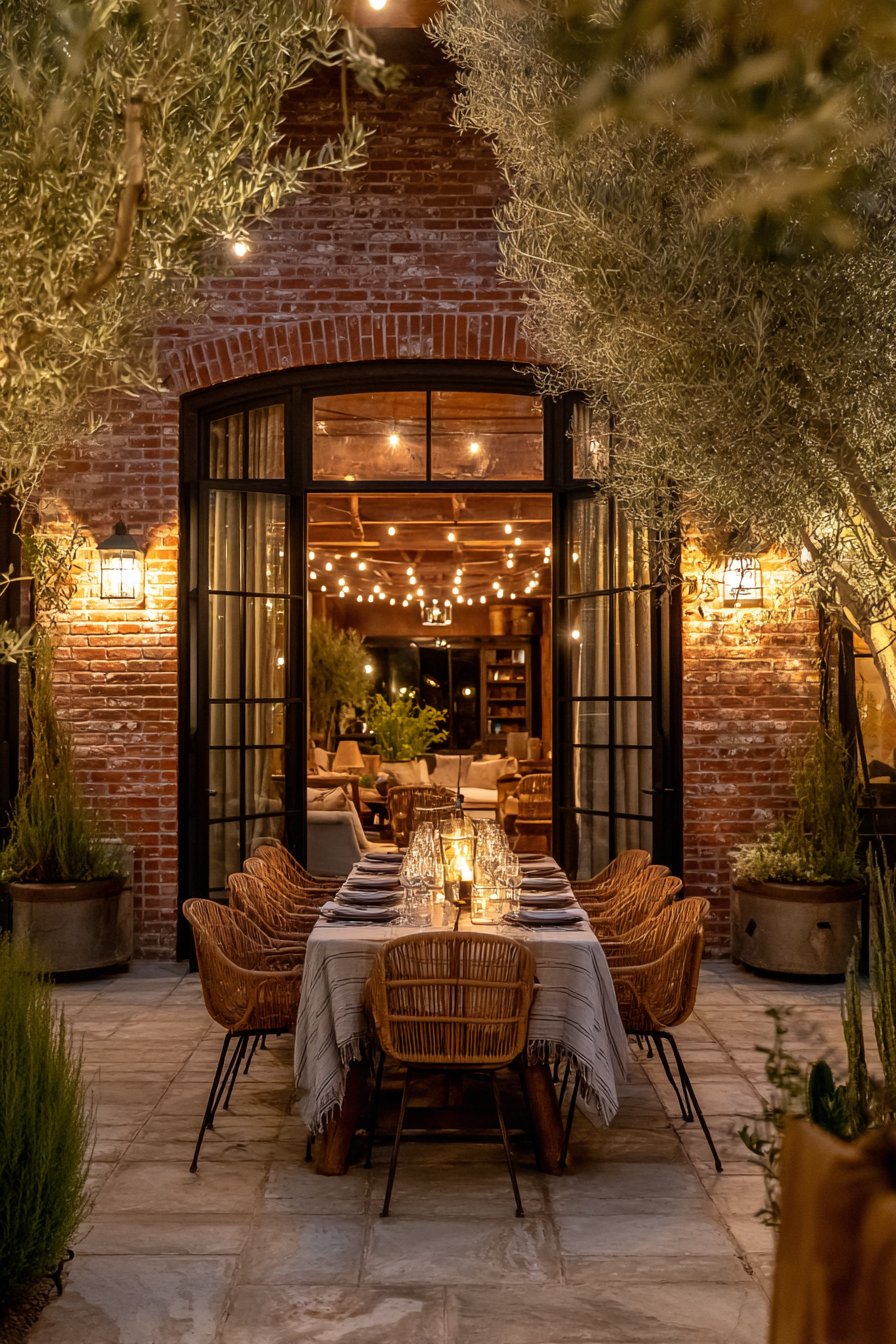
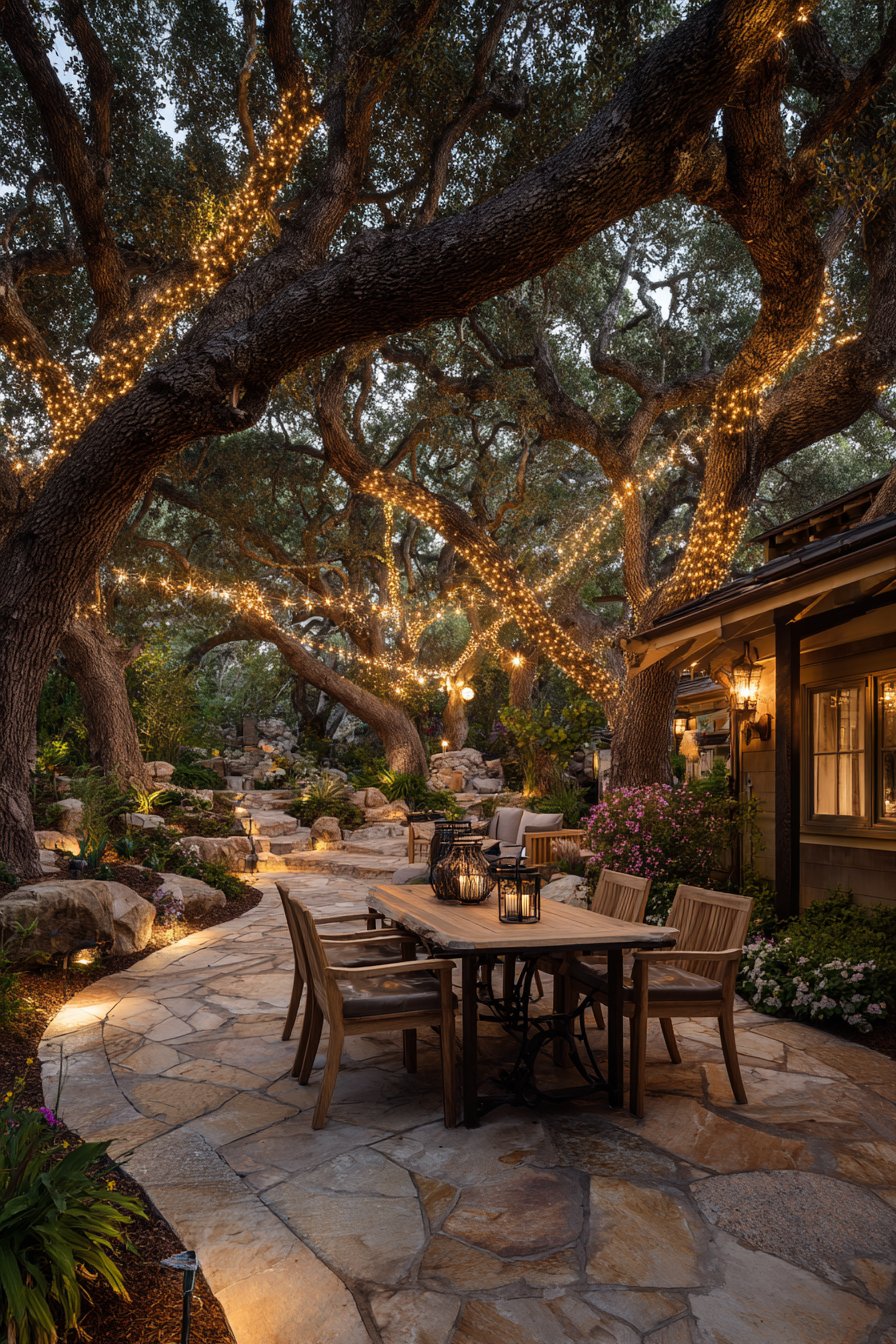
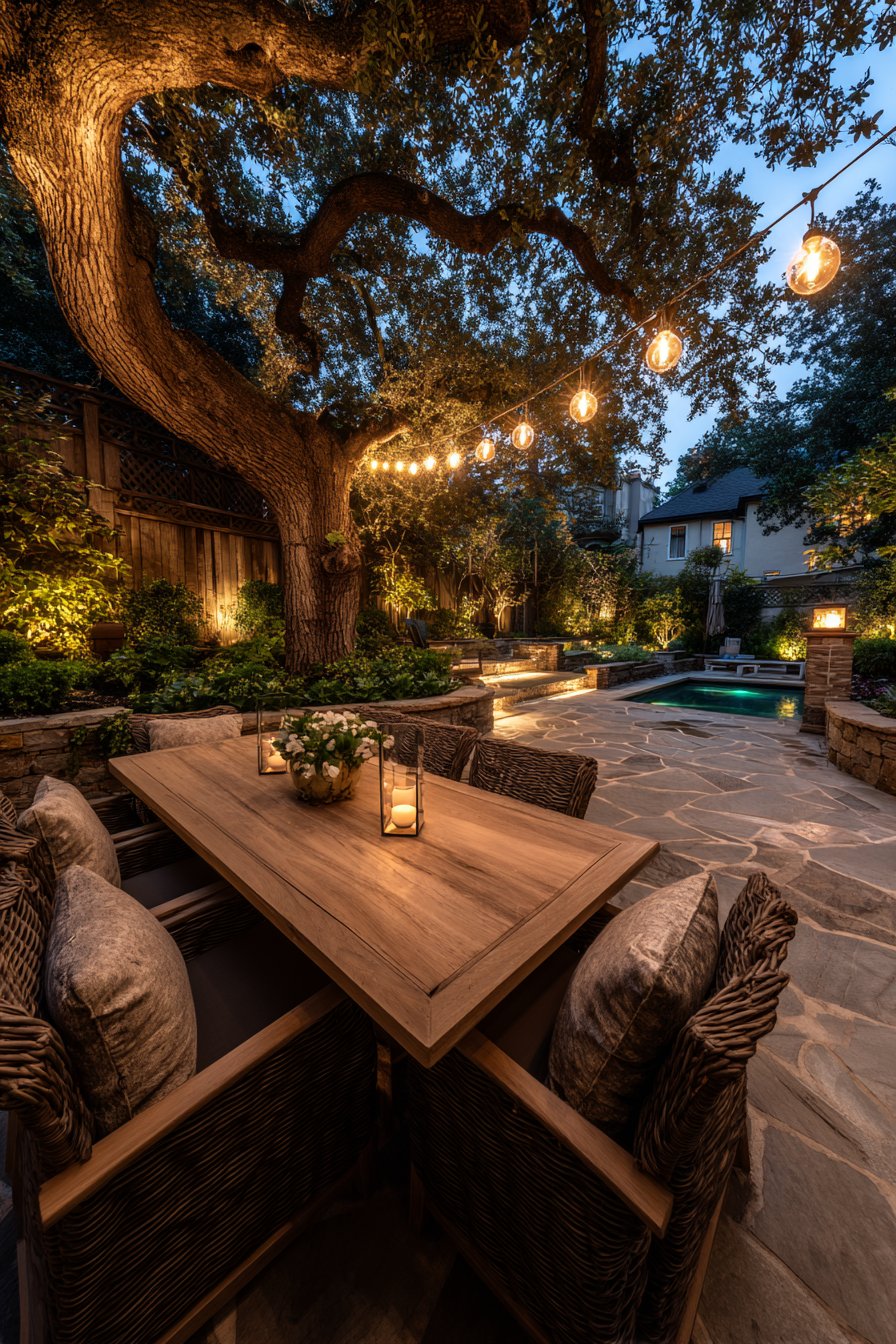
5. Incorporate String Lights for Casual Charm
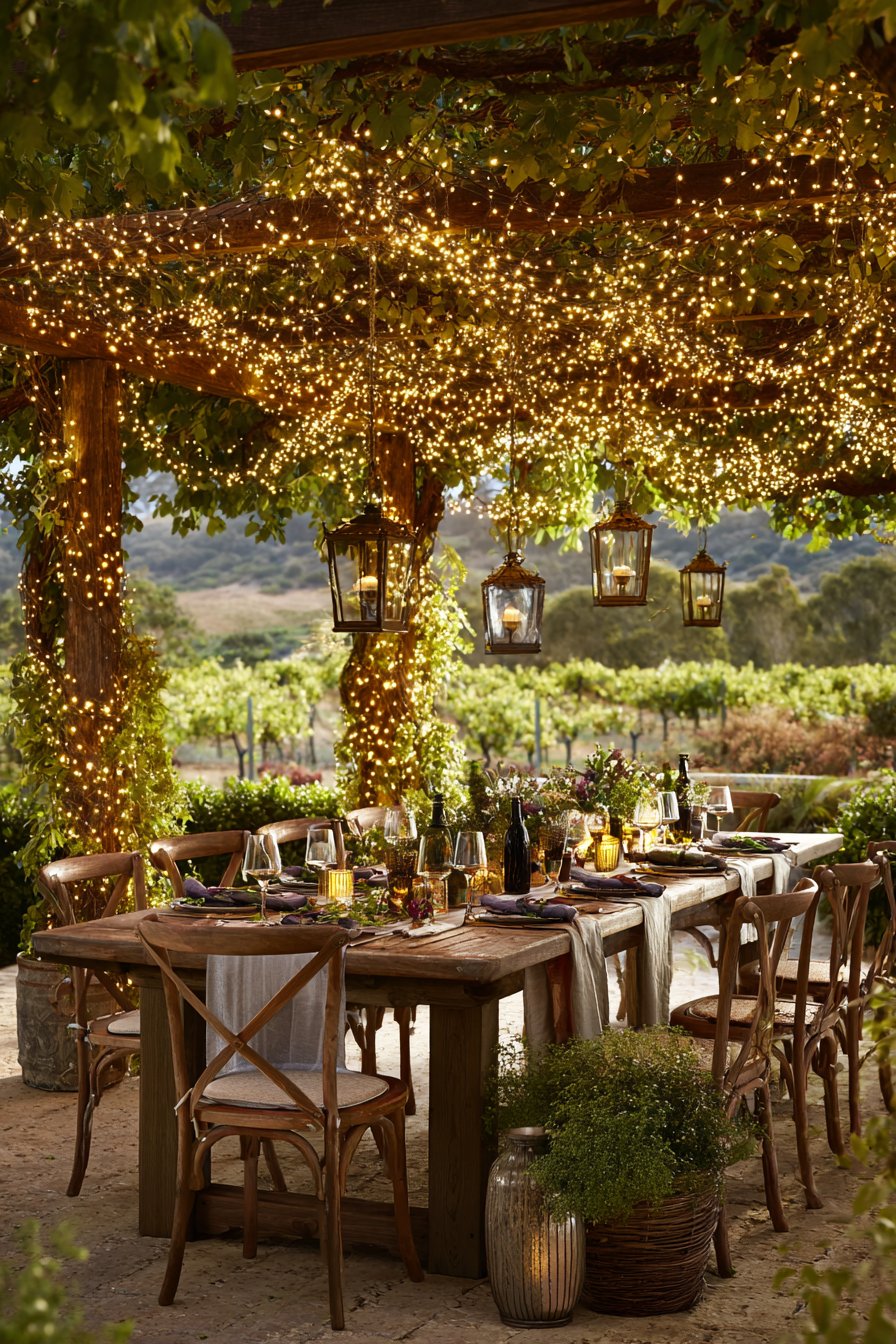
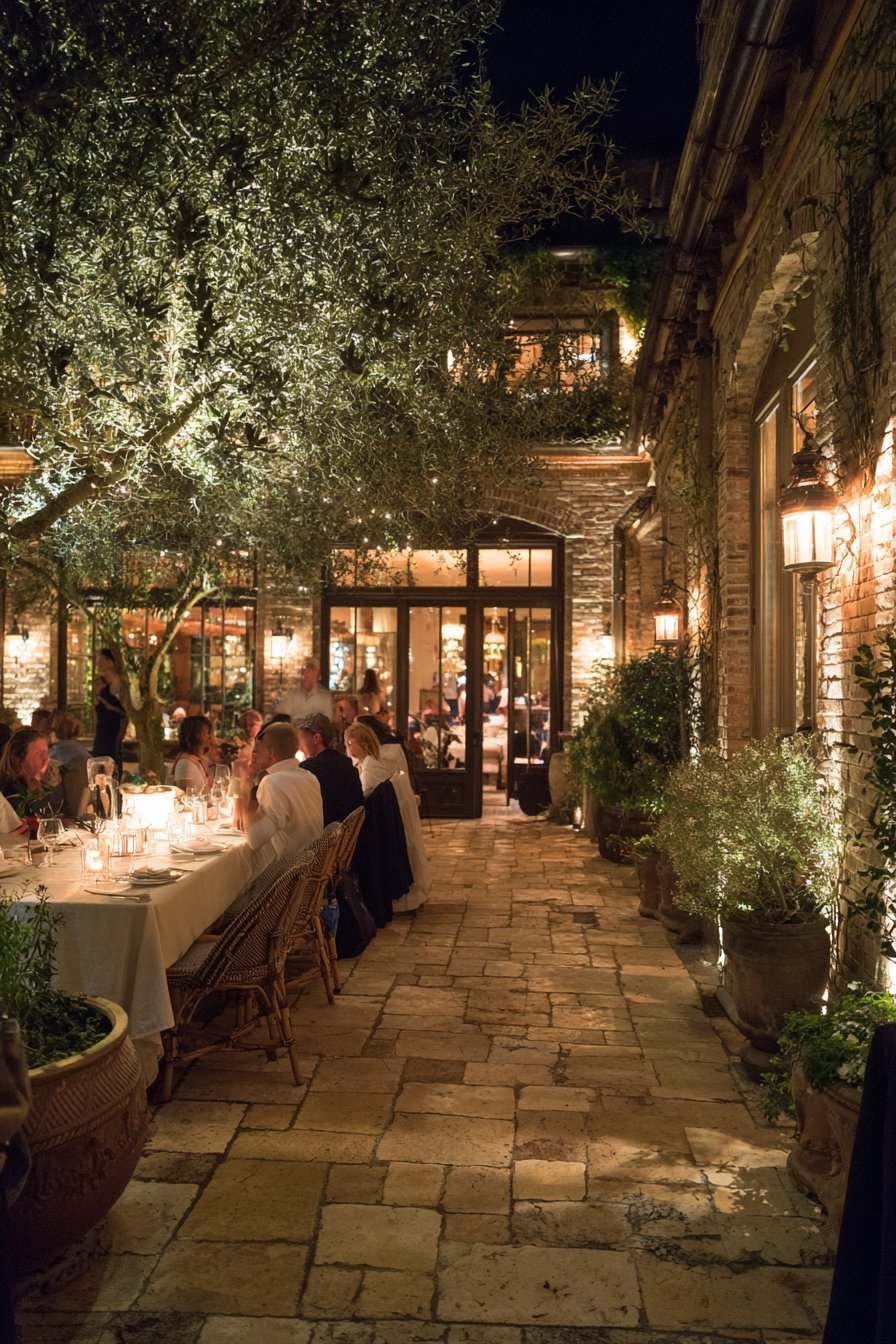
String lights instantly create festive, welcoming atmospheres that encourage gathering and conversation. These versatile fixtures work everywhere from patios to pergolas, providing ambient illumination with decorative appeal. Modern LED string lights offer durability and efficiency while maintaining the warm glow associated with traditional bulbs.
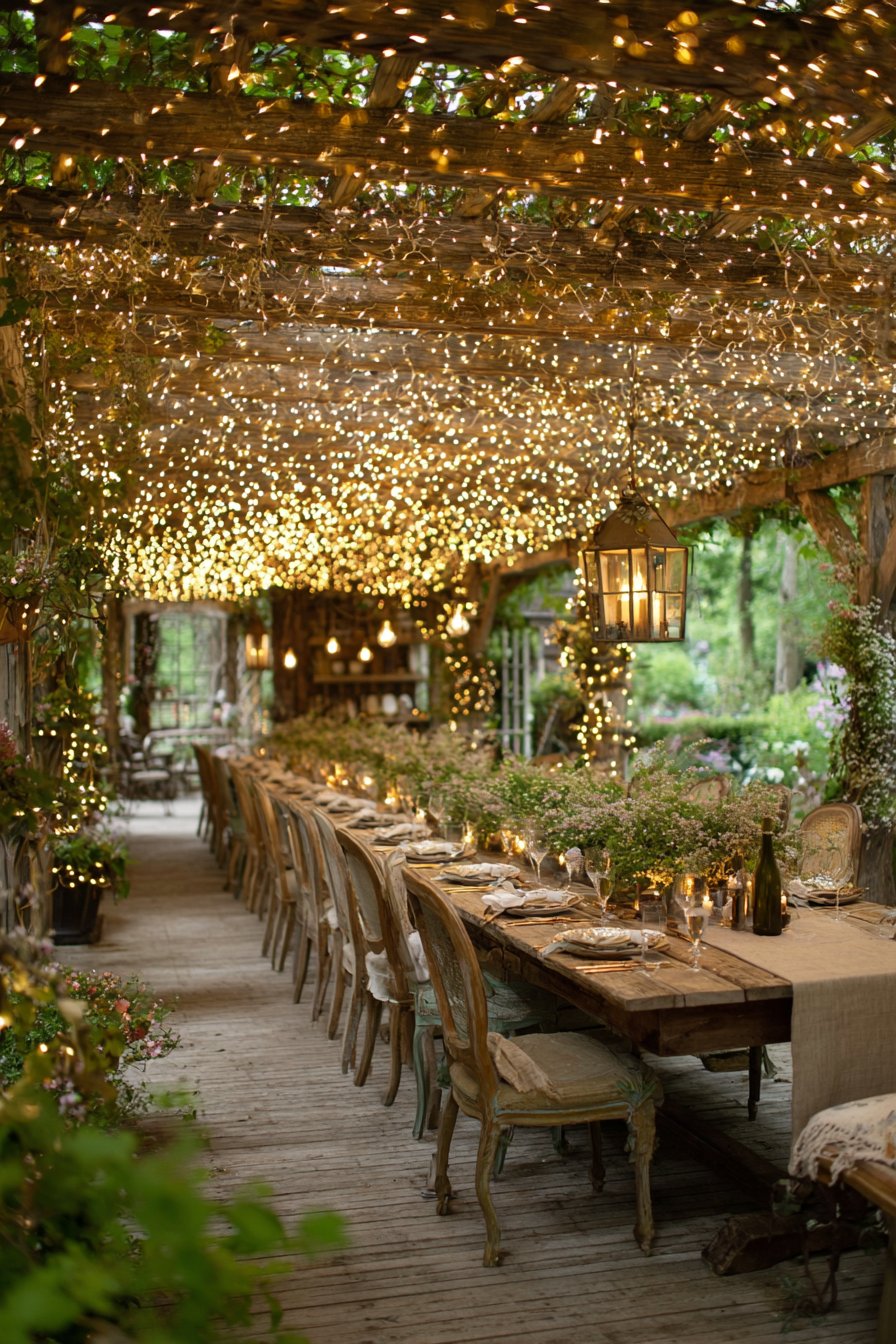
Installation options range from permanent overhead structures to temporary seasonal displays. For year-round installations, use commercial-grade weatherproof strings with replaceable bulbs. Drape strings in swooping patterns rather than rigid lines to create organic, relaxed vibes that soften hardscaping and architectural elements.
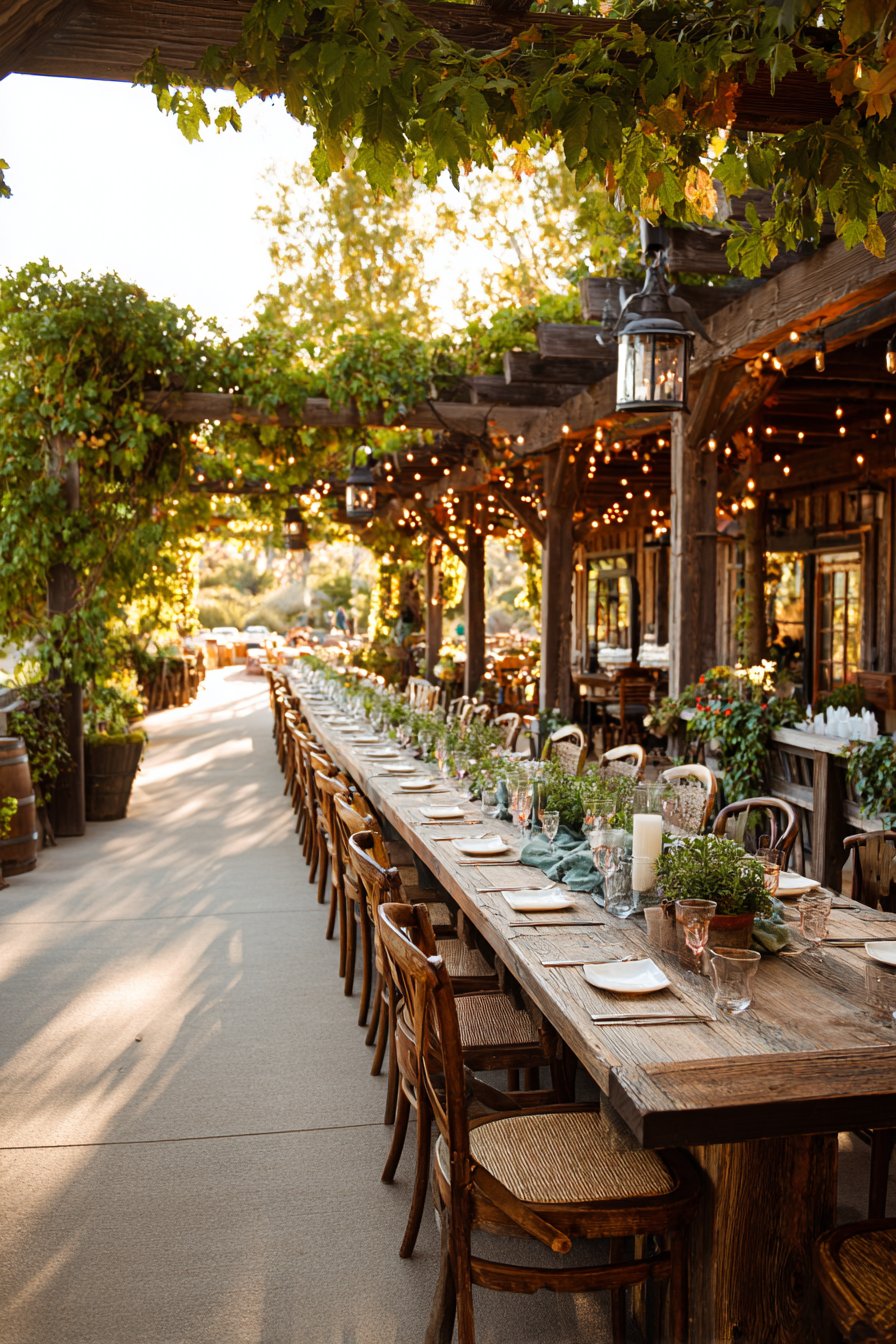
Combine string lights with other lighting layers for versatile spaces that transition from functional to festive depending on the occasion. Dimmer controls let you adjust intensity, making strings suitable for both bright dinner parties and intimate evening conversations. The key is thoughtful placement that avoids tangled, cluttered appearances.

- Choose LED string lights for 80% energy savings over incandescent
- Space bulbs 12-18 inches apart for adequate coverage without gaps
- Use guide wires or permanent mounting points for clean installations
- Mix string lights with lanterns for additional lighting variety
- Install on separate circuits for independent control and flexibility
- Select dimmable options to adjust mood and intensity
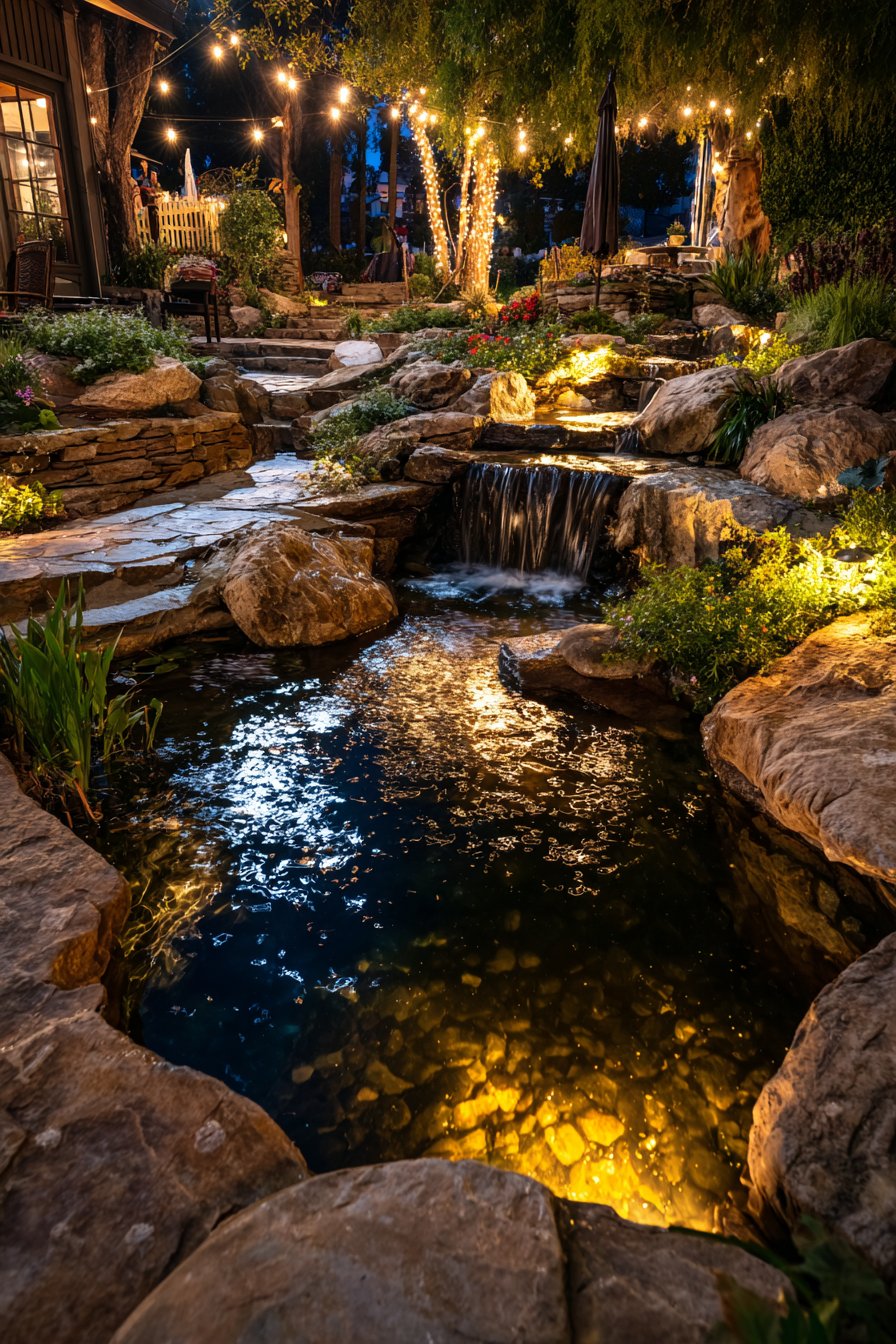
6. Add Water Feature Lighting for Tranquil Ambiance
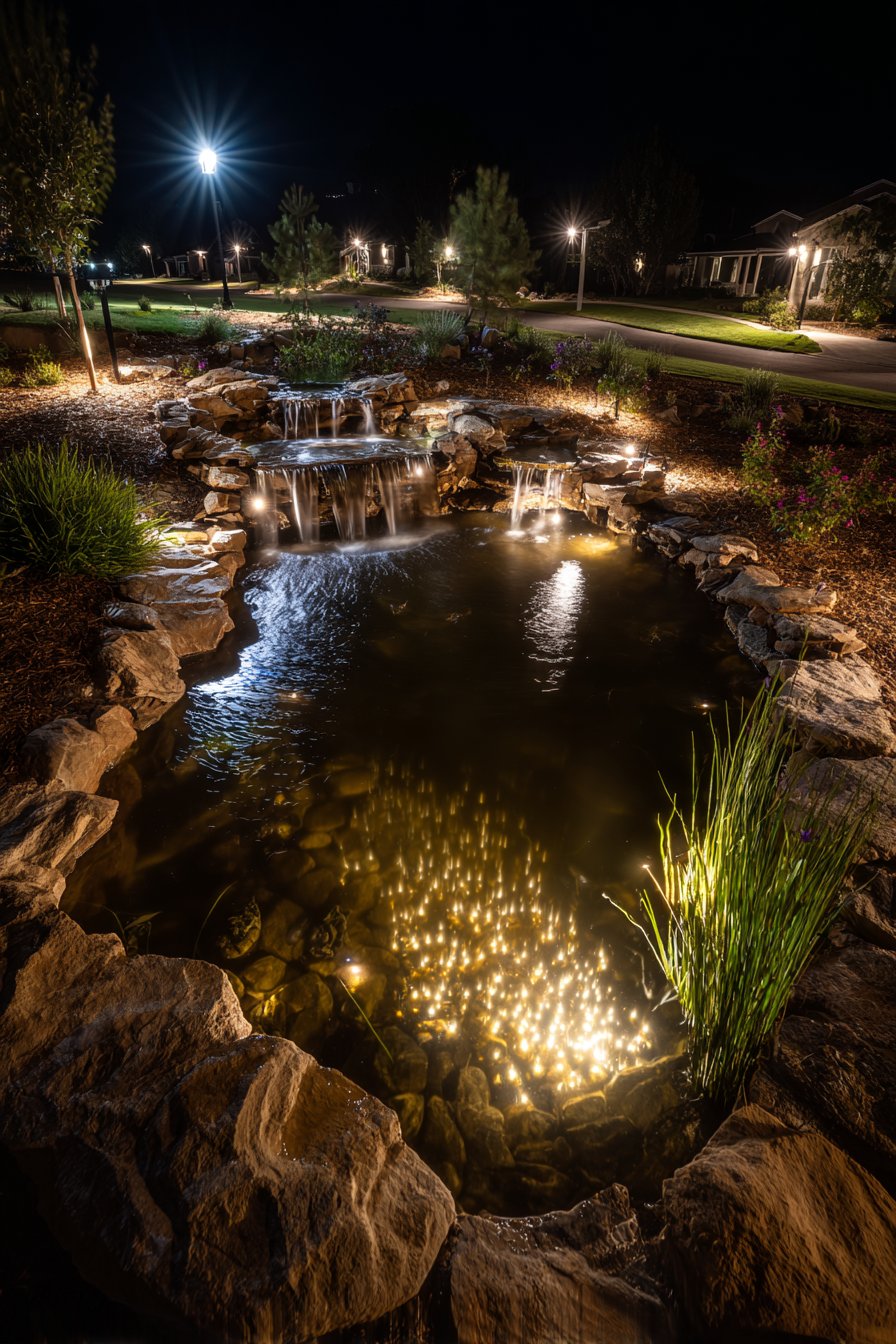
Illuminated water features create mesmerizing focal points that add movement, sound, and visual interest to outdoor spaces. Whether highlighting fountains, ponds, or waterfalls, proper lighting enhances reflective surfaces and flowing water. Submersible LED lights offer the safest option for direct water contact, while spotlights positioned outside water create dramatic reflections.
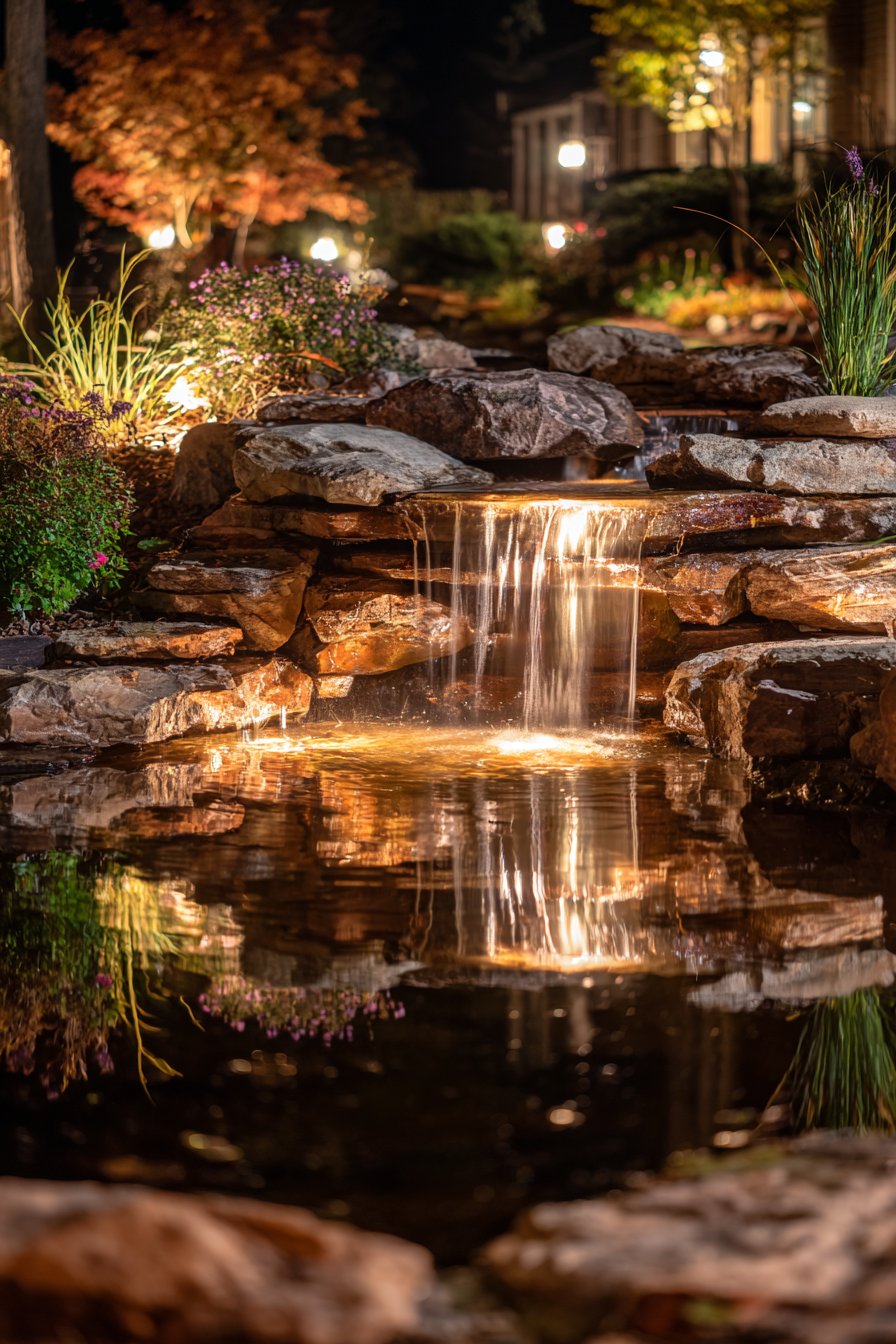
Color-changing lights allow mood adjustments, though warm white remains most versatile for everyday ambiance. Position lights to illuminate water without creating glare that disrupts the peaceful atmosphere. Underwater fixtures should angle upward to catch falling water or spray, creating sparkle effects that captivate viewers.

Safety requires special attention with water feature lighting. Use only fixtures rated for submersion or wet locations, and employ GFCI-protected circuits for all water-adjacent installations. Professional installation ensures electrical codes are met while creating stunning nighttime displays.
- Use only UL-listed submersible fixtures rated for continuous underwater use
- Position lights to create reflections rather than direct viewing
- Choose warm white (2700K-3000K) for natural, timeless appearance
- Install GFCI protection on all water feature lighting circuits
- Clean fixtures monthly to maintain brightness and prevent algae buildup
- Consider solar options for small decorative fountains
7. Utilize Smart Controls for Convenience and Efficiency
Smart lighting systems offer unprecedented control over outdoor ambiance while reducing energy consumption and maintenance. Programmable timers ensure lights activate at sunset and turn off at desired times, eliminating wasted electricity from forgotten switches. Modern systems integrate with home automation platforms for voice control and smartphone management.
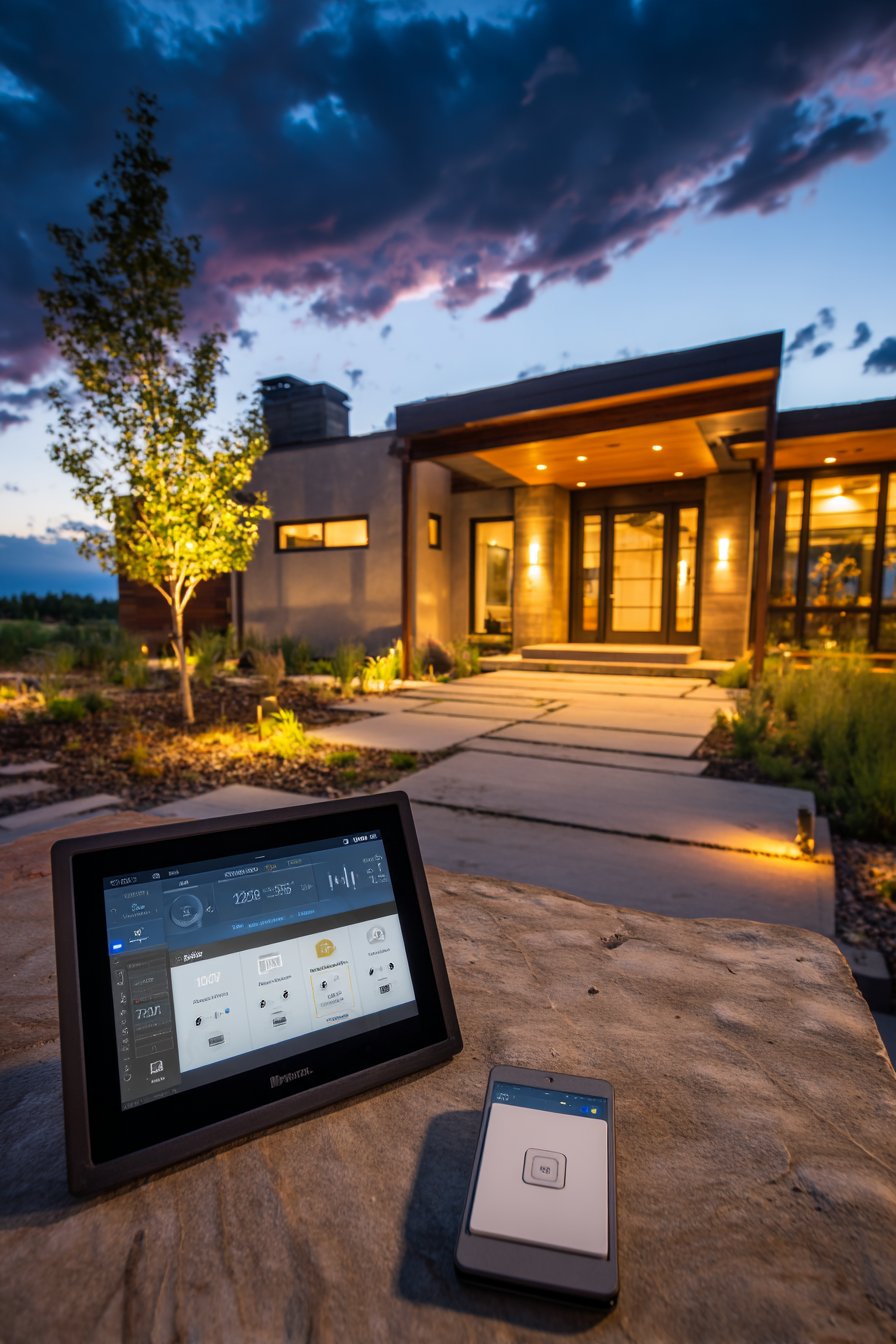
Motion sensors add security while preserving ambiance in rarely used areas. Lights activate when movement is detected, then dim or turn off after predetermined intervals. This targeted approach reduces light pollution and energy costs while maintaining safety. Photocell sensors automatically adjust for changing seasonal daylight hours.
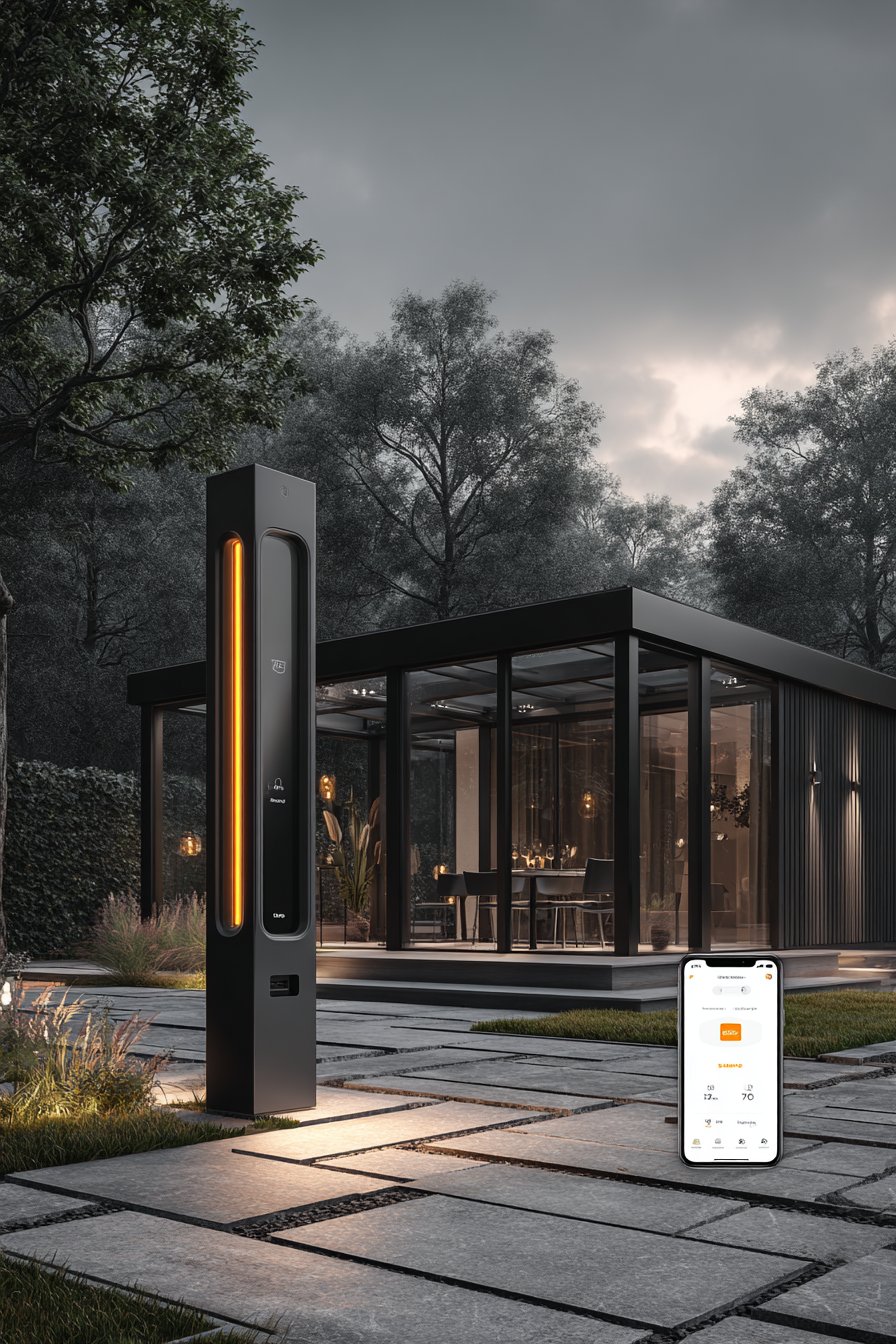
Smart systems also enable scene programming where different fixture combinations create specific moods. Create separate scenes for intimate dinners, large gatherings, or security lighting with simple voice commands or smartphone taps. The initial investment in smart controls pays dividends through convenience, efficiency, and extended fixture lifespan.
- Install astronomical timers that adjust automatically for sunset variations
- Use motion sensors with adjustable sensitivity and duration settings
- Create lighting zones for independent control of different areas
- Integrate with smart home systems for comprehensive automation
- Choose LED fixtures compatible with dimming and smart controls
- Program vacation modes that simulate presence for enhanced security
Conclusion
Creating ambiance with outdoor lighting transforms properties into enchanting evening destinations that extend living space and enhance enjoyment. By layering different light types, choosing appropriate color temperatures, and incorporating both functional and decorative elements, you’ll design outdoor environments that welcome, inspire, and impress. Smart controls and thoughtful fixture selection ensure your lighting remains efficient and effective for years to come.
Start with one or two techniques that address your most pressing needs, then expand your lighting design as budget and vision evolve. The magic of outdoor lighting lies not in quantity but in strategic placement and intentional design. Experiment, adjust, and enjoy the transformation as your outdoor spaces become nighttime sanctuaries worth celebrating.